Later Ctrl + ↑

Destiny 2 – Russian clan – GOT

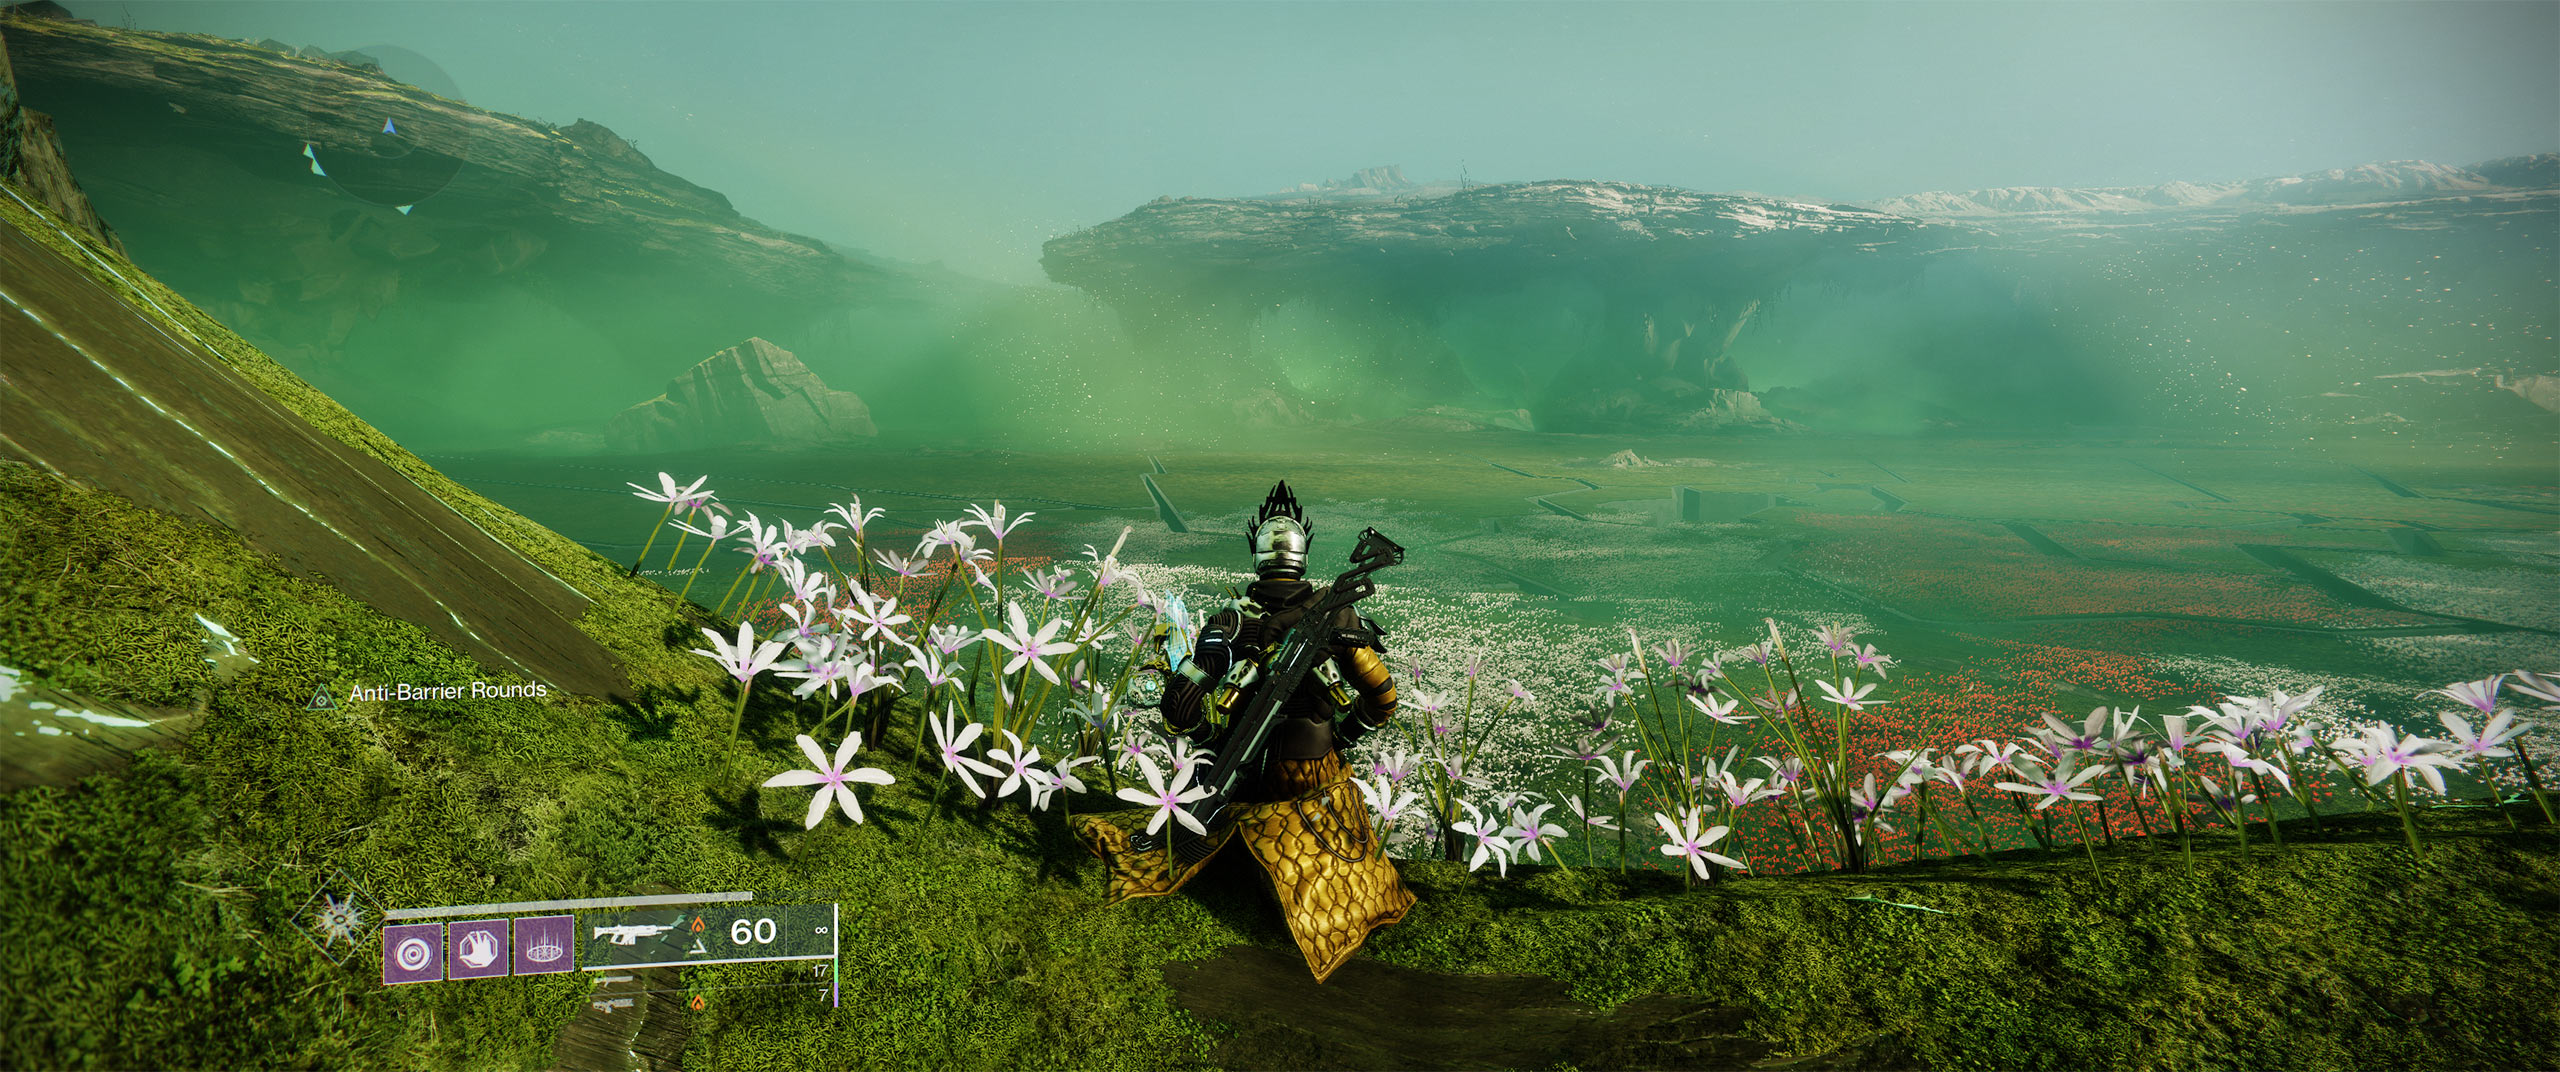
Я в Дестини играю с 2014 года. С длинными паузами между заходами. Но она все так-же радует. Для меня это как спорт. Какая разница, смотришь ли ты футбольный матч по телеку или матч по “испытанию осириса”, где сумасшедший выходит один против троих и выигрывает безупречно семь раундов?
Одна из самых красивых и сложных частей игры доступна только командным игрокам. Недавно записался в русско-говорящий клан. GUARDIANS OF THE TRUTH [GOT]. Очень приятные ребята. Все показывают, спокойно и доступно объясняют. Я, как новичку и полагается, иногда туплю. Если вы гоняете в дестини иногда по выходным – добро пожаловать.

Ссылка на наш клан на сайте Bungie:
https://www.bungie.net/ru/ClanV2?groupid=2749474

Ccылка в Discord:
https://discord.gg/kkESWJ7

 789   2022   destiny   gaming

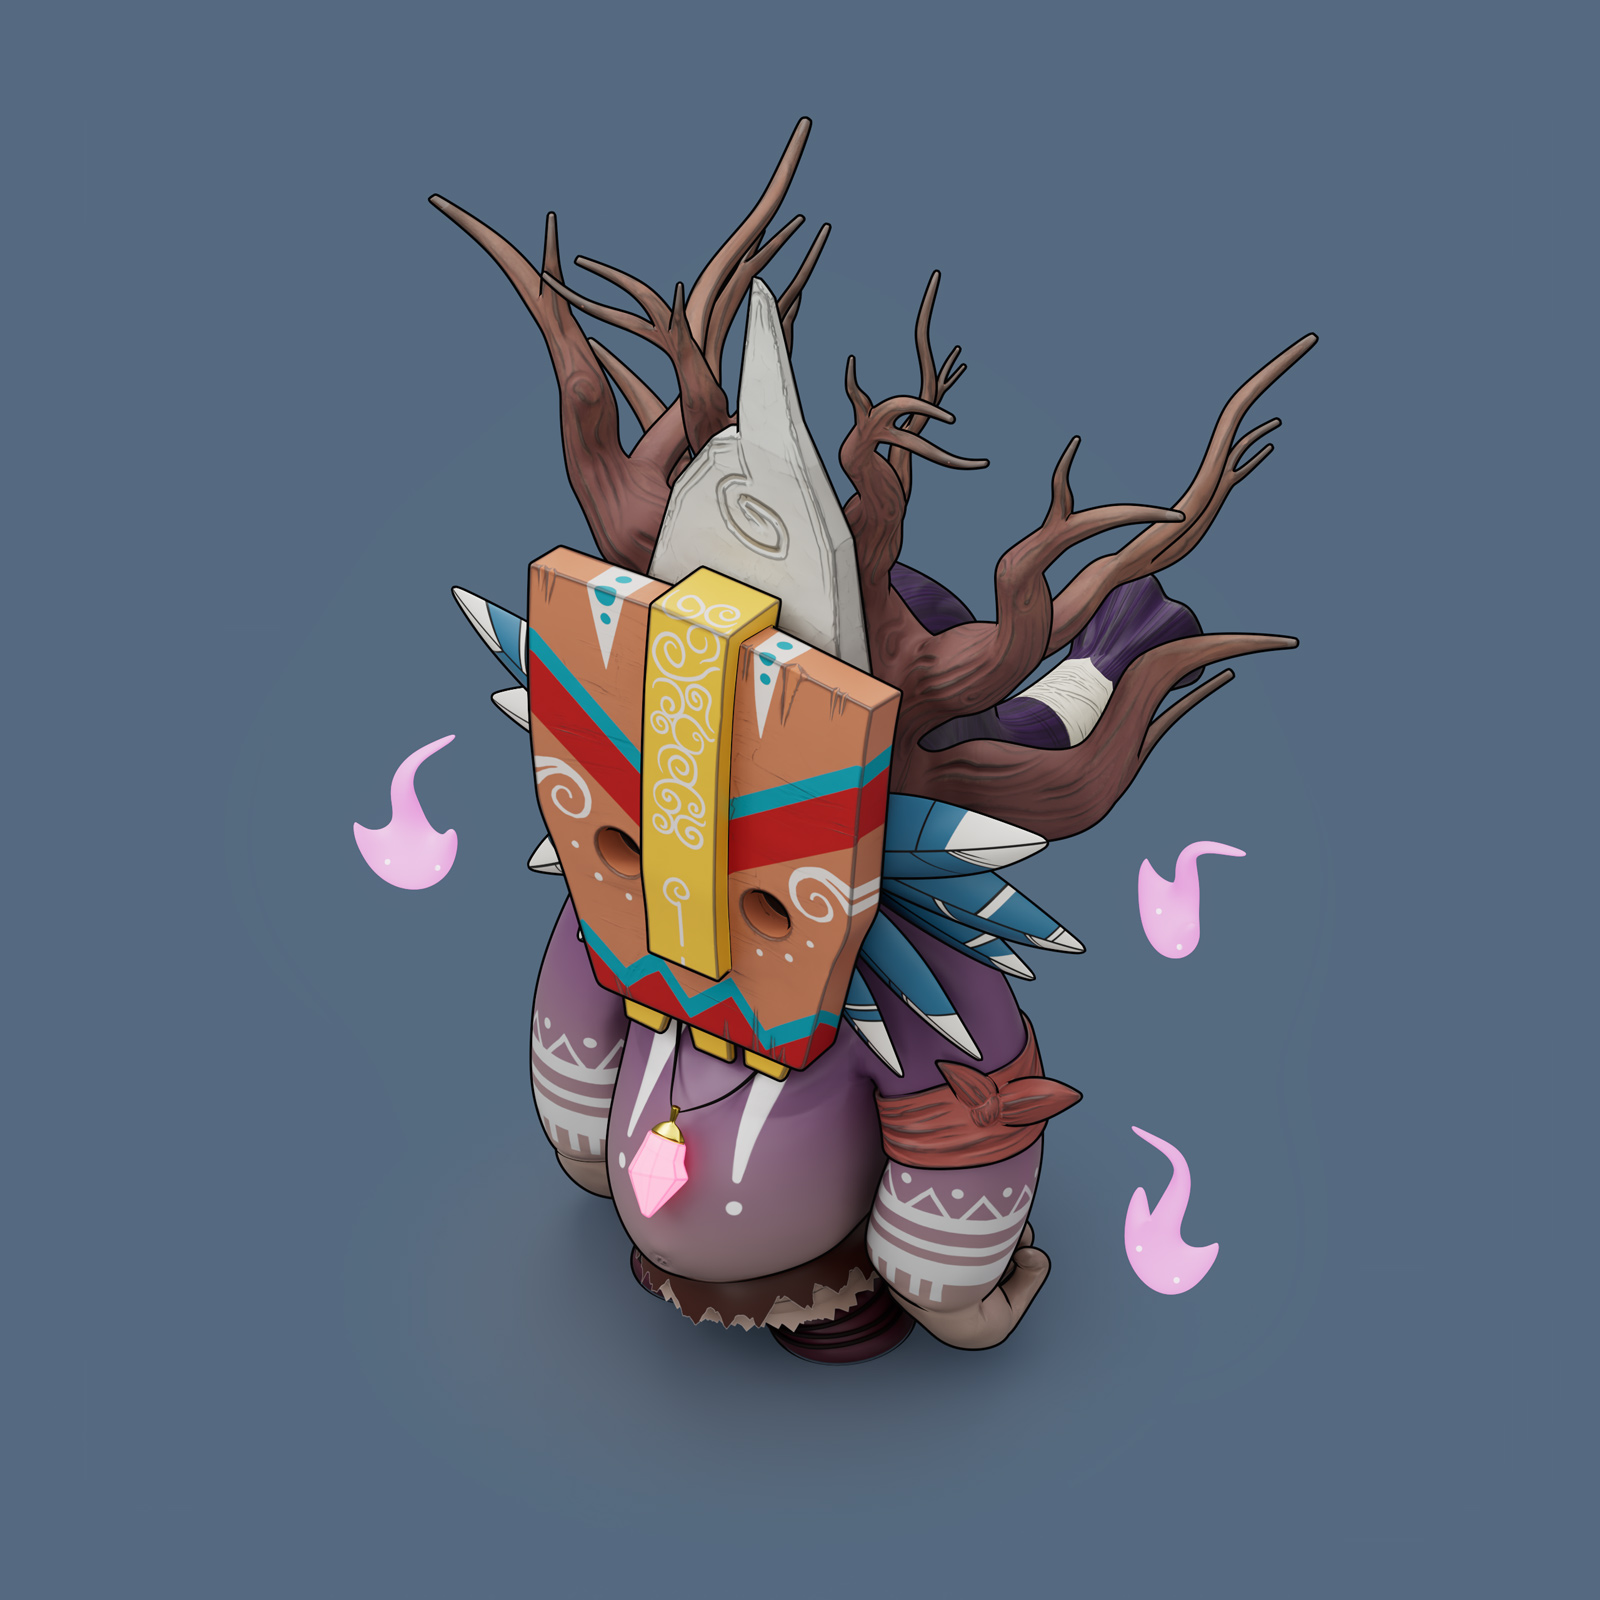
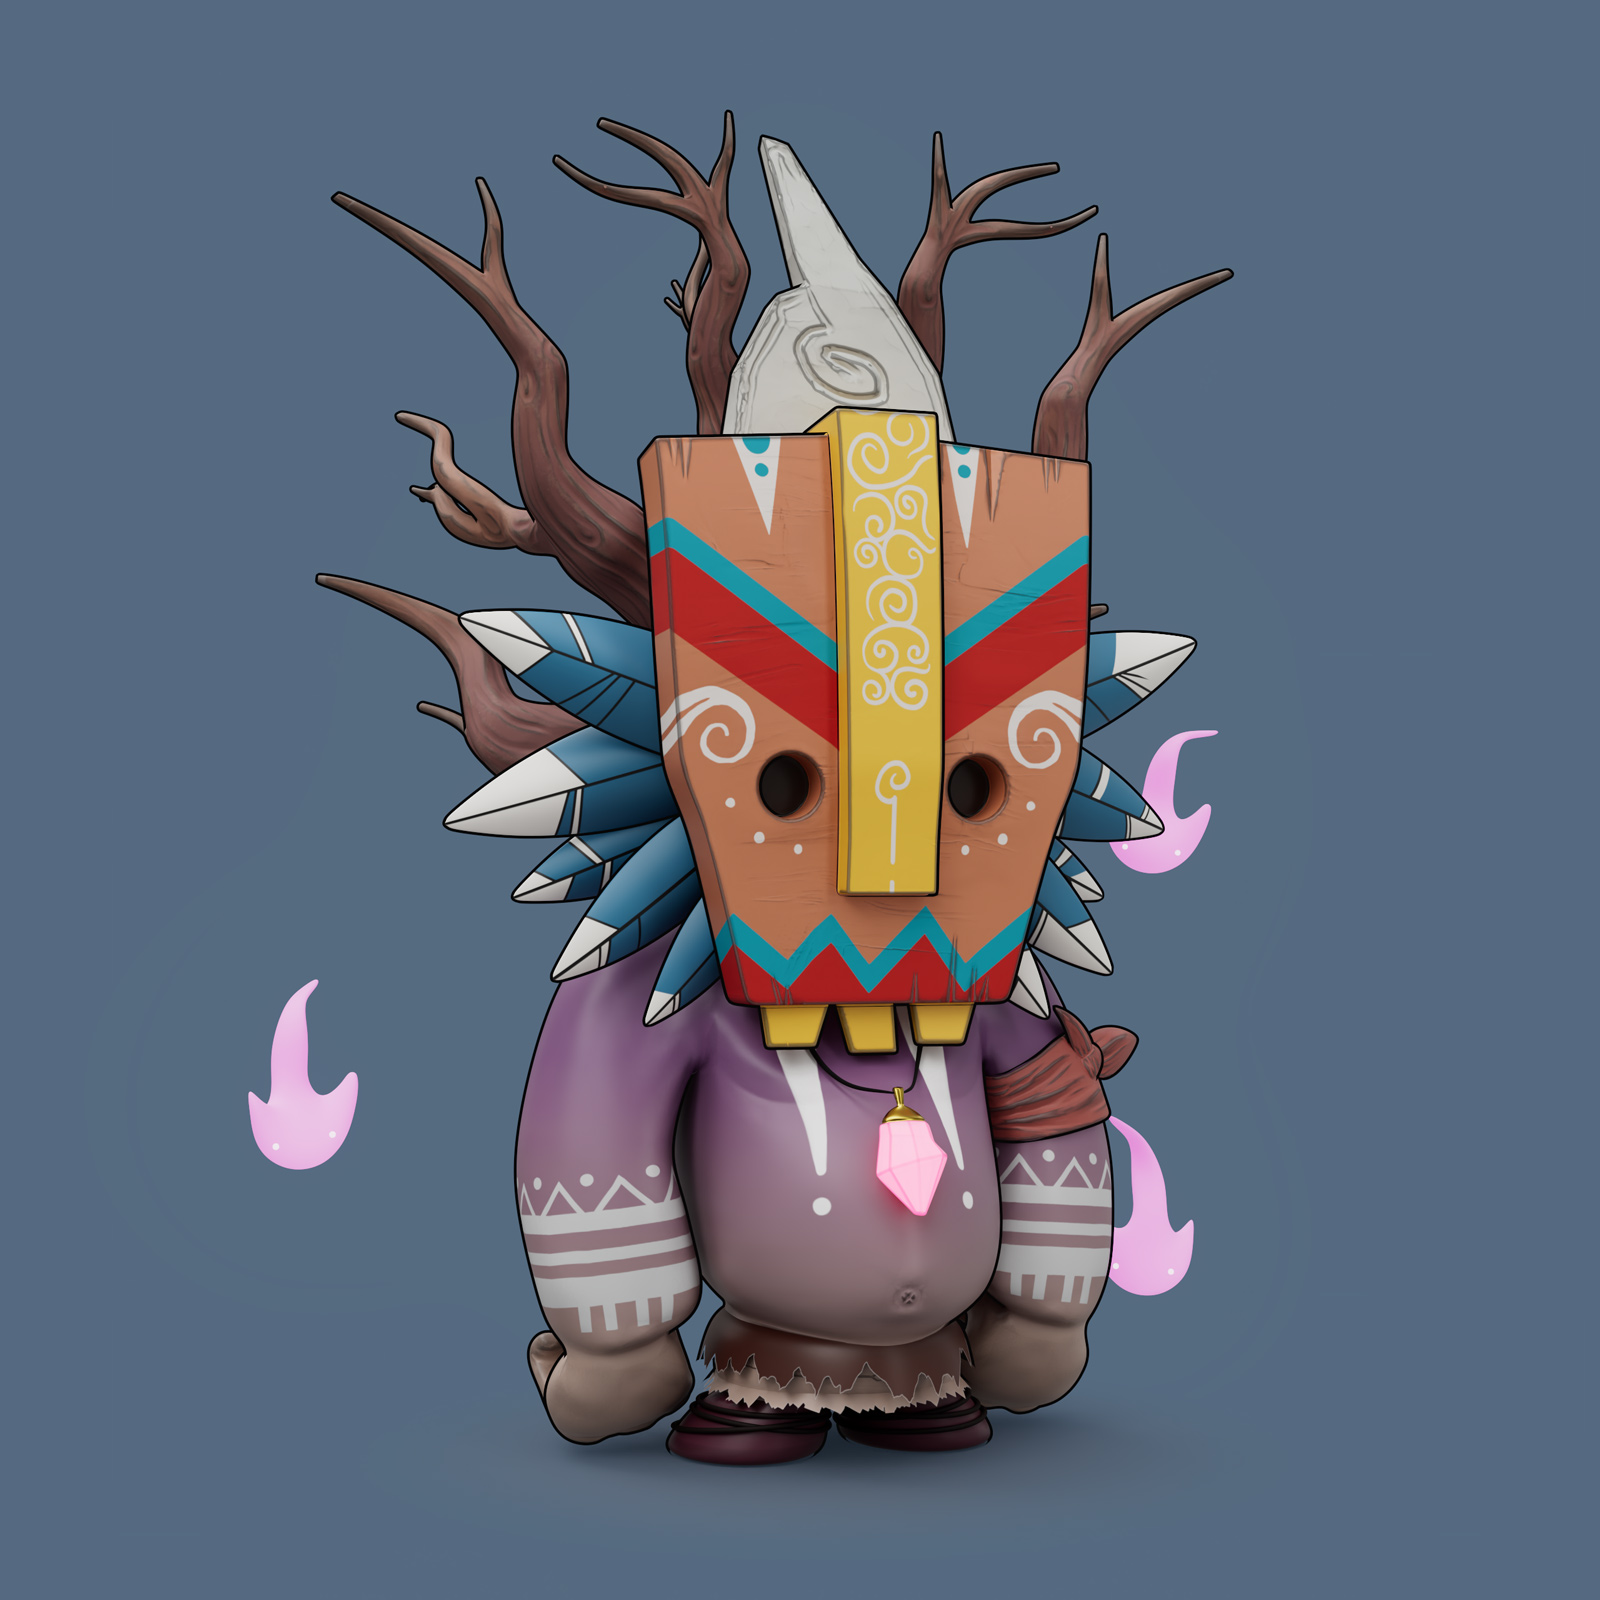
Shaman – Houdini vs Blender

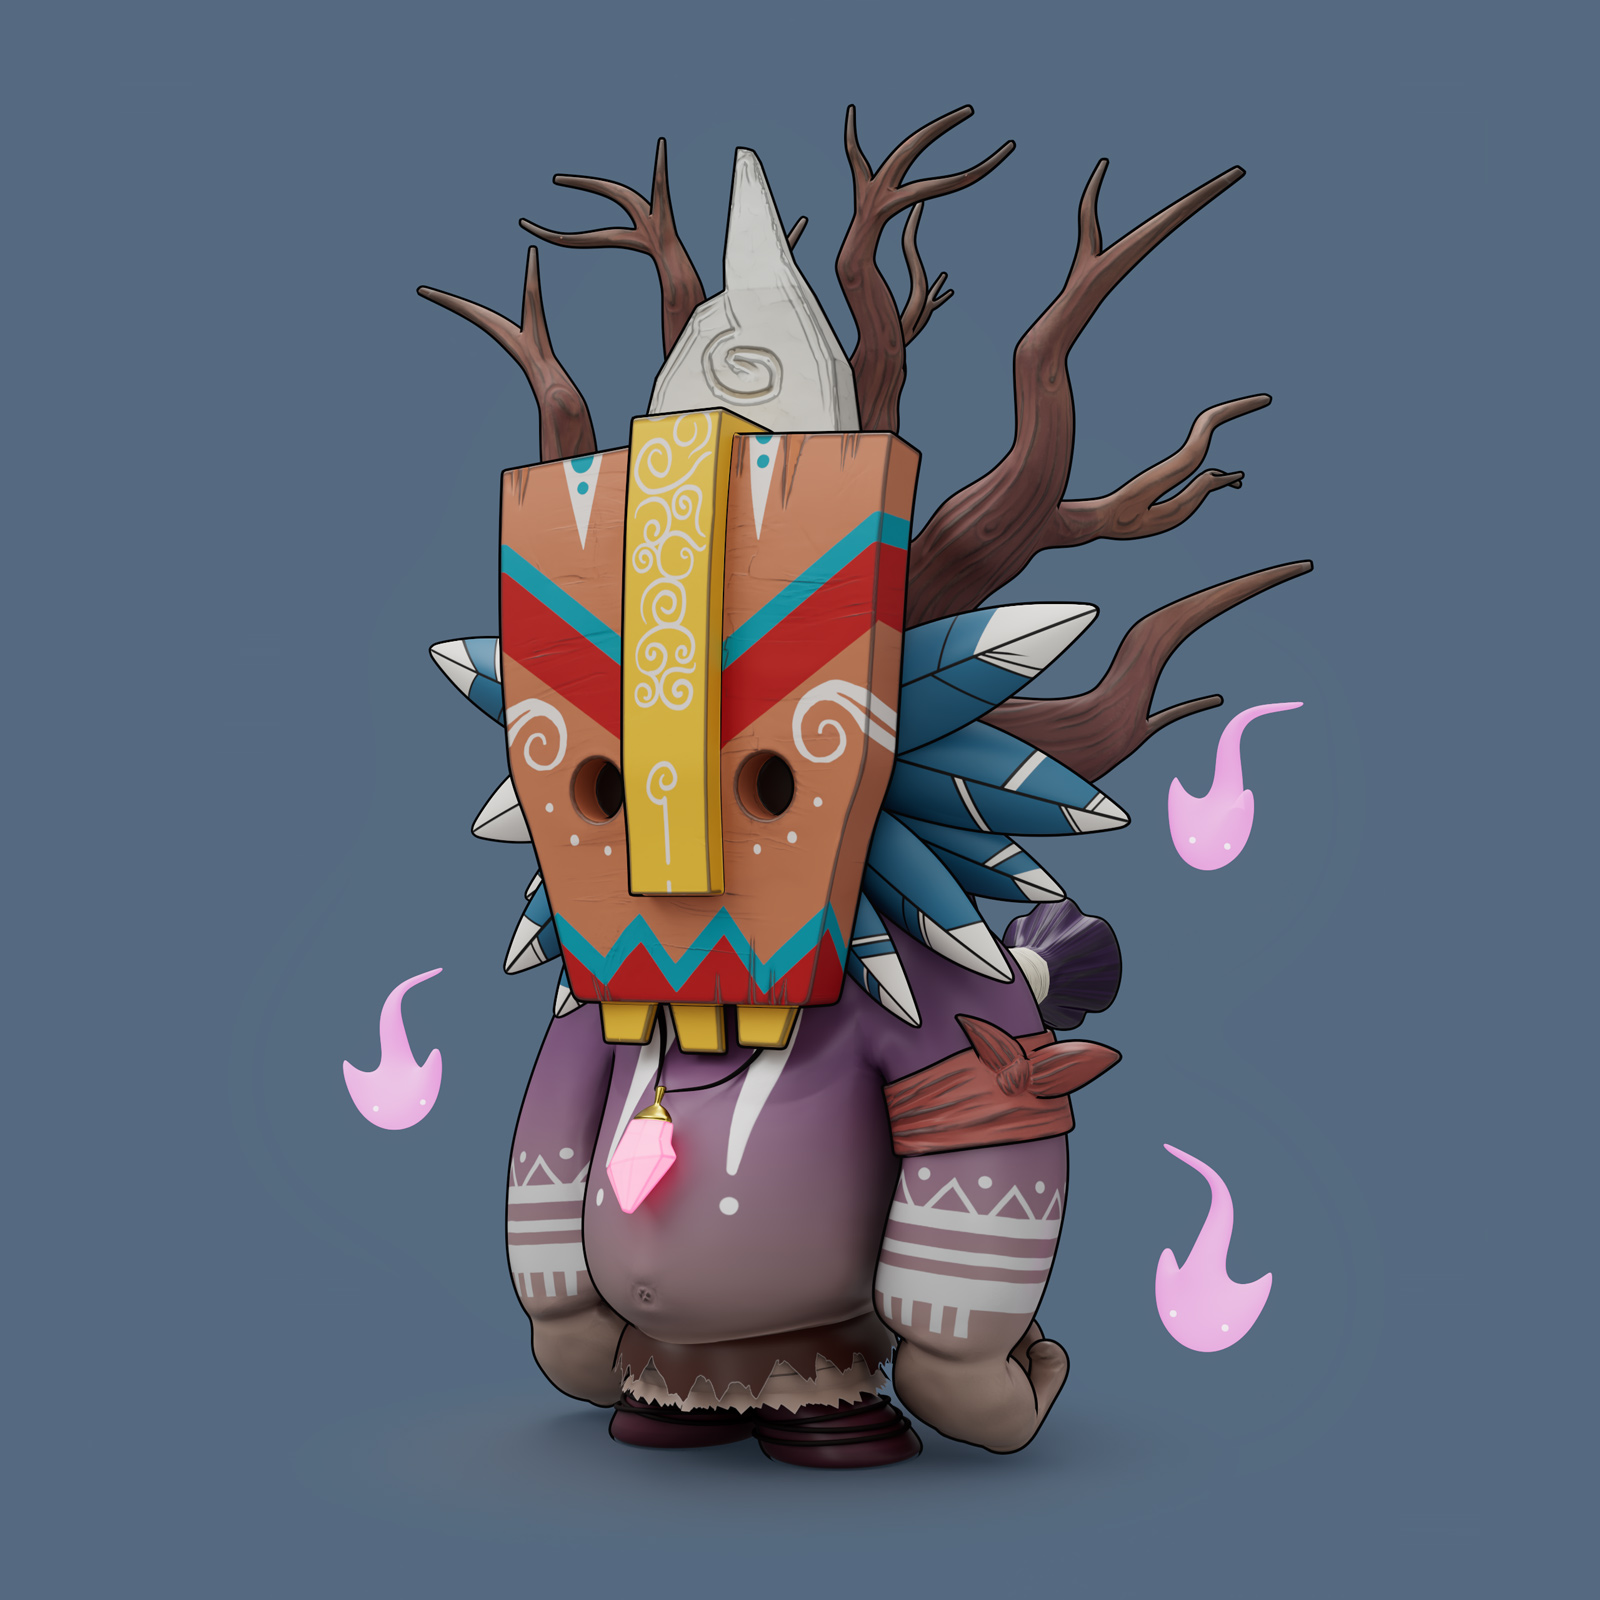
I wanted to try Blender for a long time. And came across a series of tutorials from YouTube channel Blender 3d. After watching it became clear why so many people love this free software.
I started in Blender, but then jumped back into Houdini. With plugin called Modeler, you can repeat the steps without problems.
Here is a “turntable” and then a speedup walkthrough:

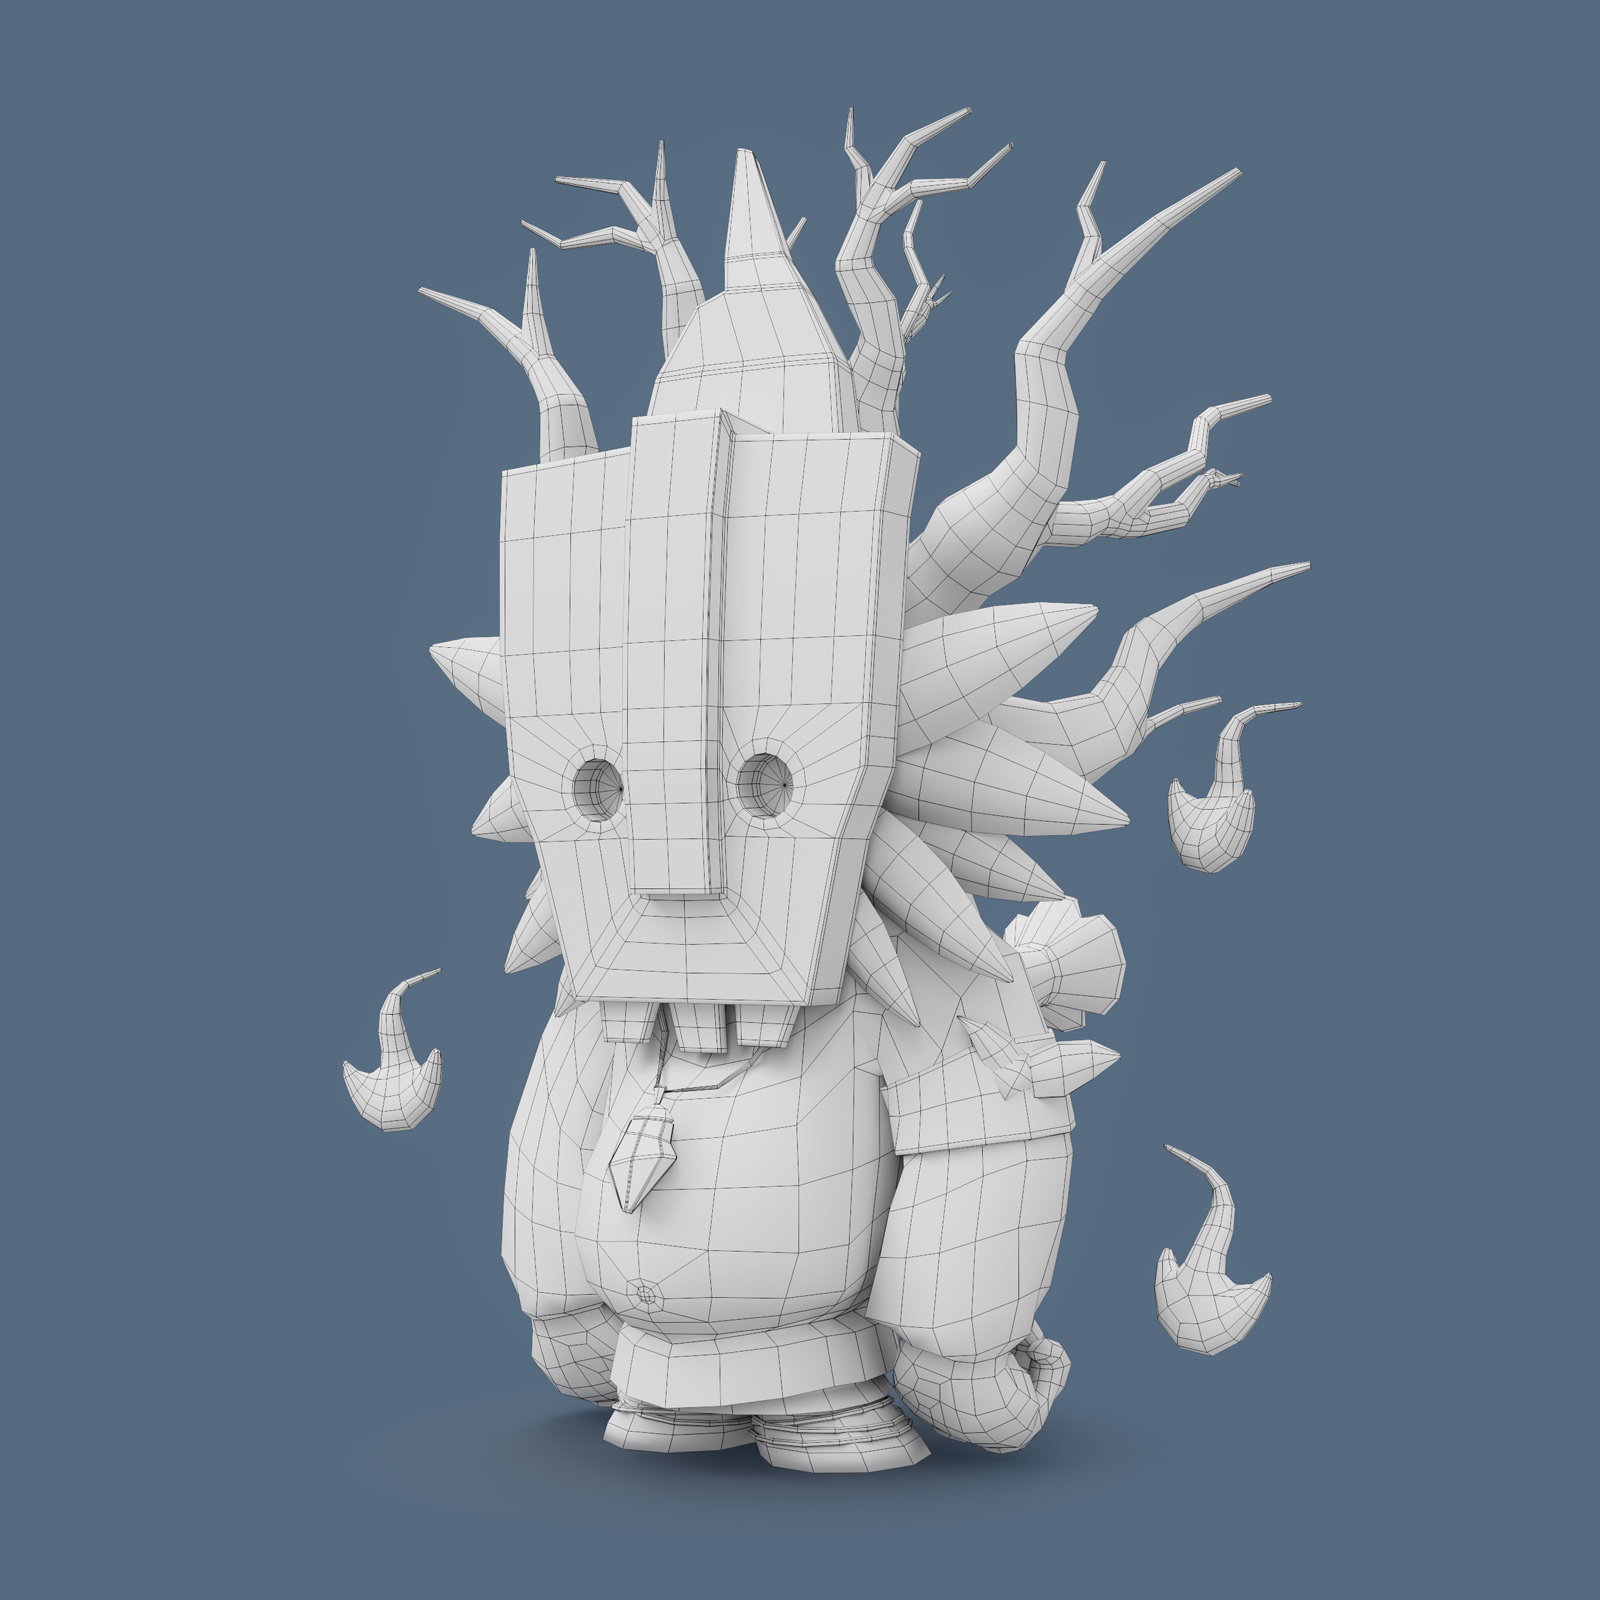
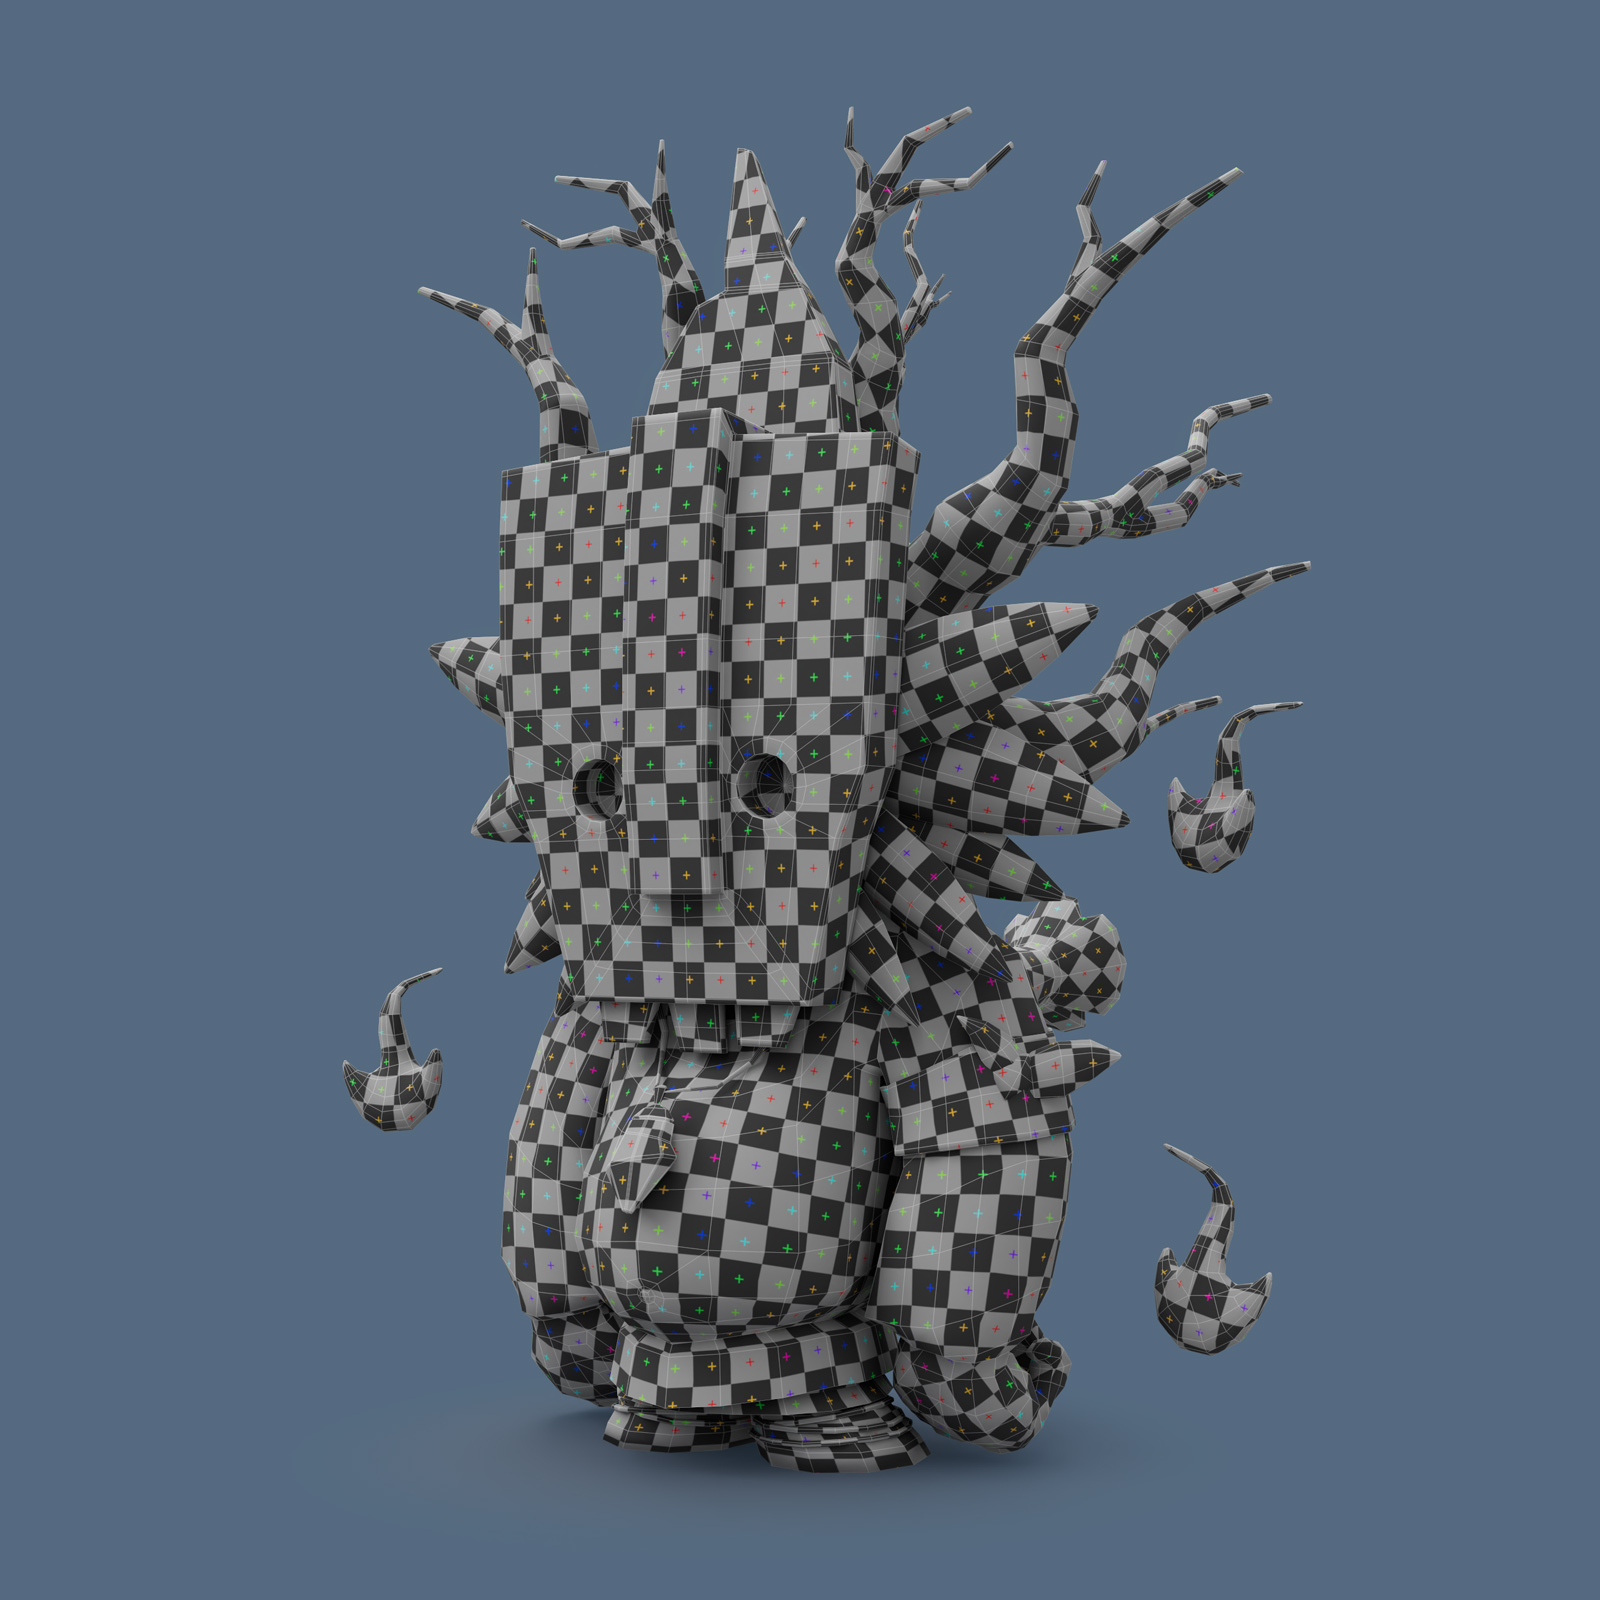
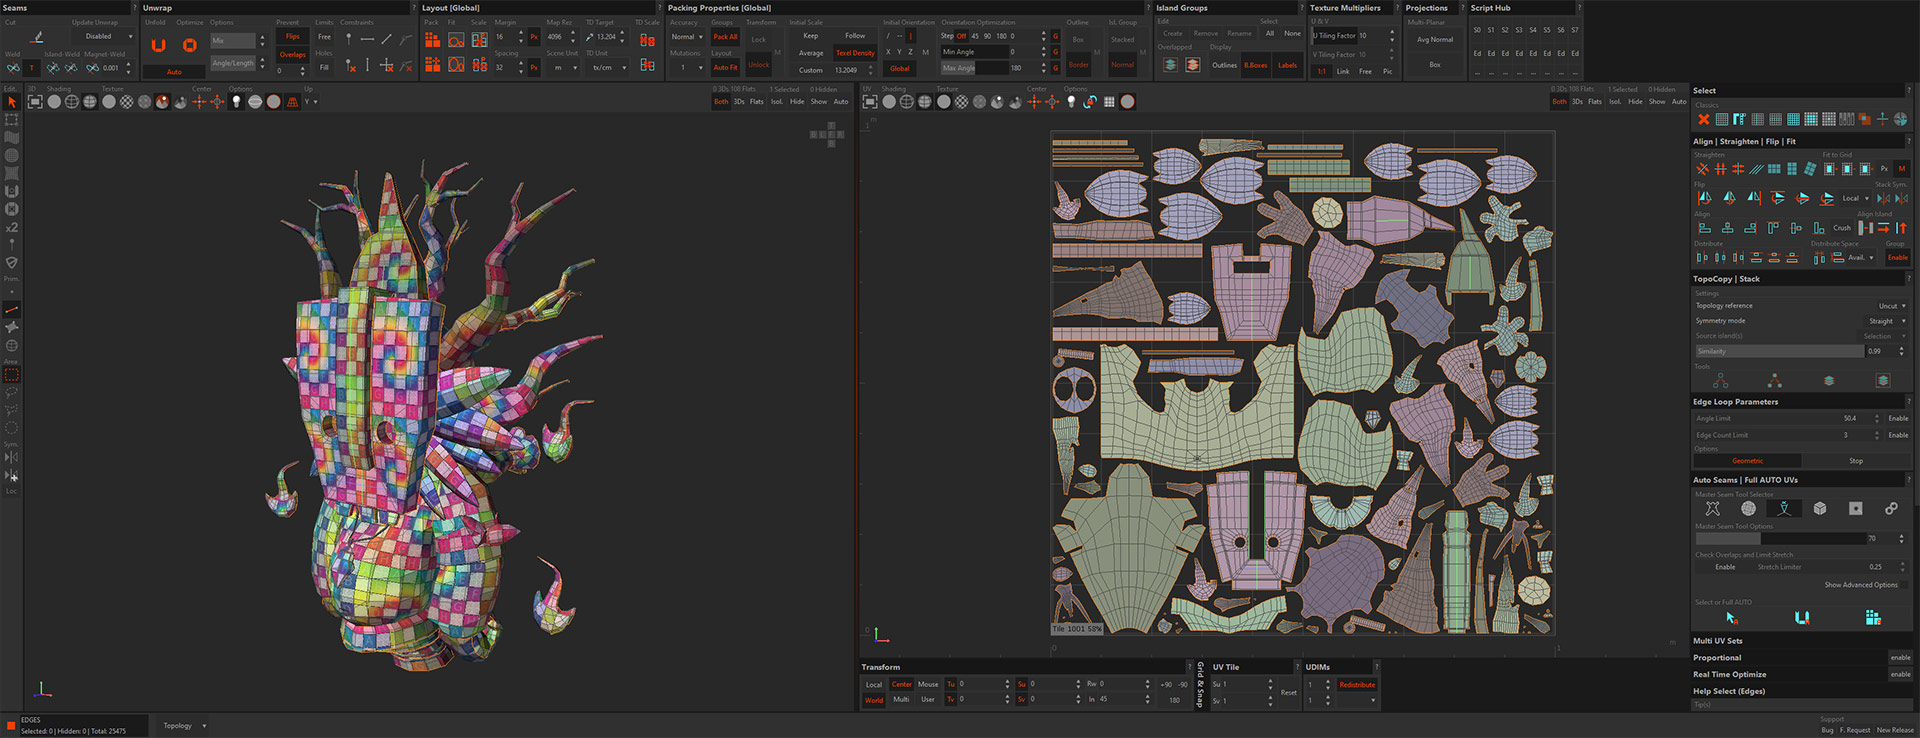
UVs I did in RizomUV. They have just released an update. And now you can insert one group into another. For example, a group of “feathers” can be included in the “head” group and packed together. One of my favorite tricks: you can pack the islands using their direction in 3D space. Want everything to be aligned by Y in UV space? Just a click of a button. By the way, the groups made in Houdini are visible in Rizom.

After UVing, I imported some groups into Zbrush to add details.
I baked from high to low in Marmoset. It also understands groups from Houdini, and therefore it is not necessary to export the “exploded” mesh separately, as it is usually done for baking in Substance. Another nice thing about it is the auto-reload of textures and geometry. If you change something in another program and save, Marmoset automatically shows those changes.
I textured in Substance Painter. Then I rendered in Houdini with Redshift.

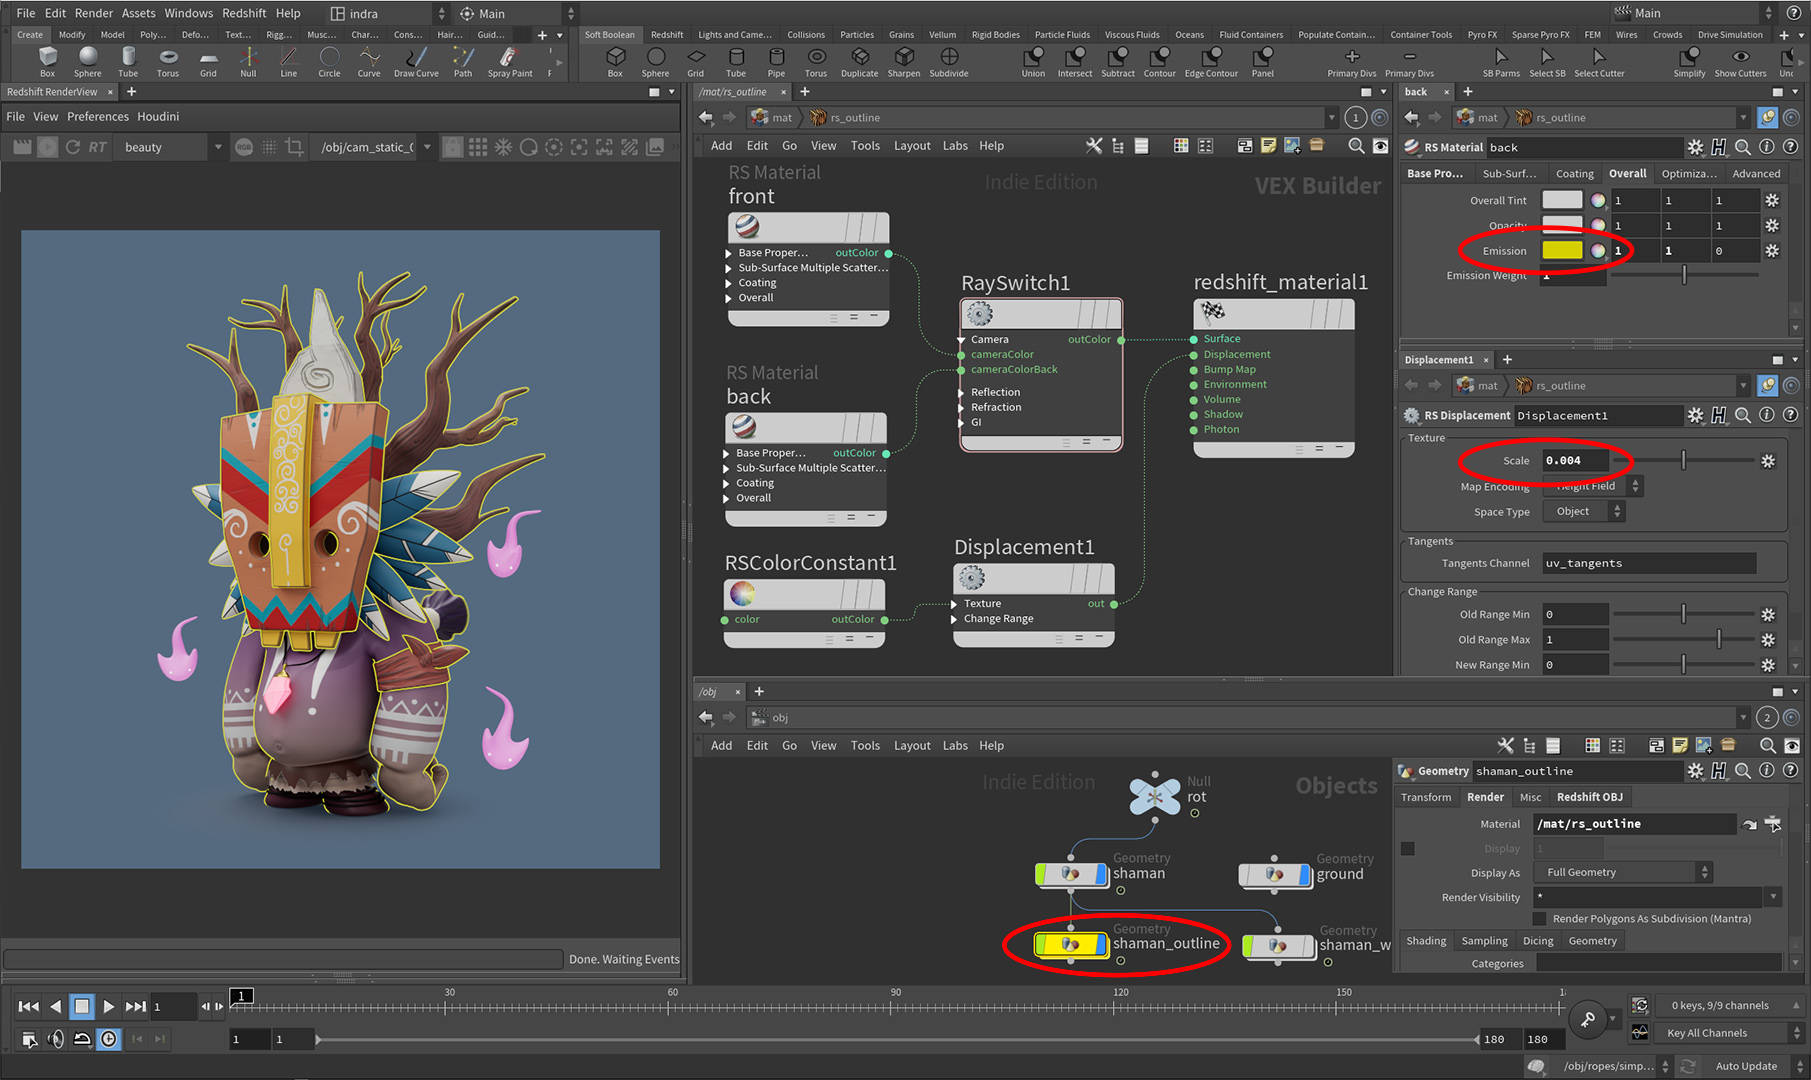
To make the cartoon outline: I cloned geometry. Assigned double-sided material to it. The “front” is transparent, and the “back” has only black emission material assigned to it. Then you add displacement with a constant instead of a texture. And that’s it. You can control the thickness of the line with the amount of displacement. And color of line with emission (yellow in this example):

Then I repeated the same trick in Marmoset. It works when rendering. But displacement is not supported in the “viewer”. So if you want to send a link to the client, so he can rotate the model in the browser you need another approach:
I exported additional geometry from Houdini, but with reversed normals and a bit inflated with “Peak” node. Then in Marmoset I assined a new dark material without reflections, and set the Diffusion module to Unlit.

Here is the result that you can rotate:

And couple more renders from Redshift:

Original concept drawing was made by amazing La Foret Oublie.
And here is a great article on shading in Marmoset.

 1677   2021   3dmodeling   blender   houdini   panama   redshift

Panama – Playa Caracol

I’m trying to figure out how to live on both Windows and MacOS at the same time. For the sake of a little test I took some vieos with a selfie stick. I threw it on Windows in Davinci 17 (a free program for working with videos). In version 17 they added a button to search for “lost” files. I’ve sent the project without videos via dropbox to a M1 Macbook and added music on my Mac. In order not to send the entire project, you can now export only the “timeline”. It weighs almost nothing so you can send it even via the phone. Opened it on Windows – everything just works.

 809   2021   panama
 1327   2021   animation   houdini
 825   2021   djing   drum'n'bass   music

What language to use in Panama.

Sometimes I feel like writing or talking on social media. But deciding which language to use is tricky. Russian guys don’t know Spanish. Many Panamanians do not speak English fluently and certainly do not know Russian.
Everything I watch and read is in English. But I rarely speak it. All my notes are also in English.
After ten years in the tropics, I began to forget some Russian words. Whether it is worth remembering – I do not know. Better to learn to speak correct Spanish. I speak often as a dockman with zero benevolence. My woman suggested at the beginning of conversations with new people to mention that I am Russian and frankness is not considered rudeness in our country.

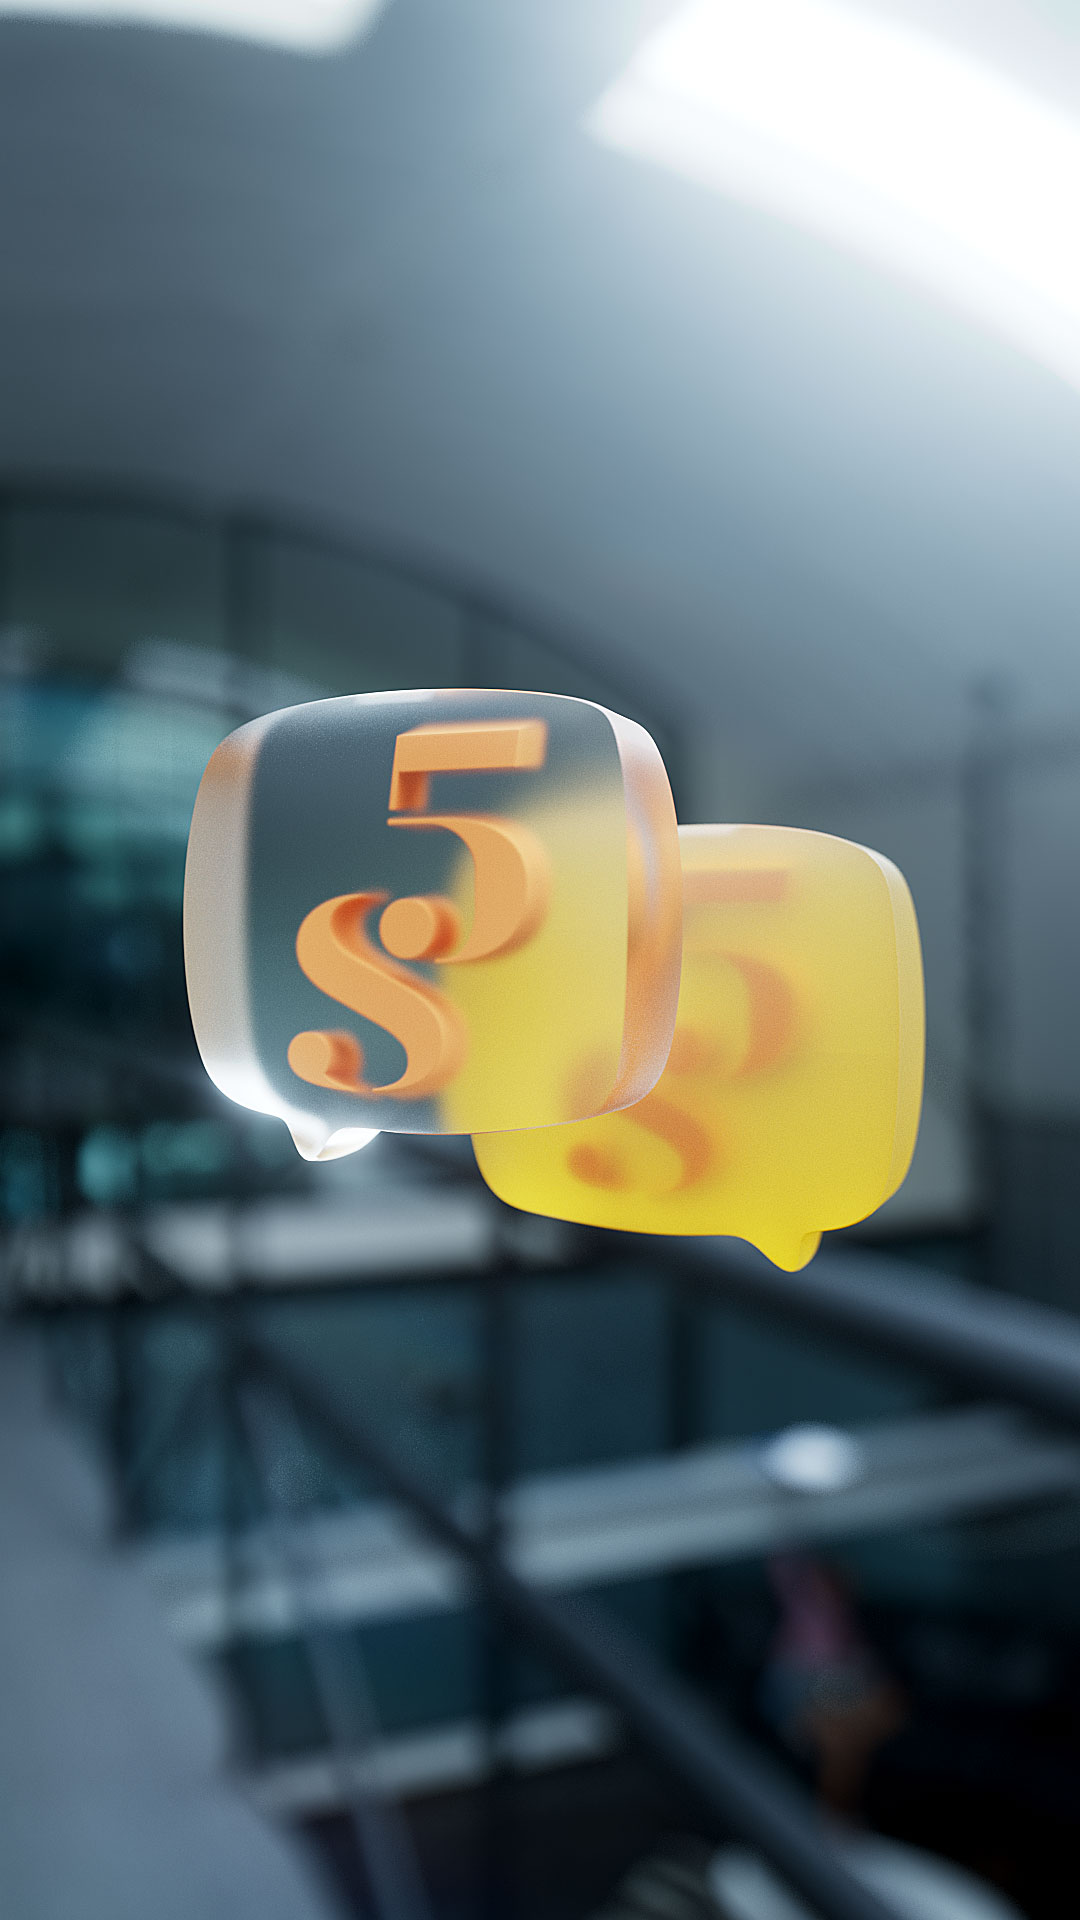
In the video suggested by YouTube, a guy makes a dialog icon in five minutes in Sketch:

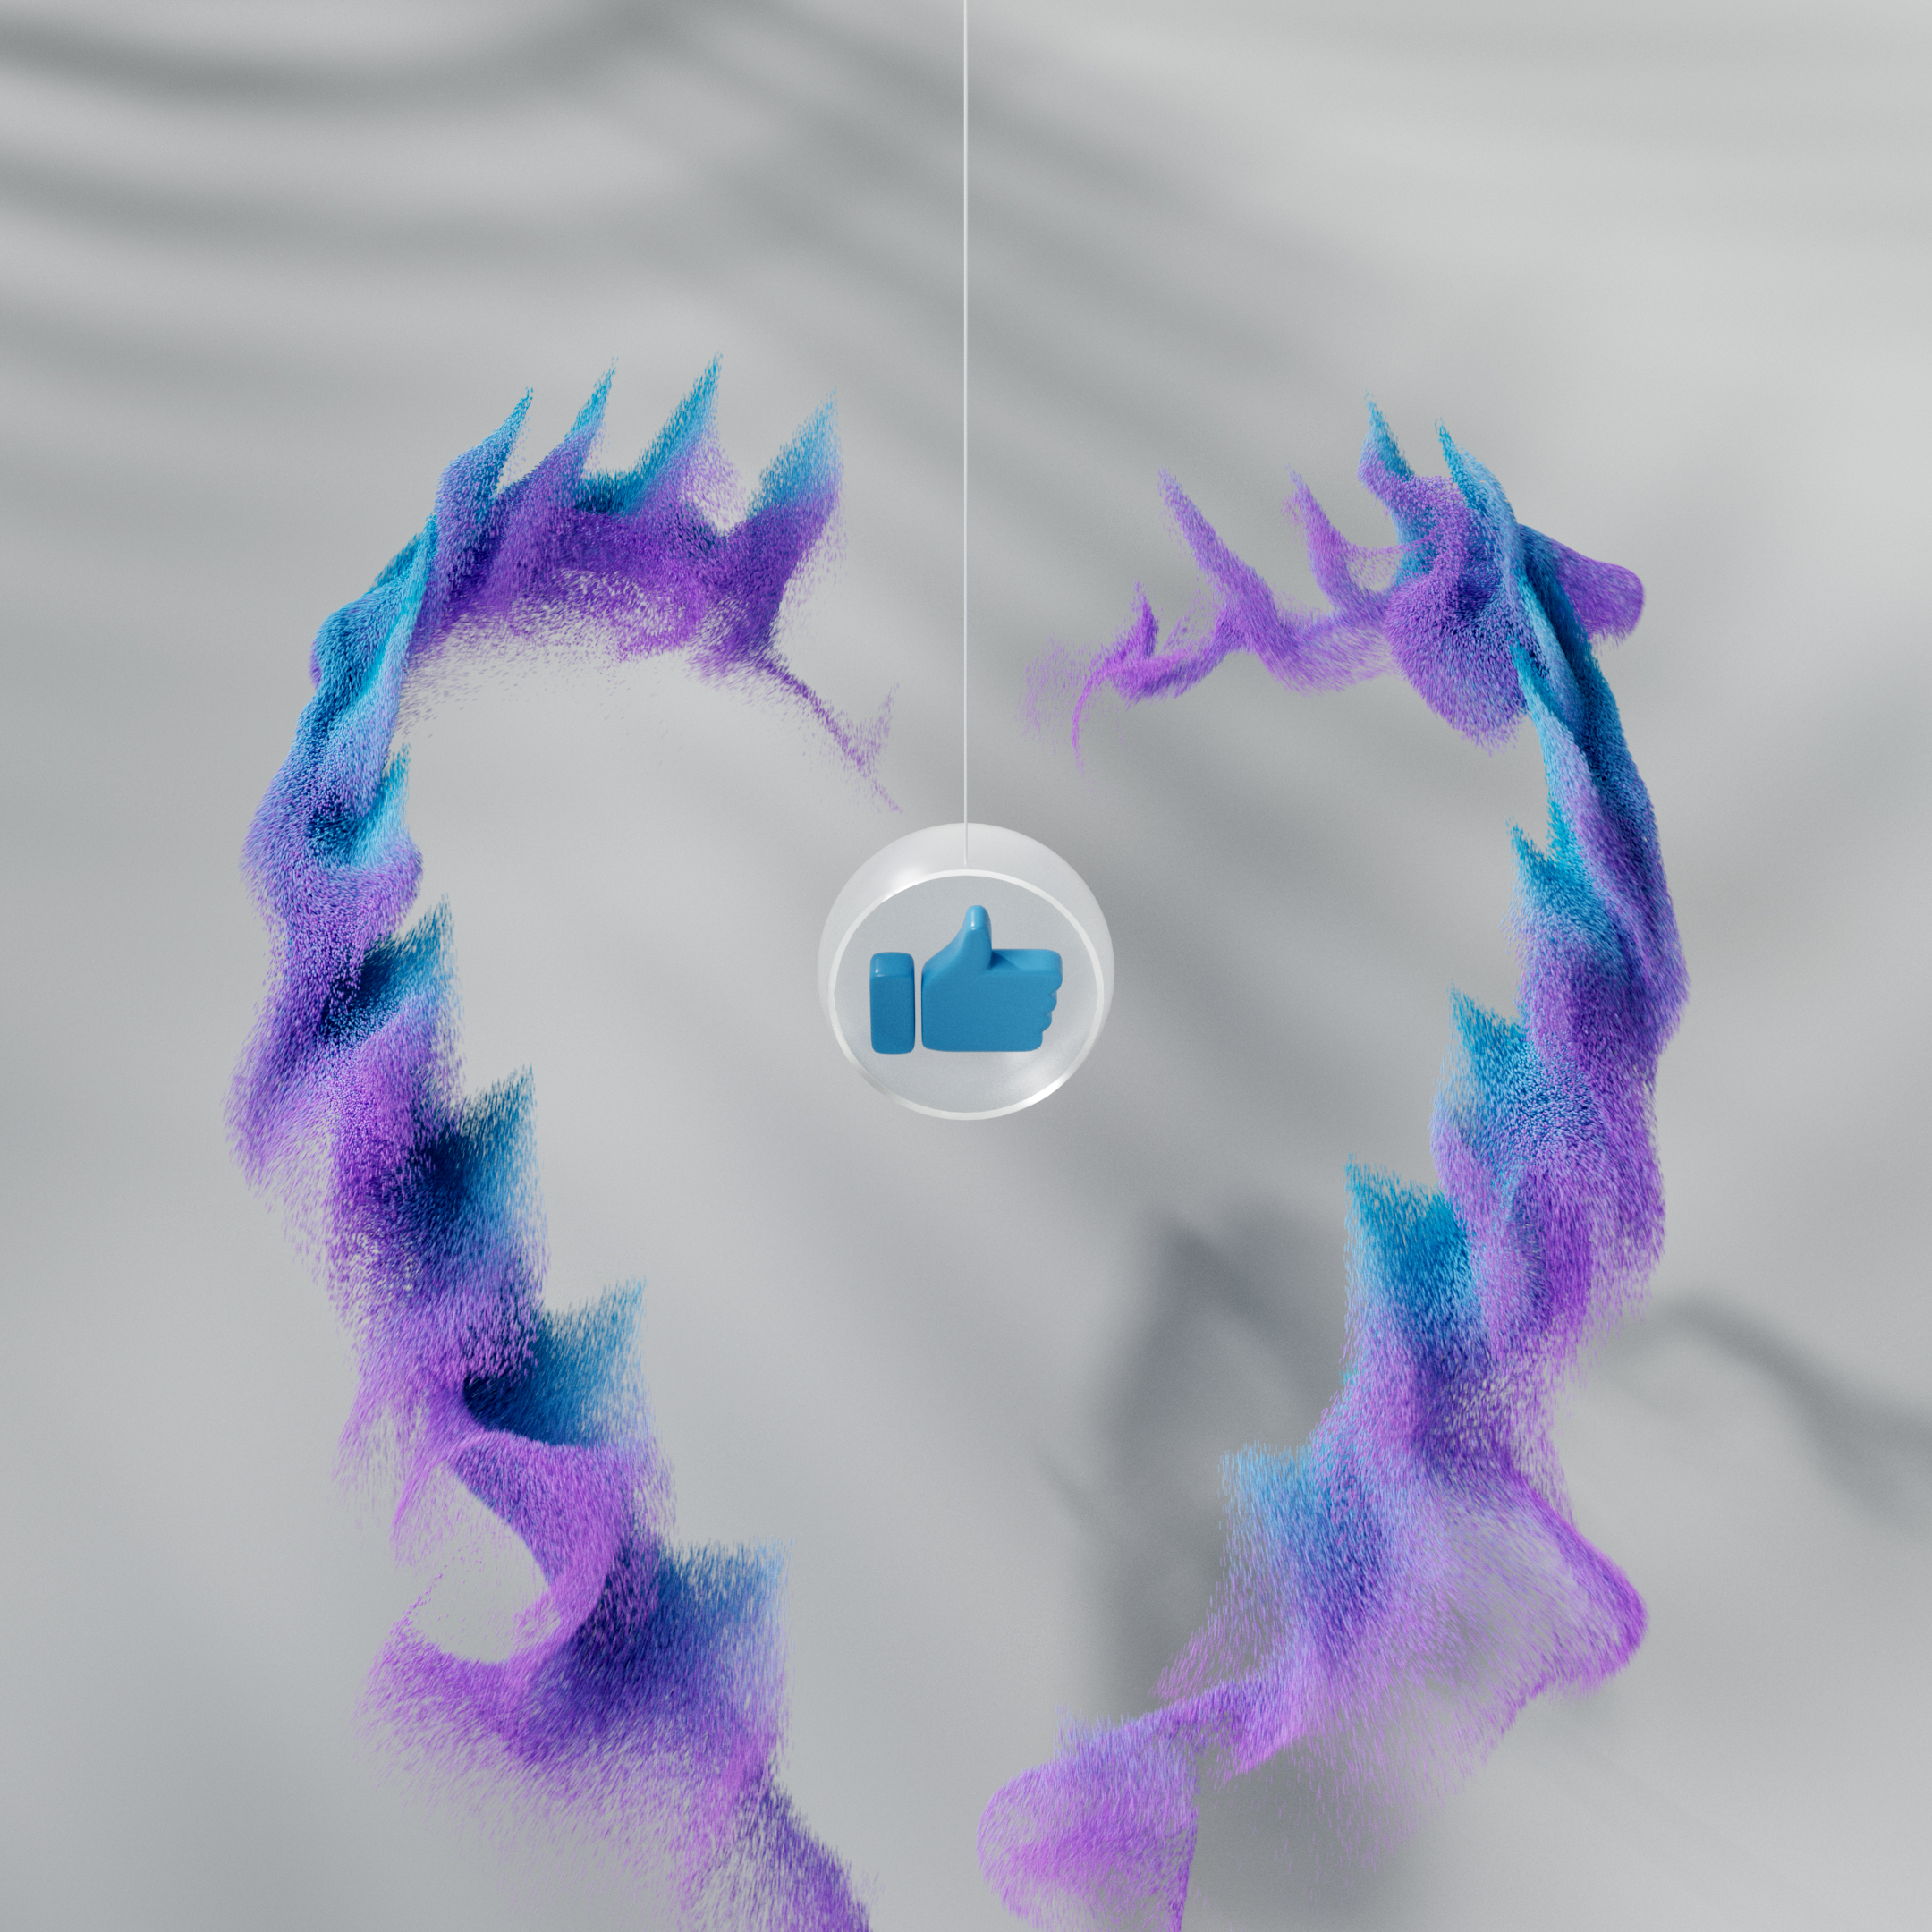
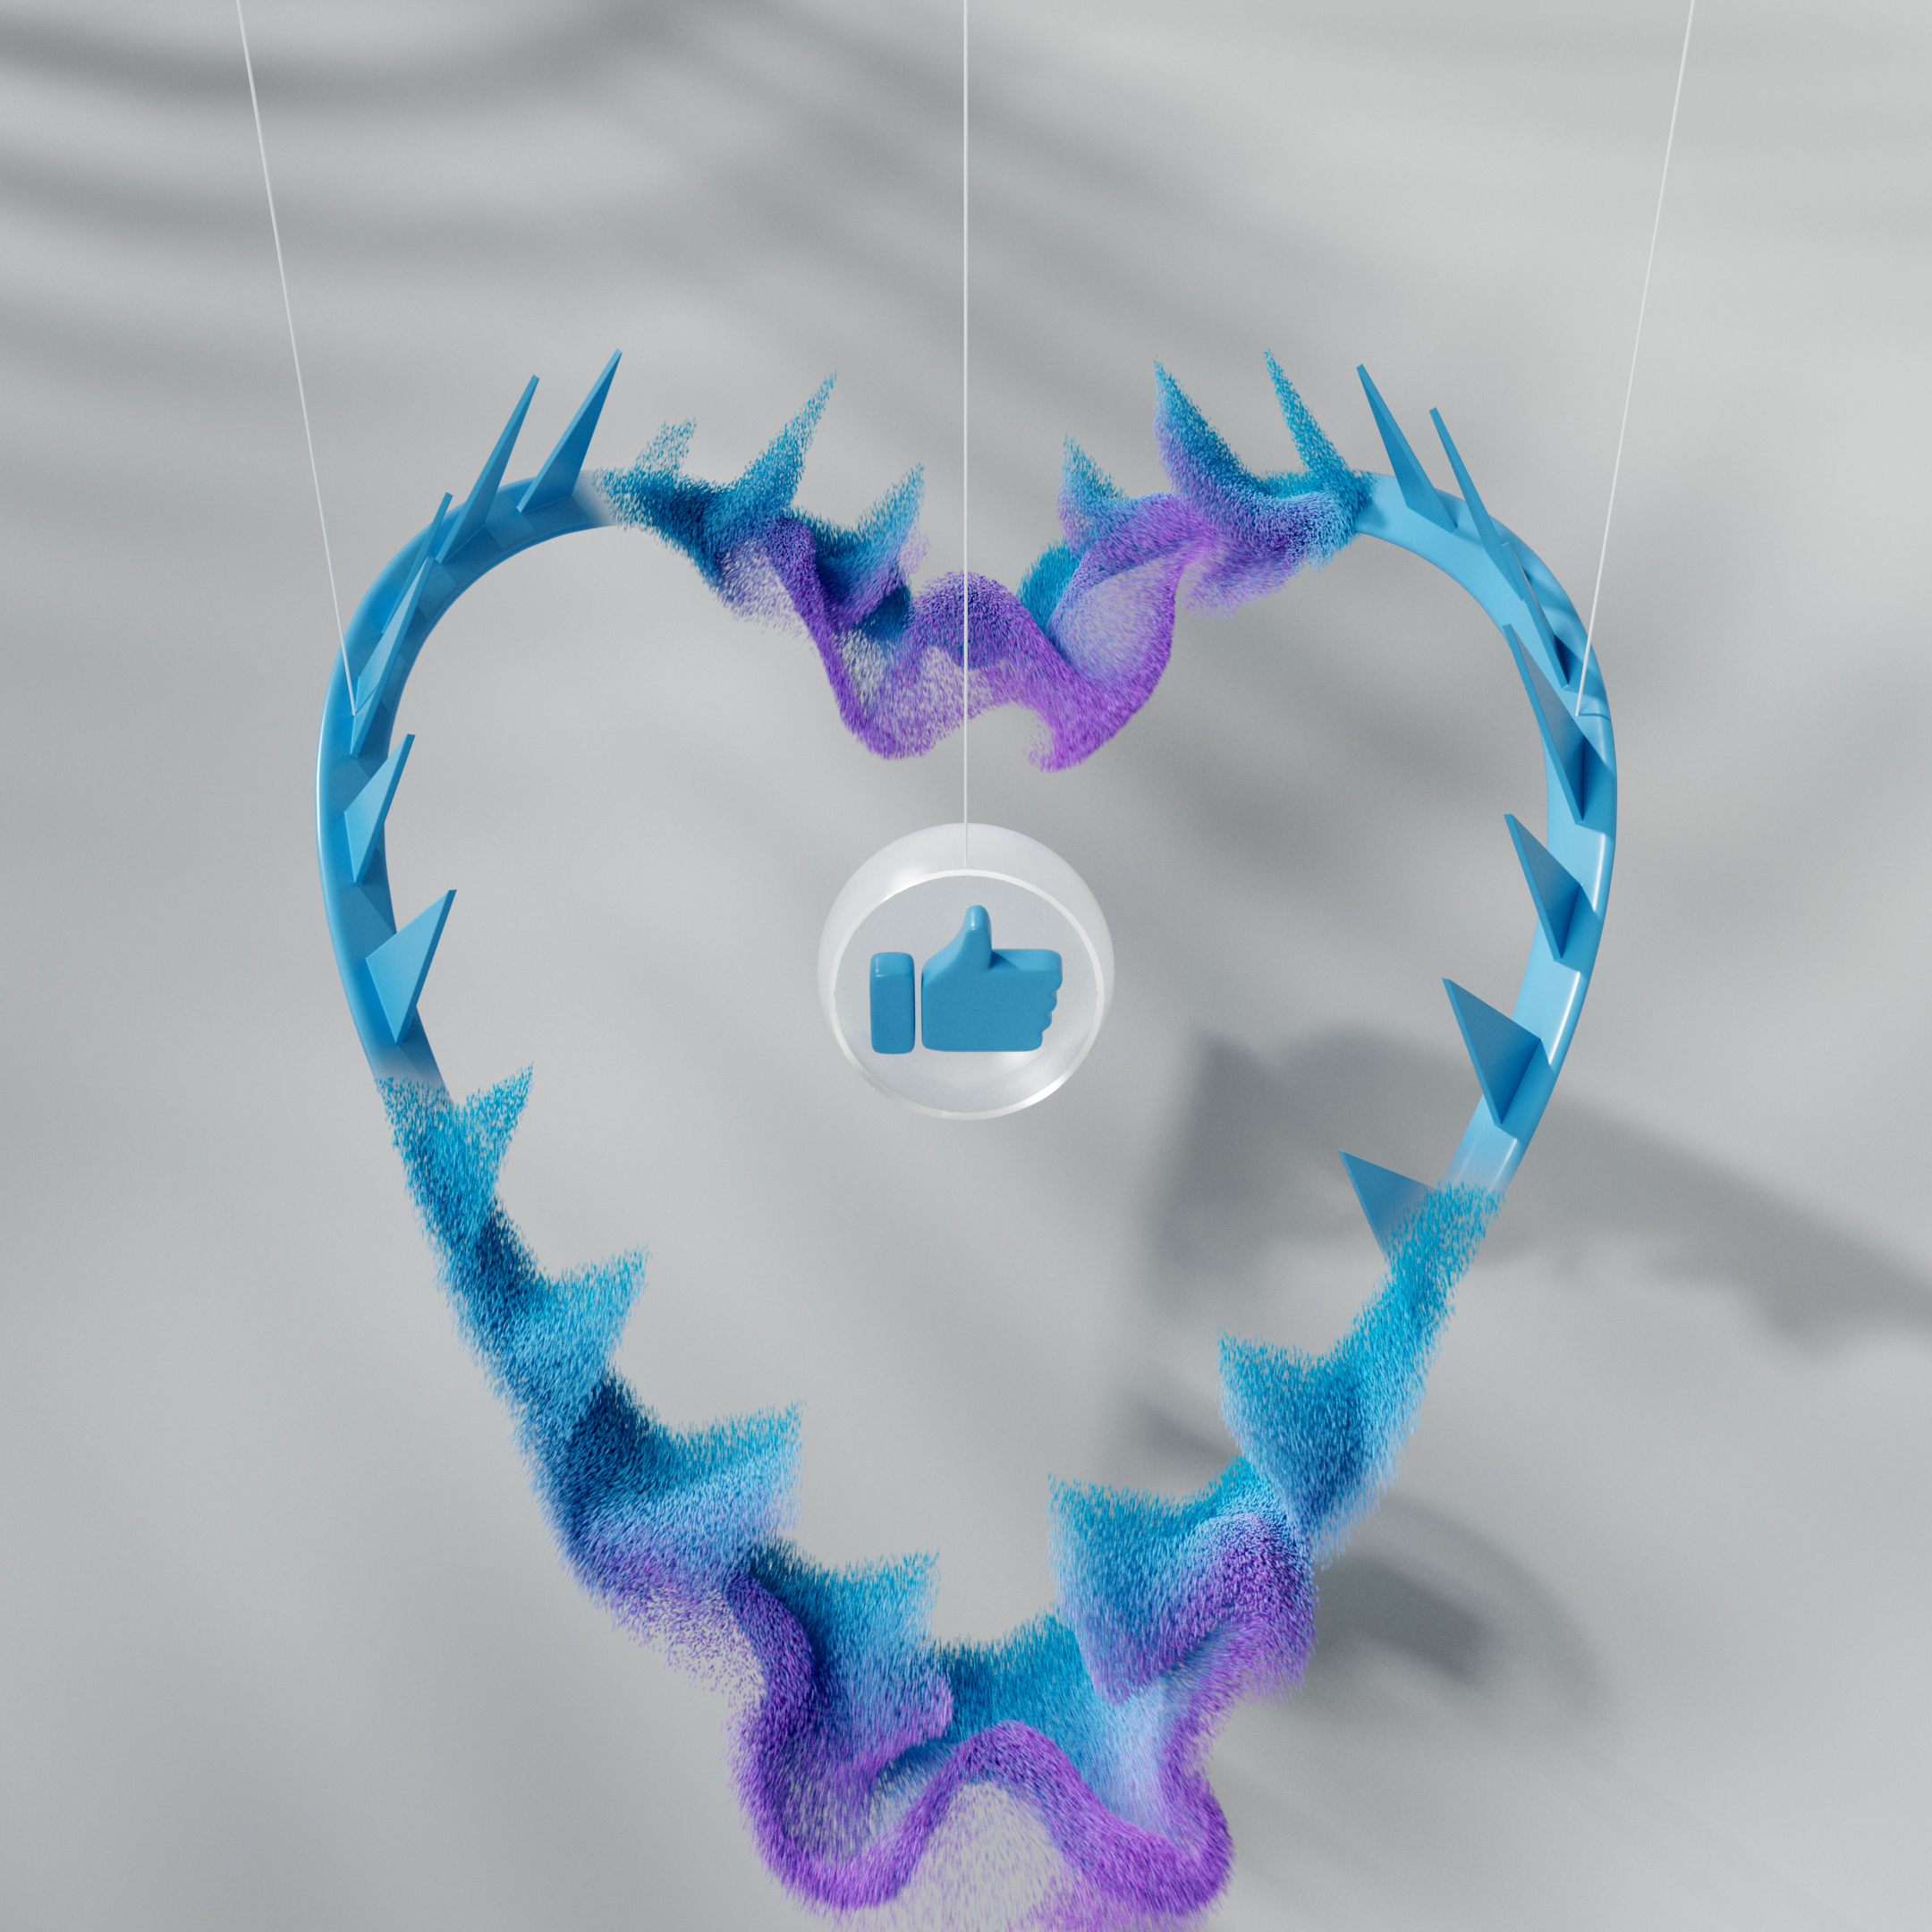
I liked the thumbnail and I made it in 3D.
At the same time, I practiced gluing panoramas with a high dynamic range. They are used for lighting most scenes in 3D. Just before the start of the quarantine, I took a few photos in the office. Unfortunately, the only program that glues them well (PTGui 12) costs $300. The demo works without restrictions, but it fills everything with watermarks. In Photoshop, however, they can be erased even in 32 bits. I guess it’s ok for just a fun project.
I also figured out a little bit more about the differences in normals between points and primitives in houdini.

Sometimes I need to get vector graphics from illustrator and extrude it in houdini.

Constant problem is that some parts can be flipped and will extrude in different direction. It’s happening because direction of paths when they were made in illustrator is different.

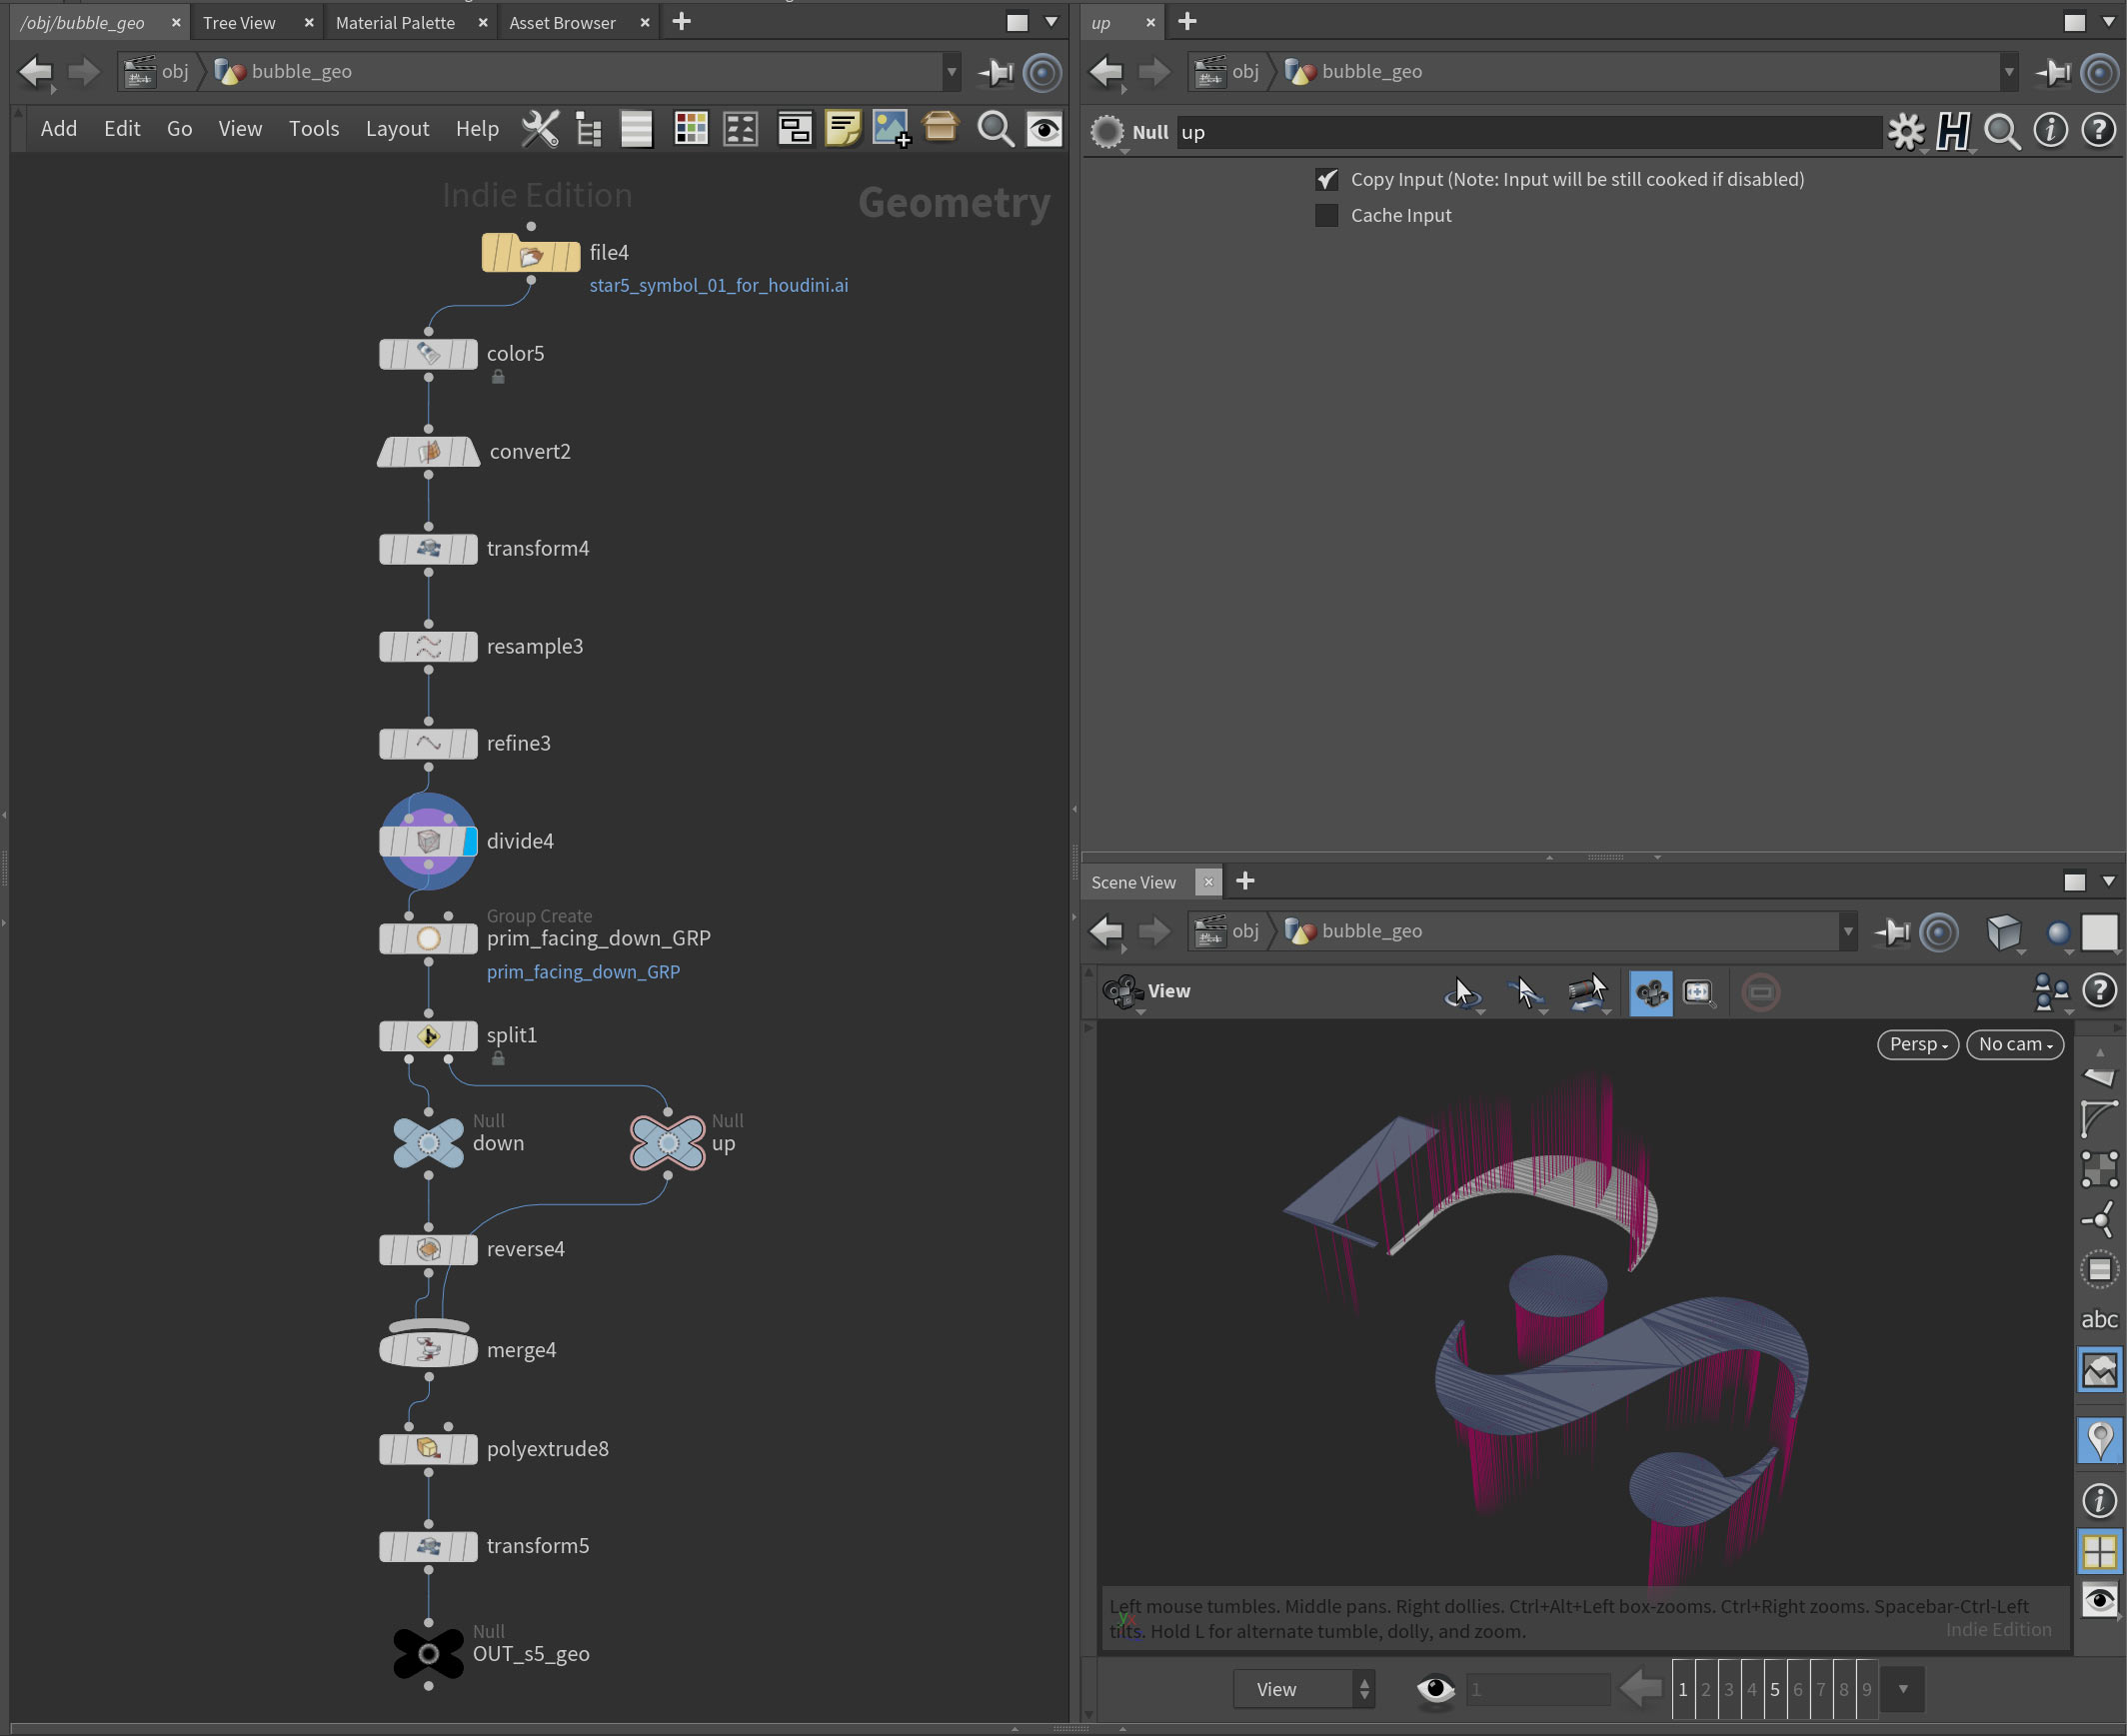
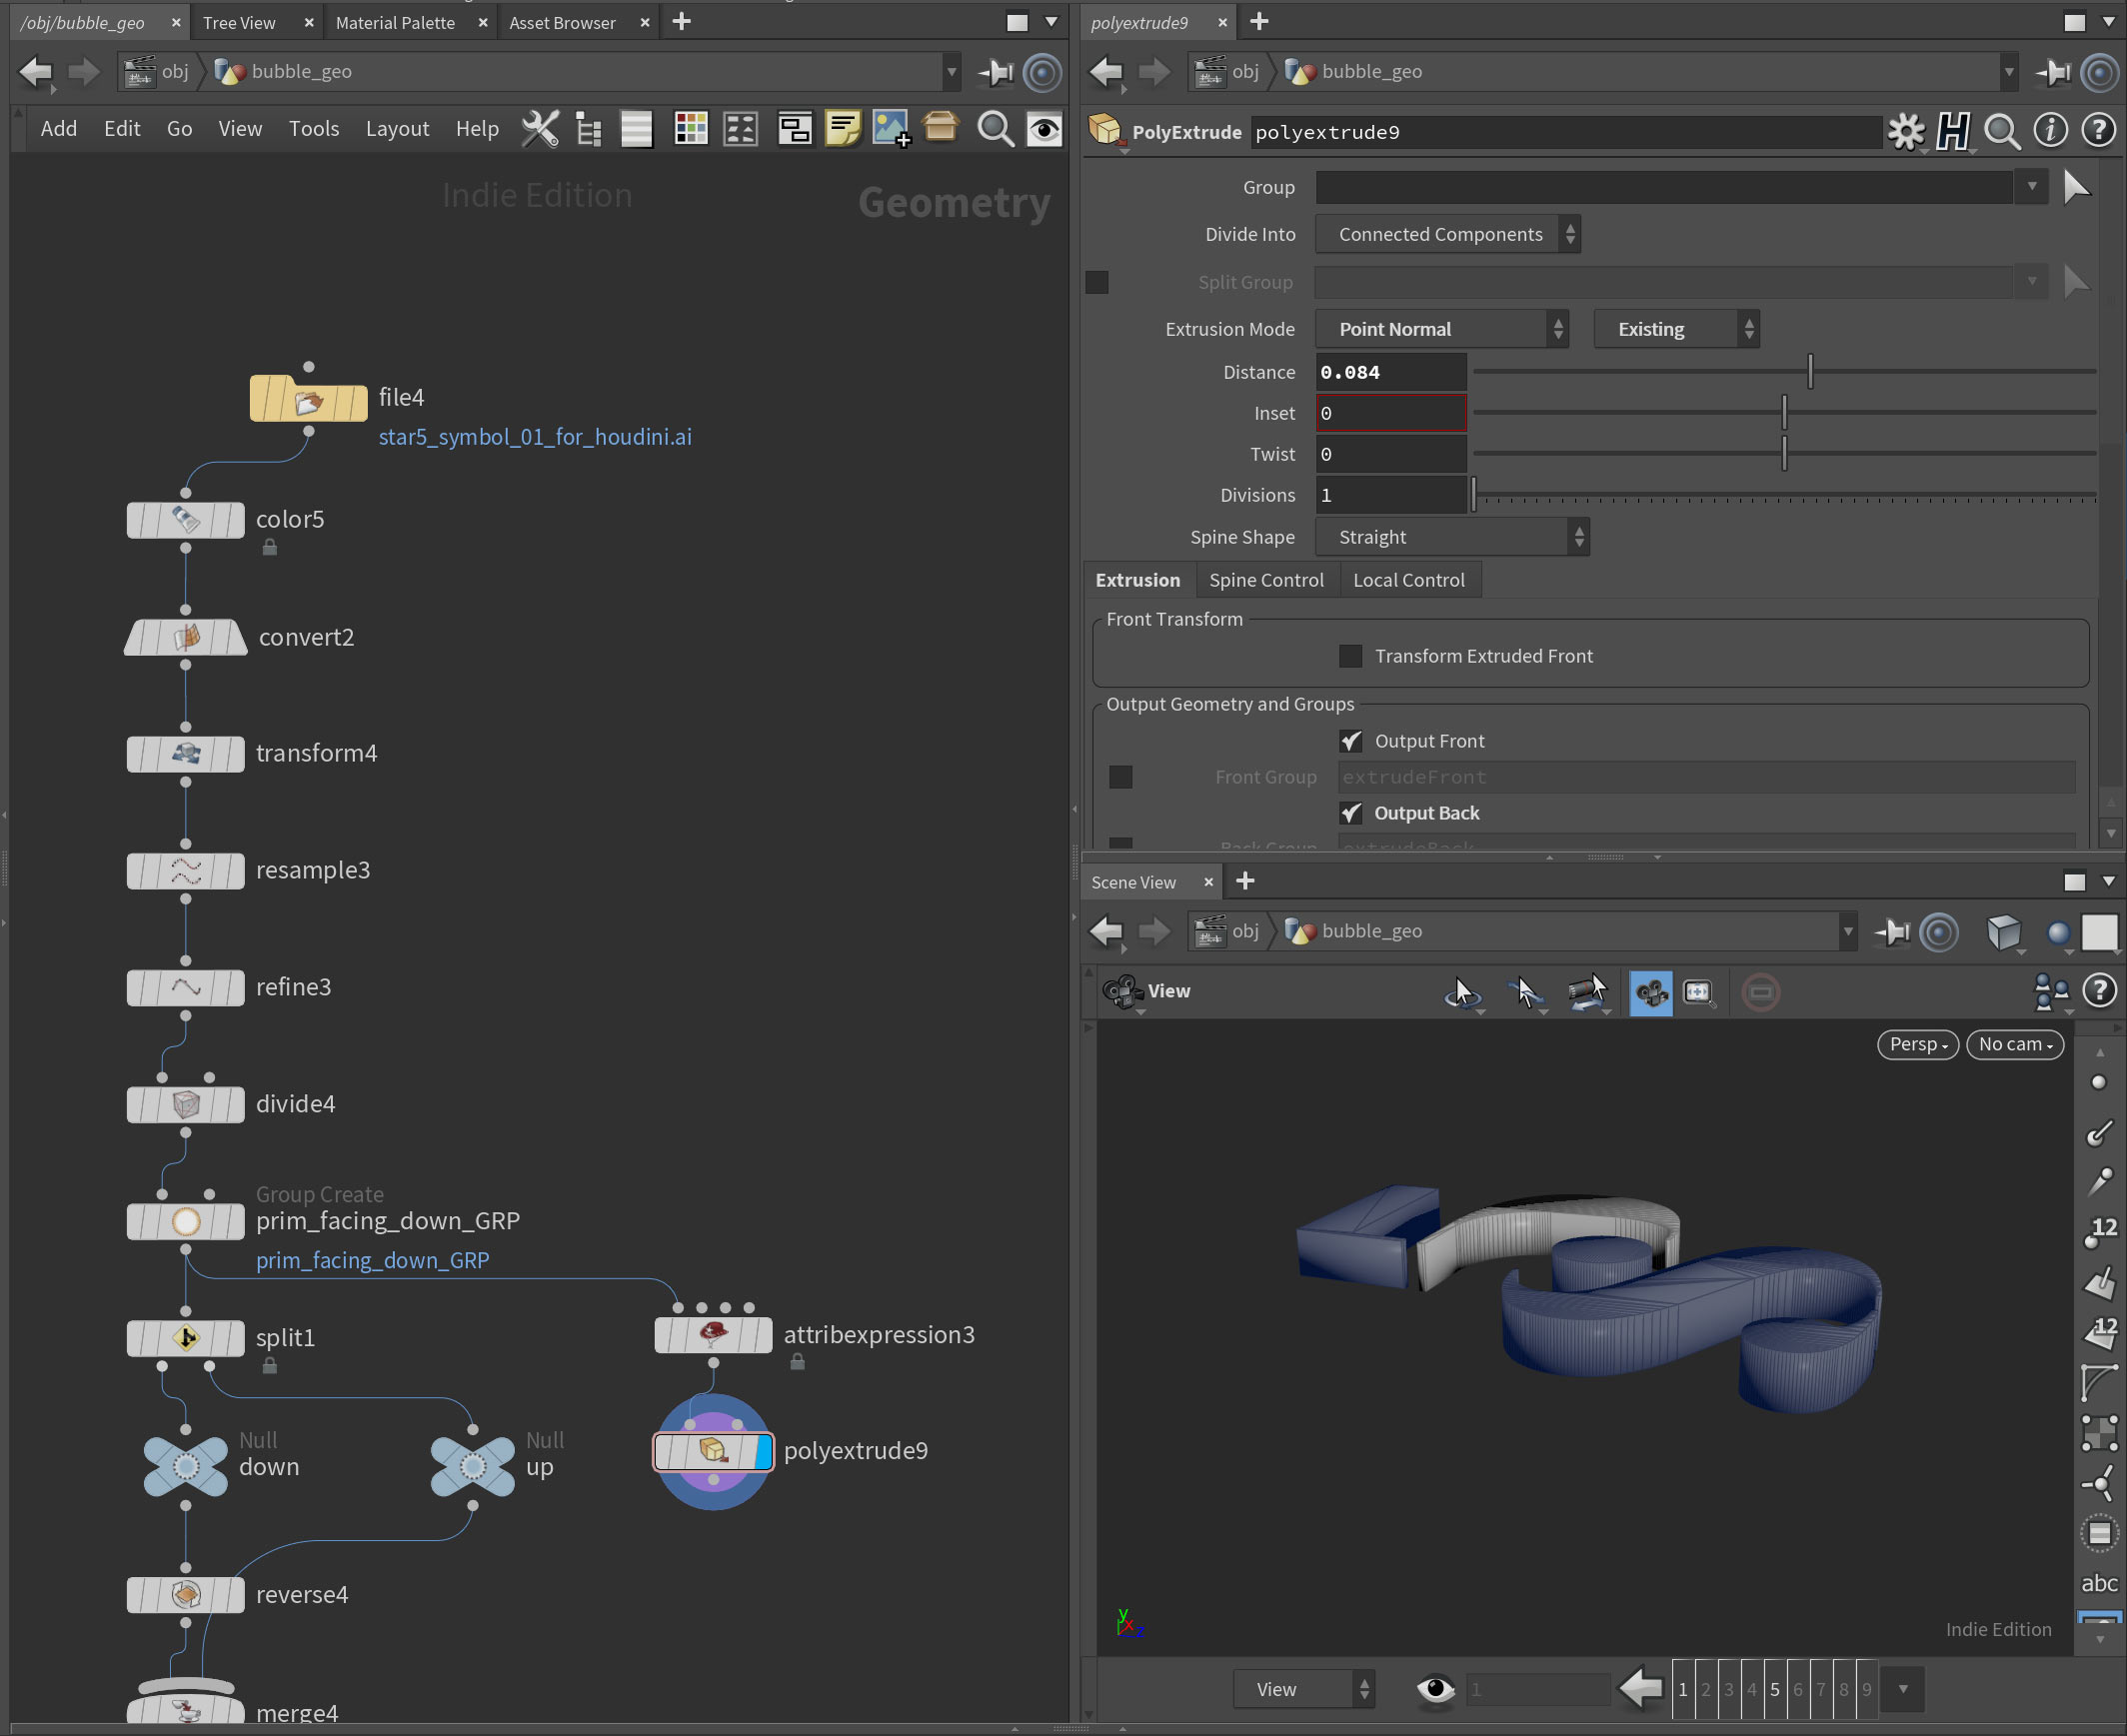
So I thought that I can add Attribute Expression node, set it to points, attribute to normal, set VEXpression from dropdown to Constant Value and write 0, 1, 0 in Contact Value to get normals pointing up. But it will not change the primitives normals. Because primitive normals are not actually an attribute. They are derived information that is calculated based upon the vertices that make up the primitive. As such, they cannot be modified. You can still use PolyExtrude, set it to point normal and extrusion mode to Existing. But you will end up with geo where some primitives normals will look “out” and others will look “in”. I don’t know if there is an easy fix for that.

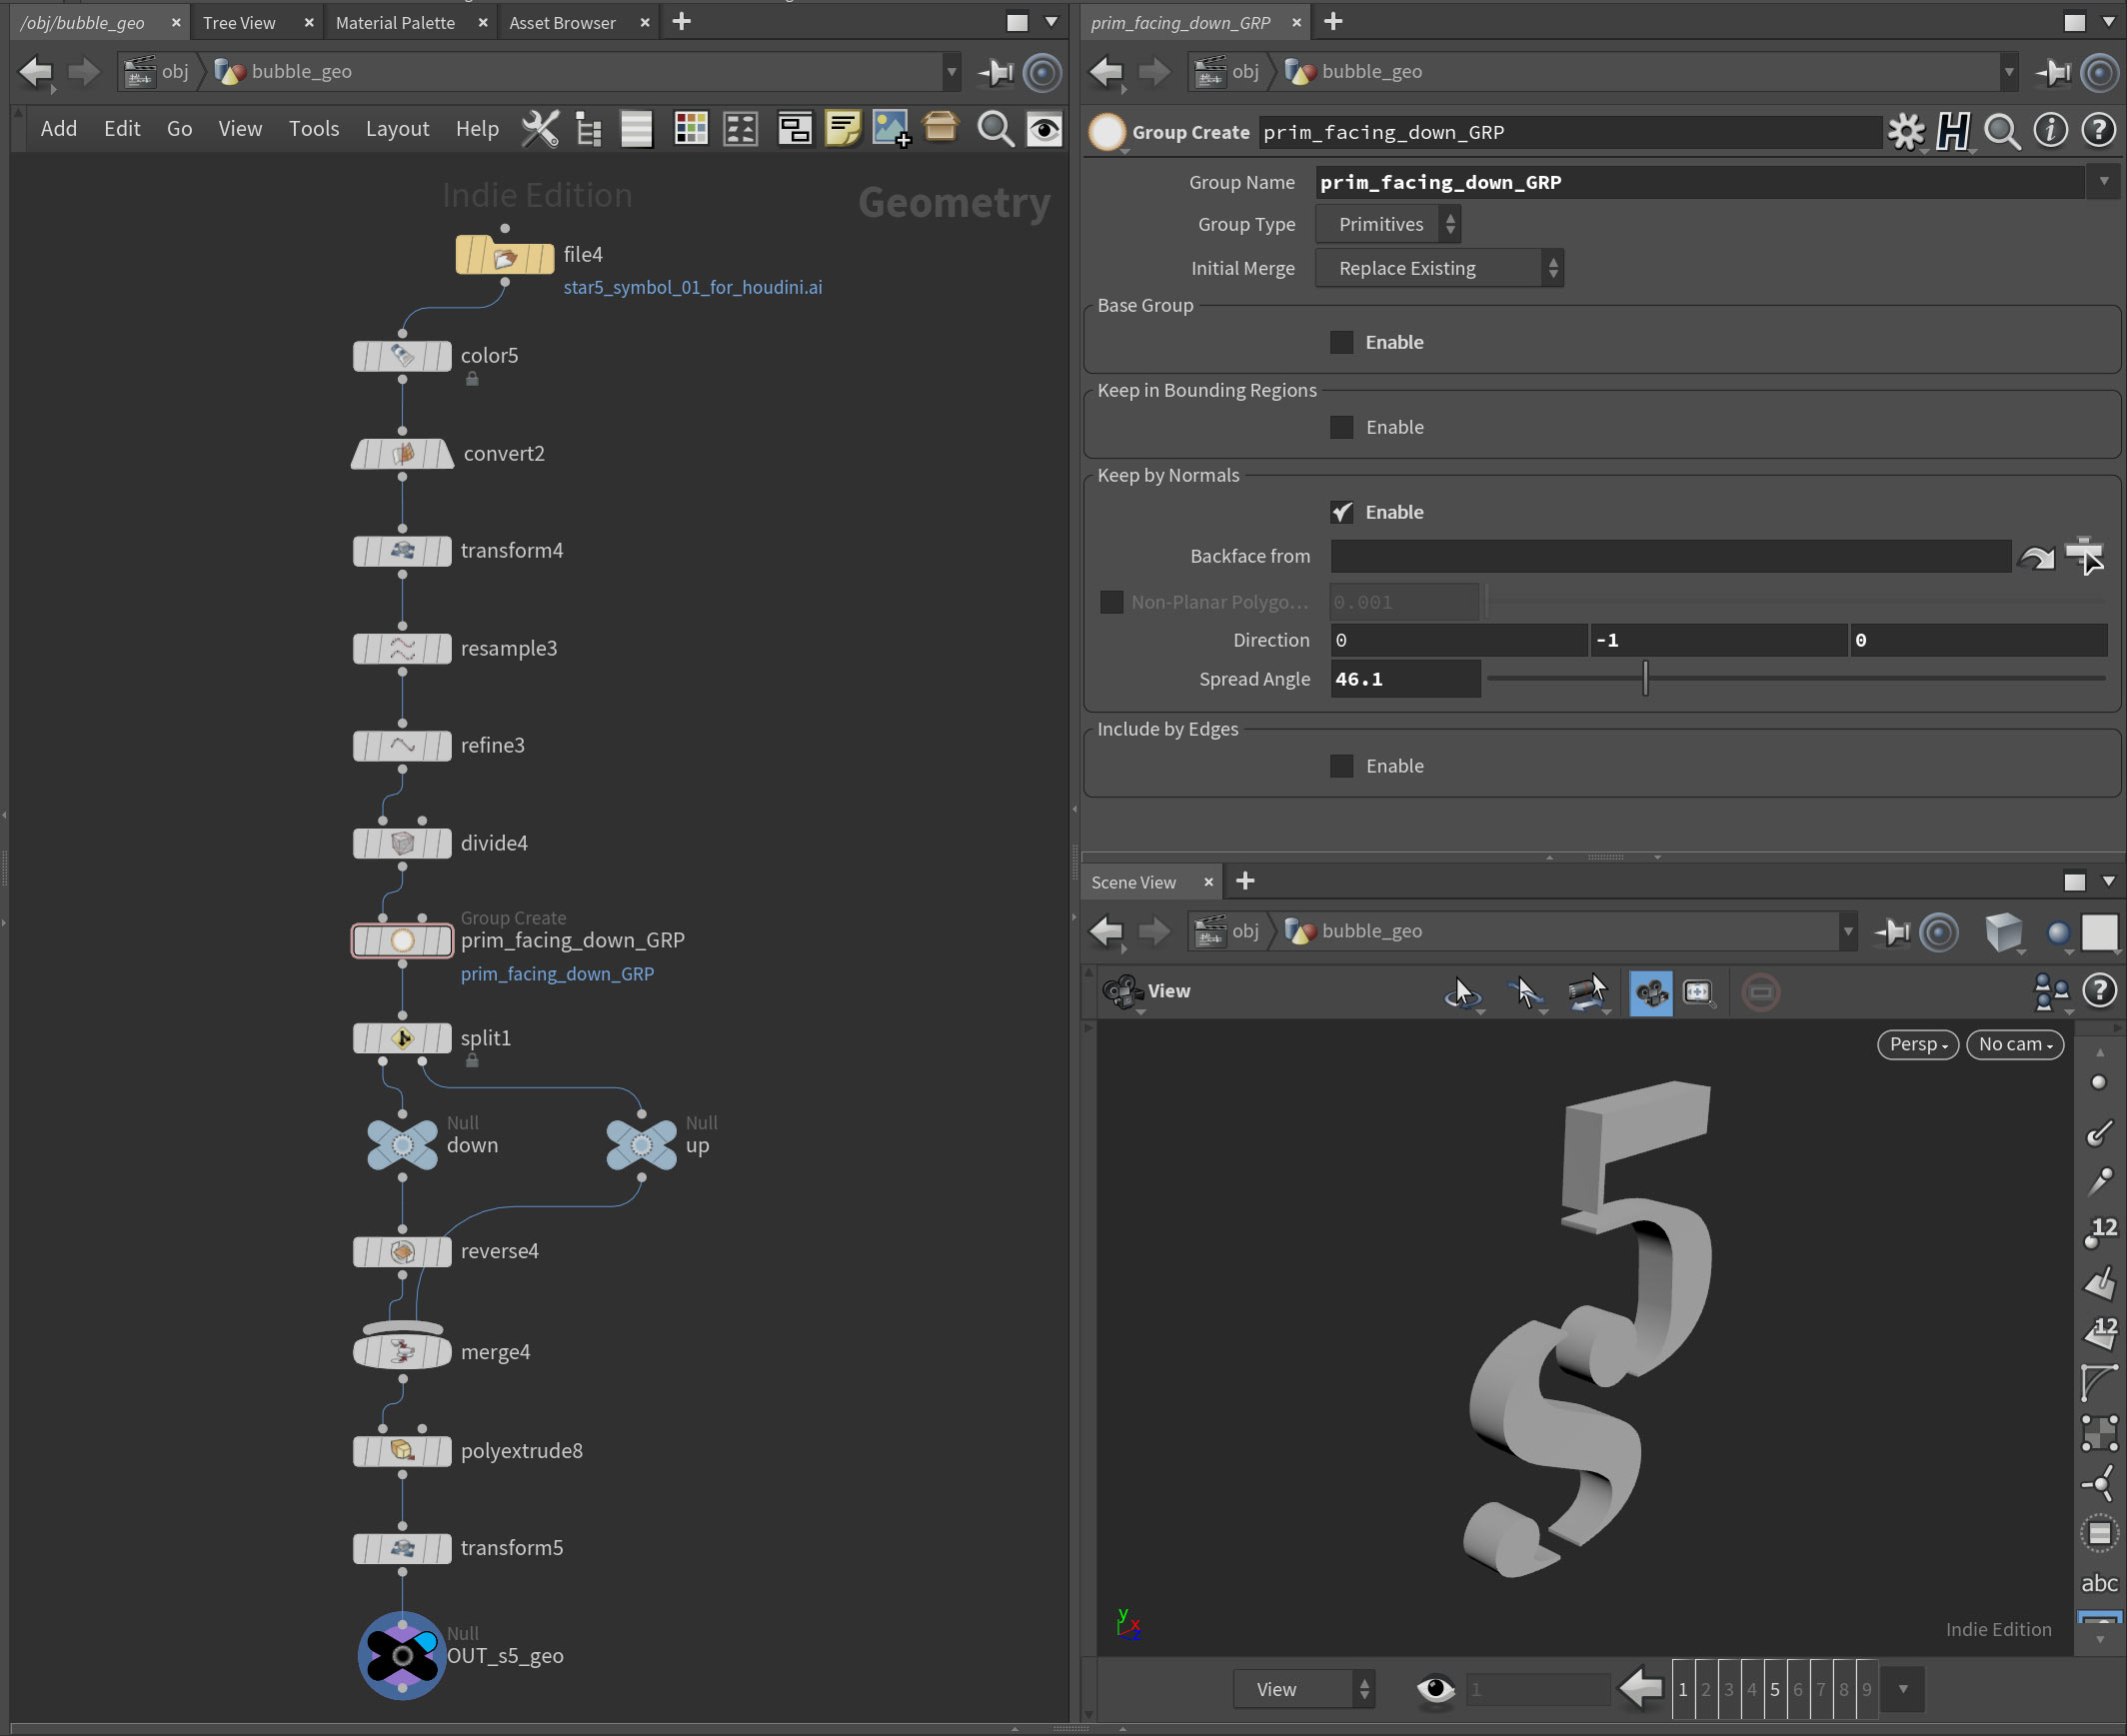
So after you bringing you paths from illustrator you need first to separate primitives that are flipped. You can do this by using simple group node. Use only “keep by normals”, set the direction to 0,-1,0 and lower the spread angle. There is also Labs Split Primitives by Normal node that does exactly this but with less clicks.
Then use a reverse node. It WILL reverse vertex order in the primitives.

Also takes are amazing. You can create different version of scene and in render node save an image with take name like this:
$HIP/render/r01/bubbles.static.s5.`chsop(“take”)`.$F2.tif
So `chsop(“take”)` part is responsible for take name. And in my case the output names will be:
bubbles.static.s5.blue_bubbles.01.tif
bubbles.static.s5.orange_bubbles.01.tif

 828   2021   3dmodeling   houdini   redshift

Ya no tengo apetito

3d modeled in Modo, assembled in Houdini, rendered with Redshift and post in Nuke.

 604   2020   3d   animation   houdini   modo   nuke

Characters per second

I’ve been asked couple of times to make text appear longer on the screen during video editing. So today I finally goolged average reading speed for different languages. It’s 17 characters per second for adult programs. And 13 characters per second for children’s programs.
For example phrase “Netflix is an interesting reference for different video related topics” should stay on the screen around 4 seconds (61/17). Here is interesting guideline for text style:
https://partnerhelp.netflixstudios.com/hc/en-us/articles/217349997-Castilian-Latin-American-Spanish-Timed-Text-Style-Guide

 808   2020   tips   video
 490   2020   animation

Gif creation from sequence of images or mp4

When I need to create gifs I ususally use After Effects and plugin GifGun.
But sometimes it doesn’t play nice with colors. They have an “experimental engine” inside as an option but that result in huge size gifs.
Some people use Ezgif. But it has some limitations and you need to upload to web.

So this weekend I tried ImageMagick.
It also installs FFMPEG. So you use it first to convert videos or image sequeces to gif first. And then compress it with ImageMagick. There is no GUI on Windows so you use Command Prompt (it’s like Terminal on Mac).

First you change your current location to the directory where you files are with. Just type cd, drag and drop directory in the “terminal” and hit enter.

I rendered 720x1280px image sequece in houdini with names like this:
CAM_top.0001.tif,
CAM_top.0002.tif,
...
CAM_top.0072.tif

So to convert it to 24 fps gif with half-resolution and custom color pattern (for better colors representation) I used this line:

ffmpeg -r 24 -i CAM_top.%04d.tif -filter_complex “[0:v] scale=360:-1,split [a][b];[a] palettegen [p];[b][p] paletteuse” output_360px.gif

And then compressed it with ImageMagick with this:

magick convert output_360px.gif -fuzz 1% -layers Optimize output_360px_fuzz1.gif

fuzz1 – controls the amount of compresion. For example in some other tests fuzz5 gave ok results and smaller files size.
Here is another example of creating gif from mp4 – with rescaling, changing fps and single pattern generation. Split just means that we split this video into 2 and one use for pattern generation and other for convetion to gif after that:

ffmpeg -i video_source.mp4 -filter_complex “[0:v] fps=12,scale=540:-1,split [a][b];[a] palettegen [p];[b][p] paletteuse” output_name.gif

Creating gif from mp4 – with rescaling, changing fps. Pattern generated for every frame – this helps if there are lots of color variations in gif but will increase the size:

ffmpeg -i video_source.mp4 -filter_complex “[0:v] fps=12,scale=w=540:h=-1,split [a][b];[a] palettegen=stats_mode=single [p];[b][p] paletteuse=new=1” output_name.gif

Here is single camera view (6 MB):

And here is 15 seconds version with lots of motion (21 MB):

 850   2020   animation   houdini   windows
Earlier Ctrl + ↓