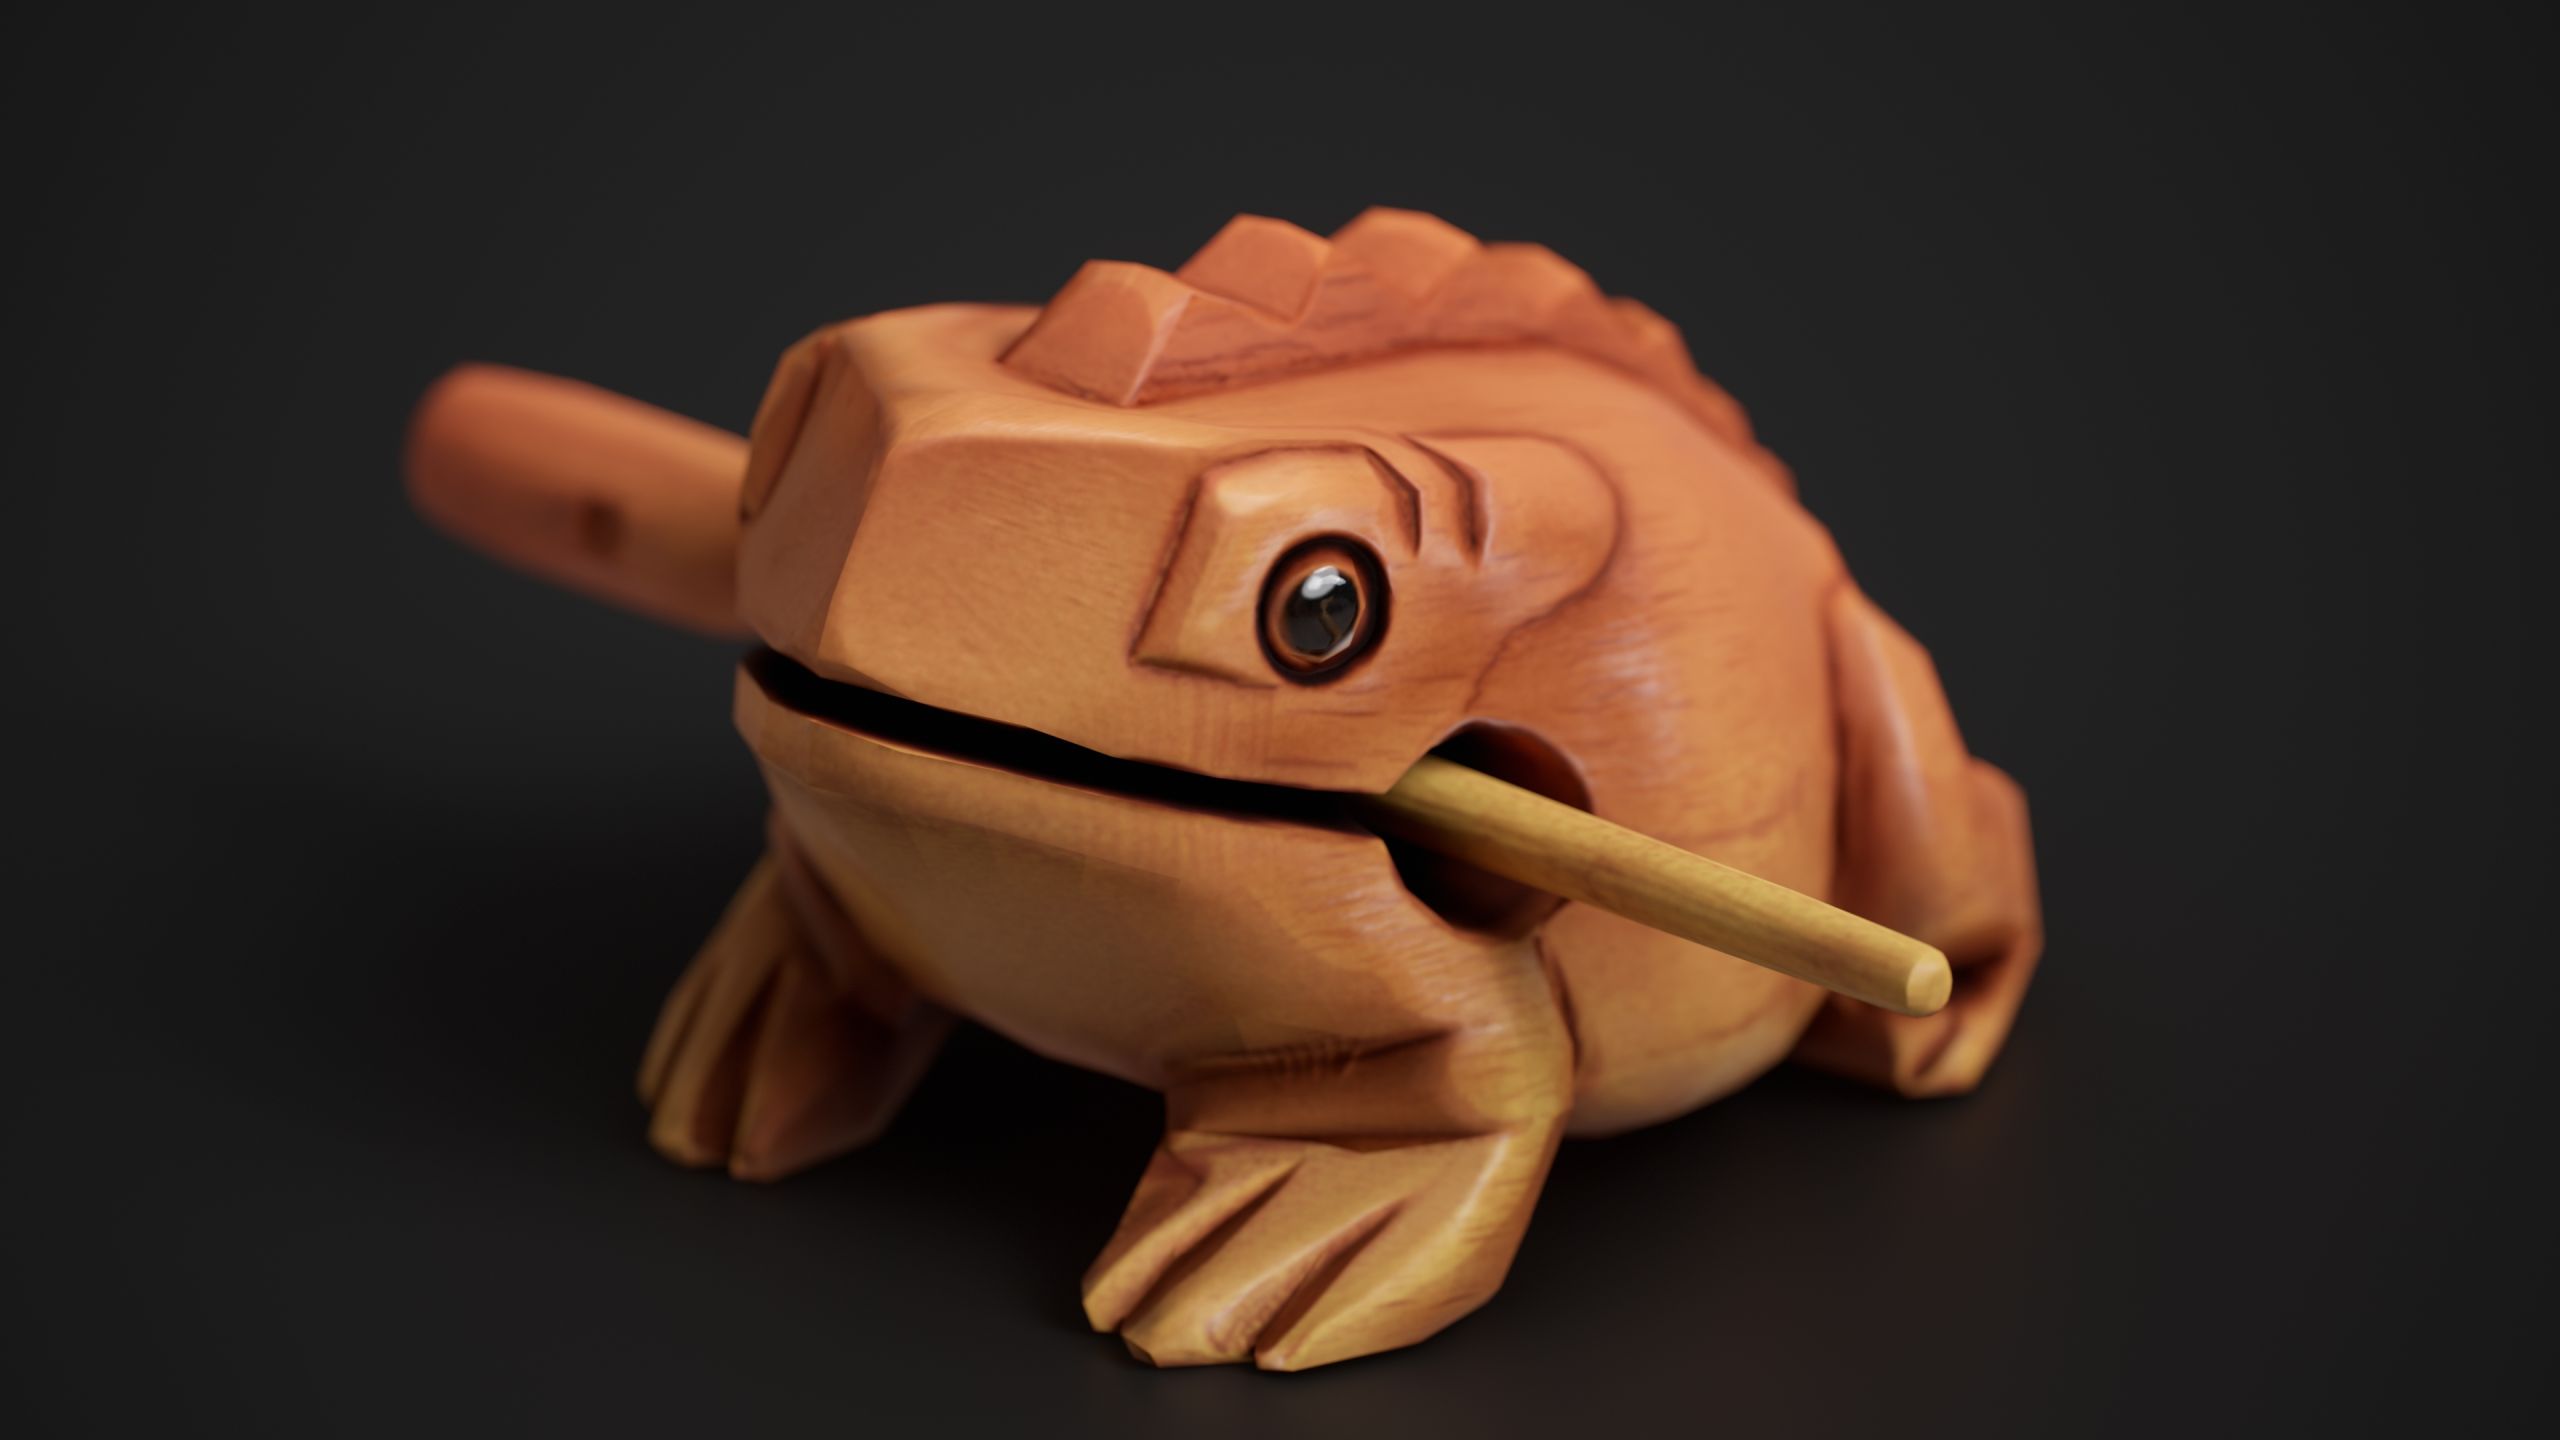
Cleaning up AI slop. A manual retopo workflow in Houdini and Marmoset.
We’re heading toward an AI collapse, where everyone and their grandmother can generate videos, images, and complex 3D scenes. But for now, the quality of the low-resolution meshes AI generates is surprisingly poor. In the examples that major services show in their paid Instagram ads, the low-res geometry looks more like ZRemesher output from ZBrush. Same story with the UVs.
And while I’m sure this will keep getting better over time, for now the solution is manual retopology of the AI slop. With Modeler inside Houdini and auto-baking in Marmoset, the process isn’t that complicated.
- The reference image was pretty small, so I generated 4K images from different view angles, plus some extra textures of acacia wood.
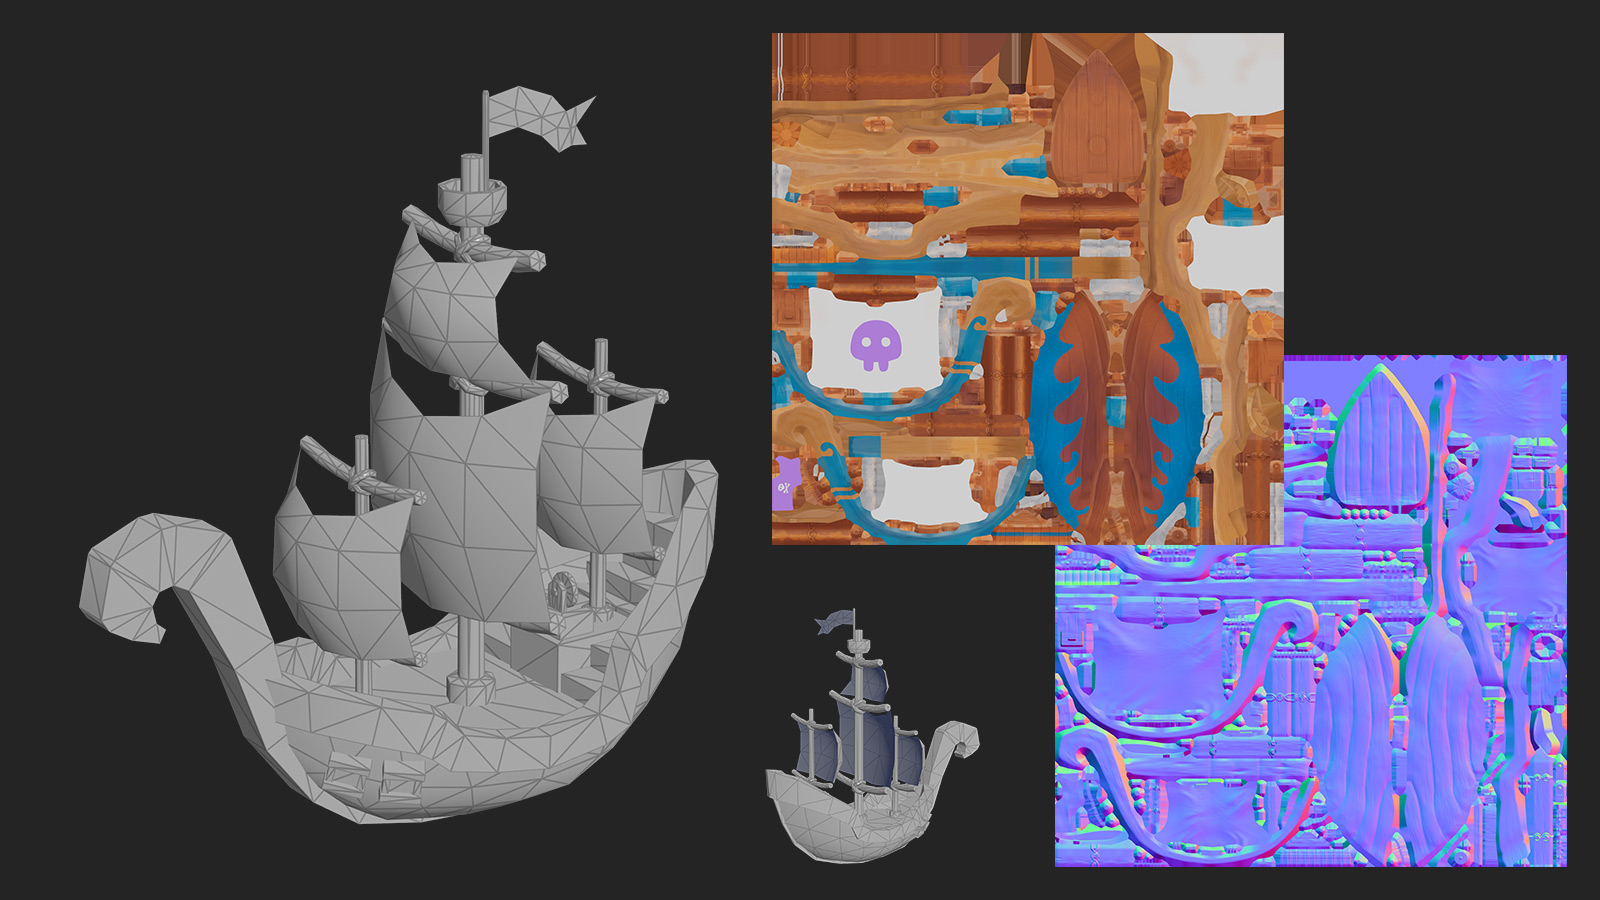
- I generated the high-res AI-slop geometry for the main frog with the paid version of Tripo3D. You can use other free services, but in my tests Tripo produced cleaner results and allowed multi-angle references. Then I generated a separate mesh for the stick, just to try a multi-object workflow later on.
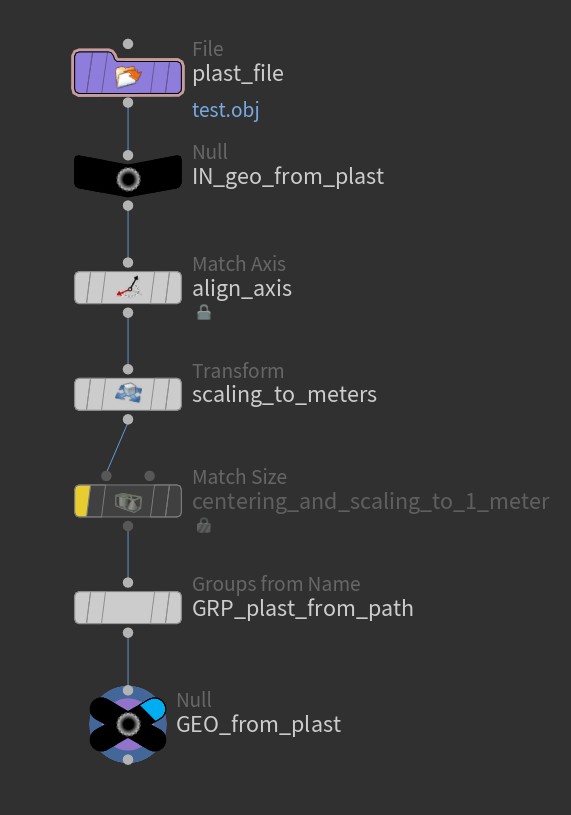
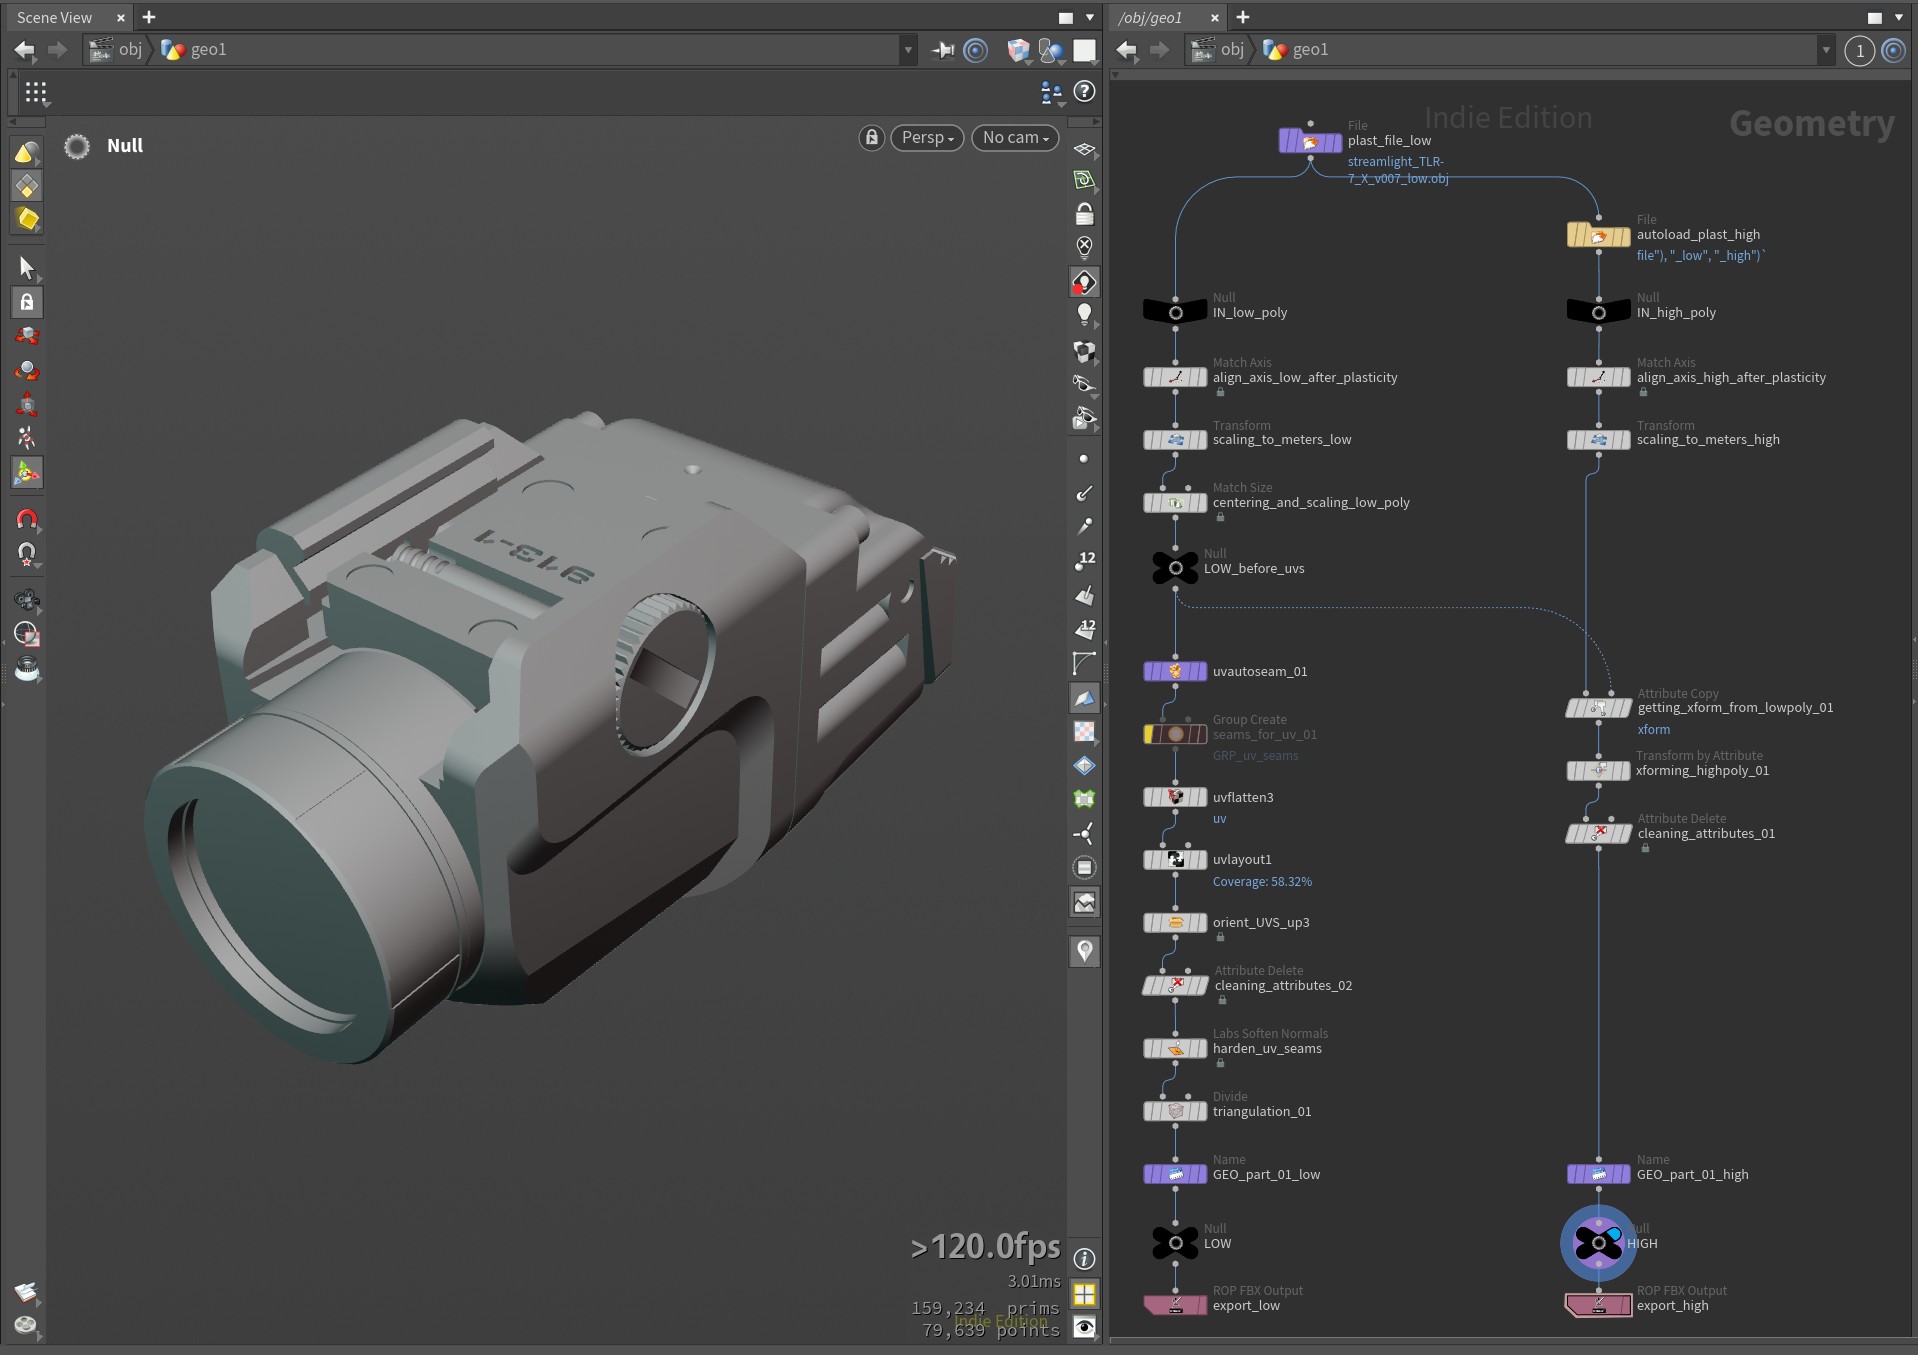
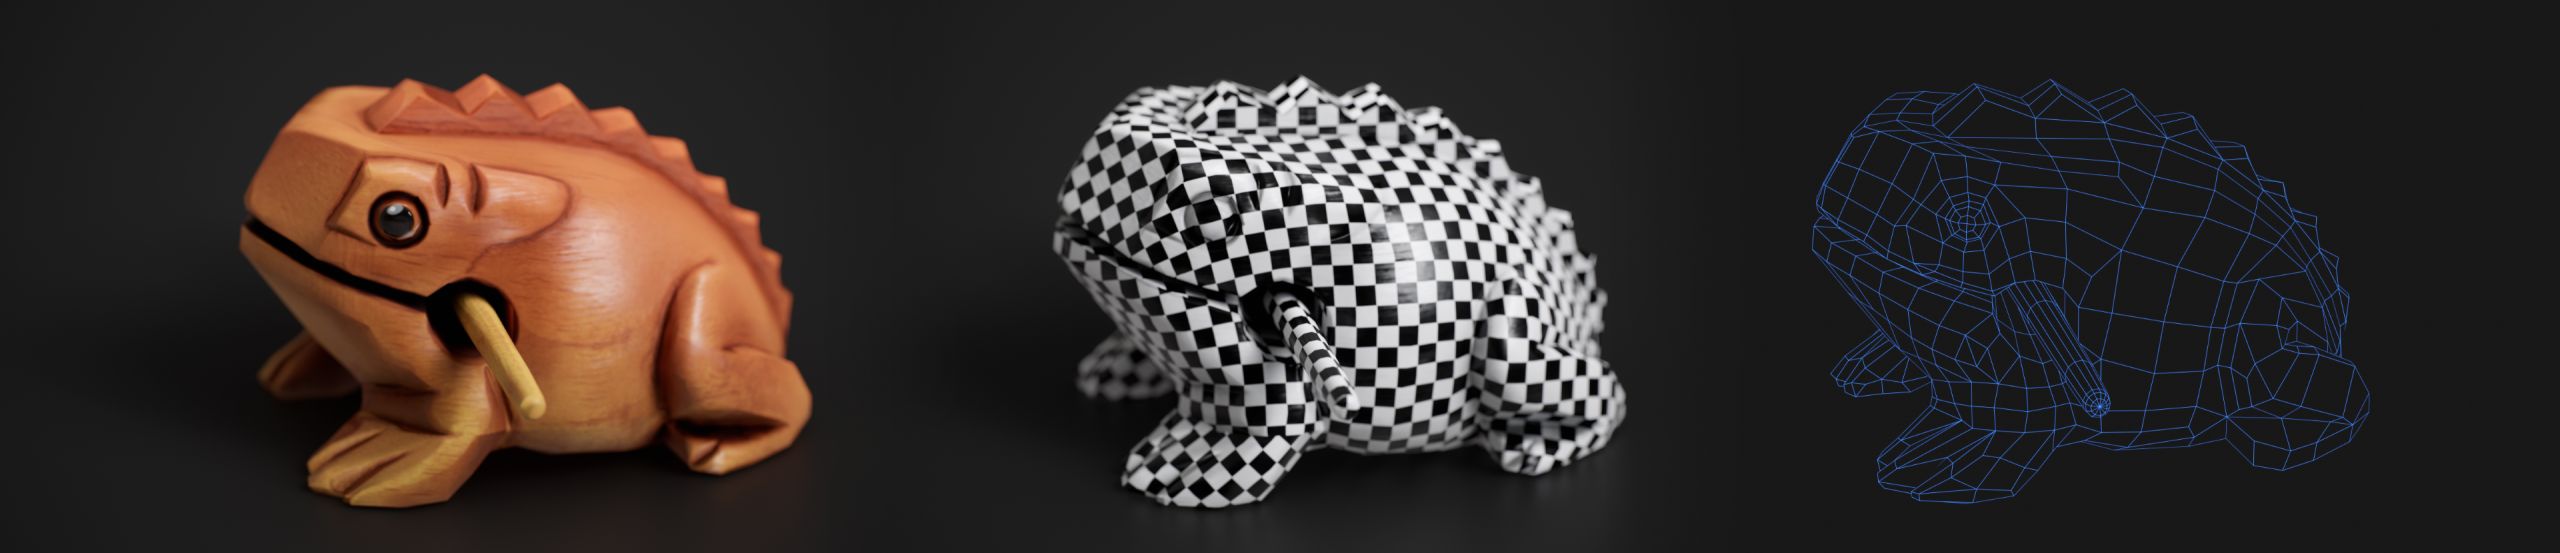
- Imported both into Houdini, aligned the axes, and scaled to 1 meter. Retopo done with the Modeler plugin. I compared it directly against TopoGun 3 on several projects, and while I love TopoGun, I probably won’t use it anymore. Direct retopo in Houdini feels much more fluid, and on more complex AI slop it lets me hide parts of the geometry faster.
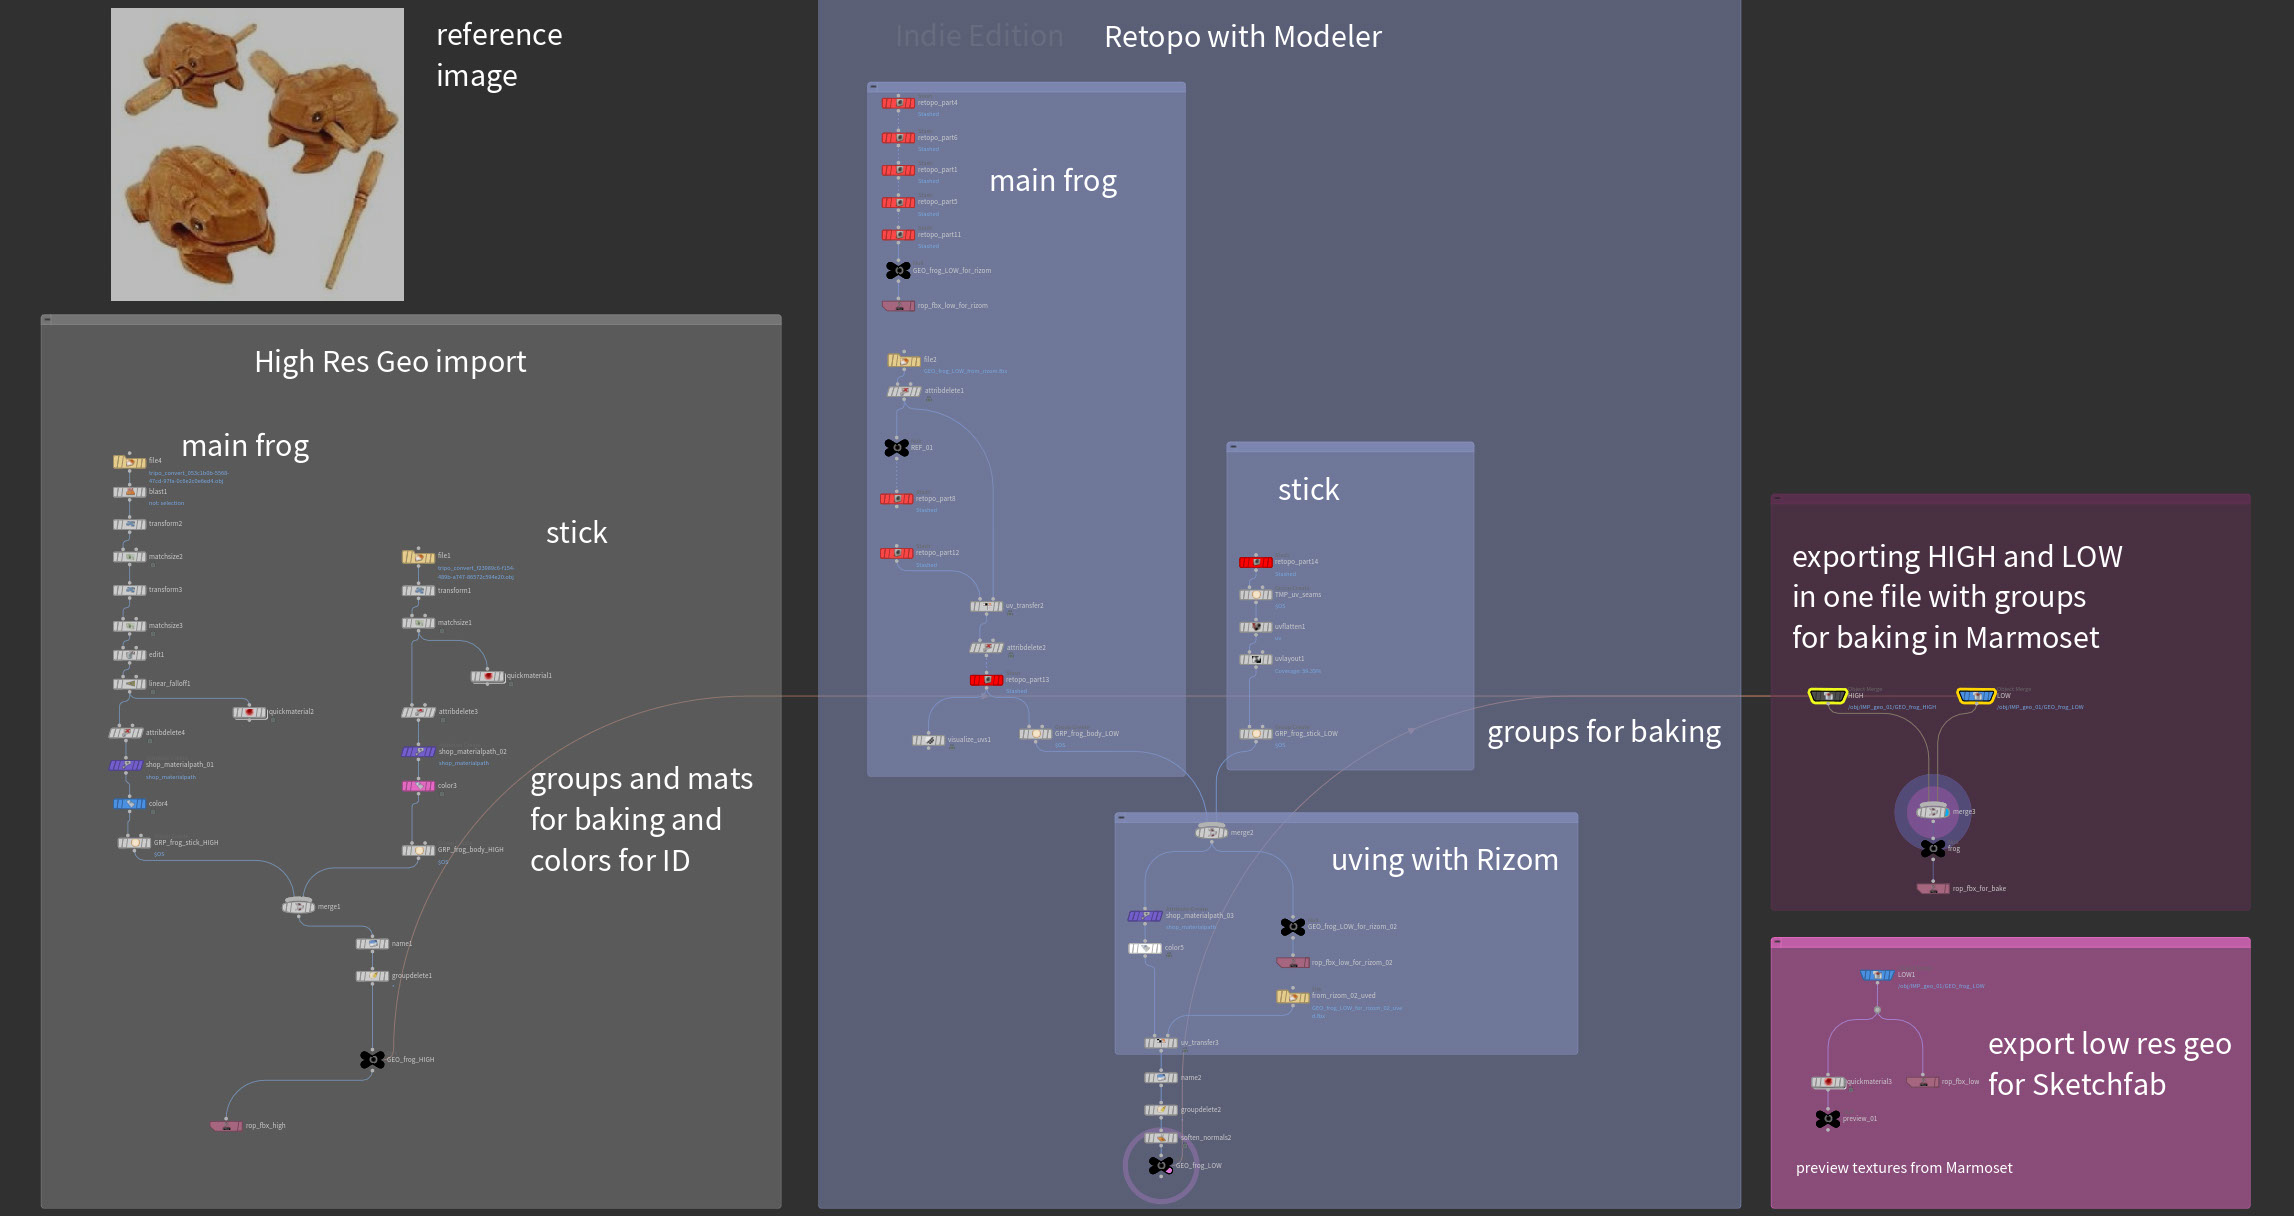
- UVs done in RizomUV. I still think nothing comes even close to it.
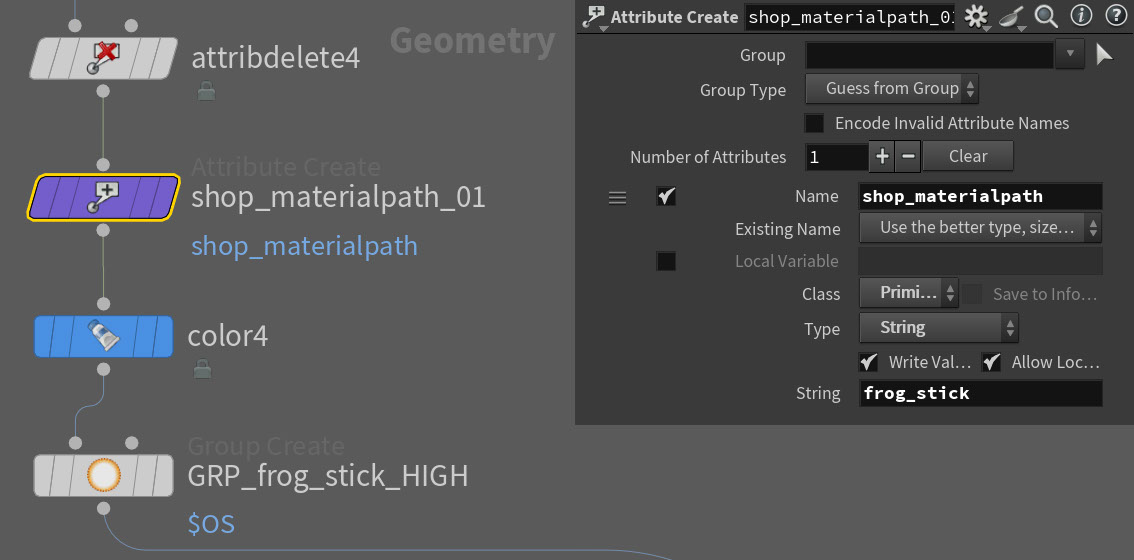
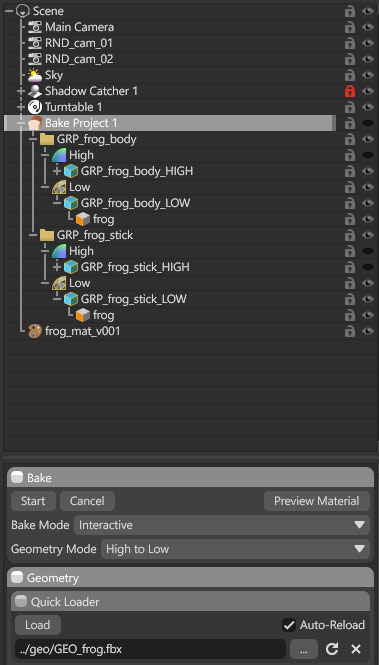
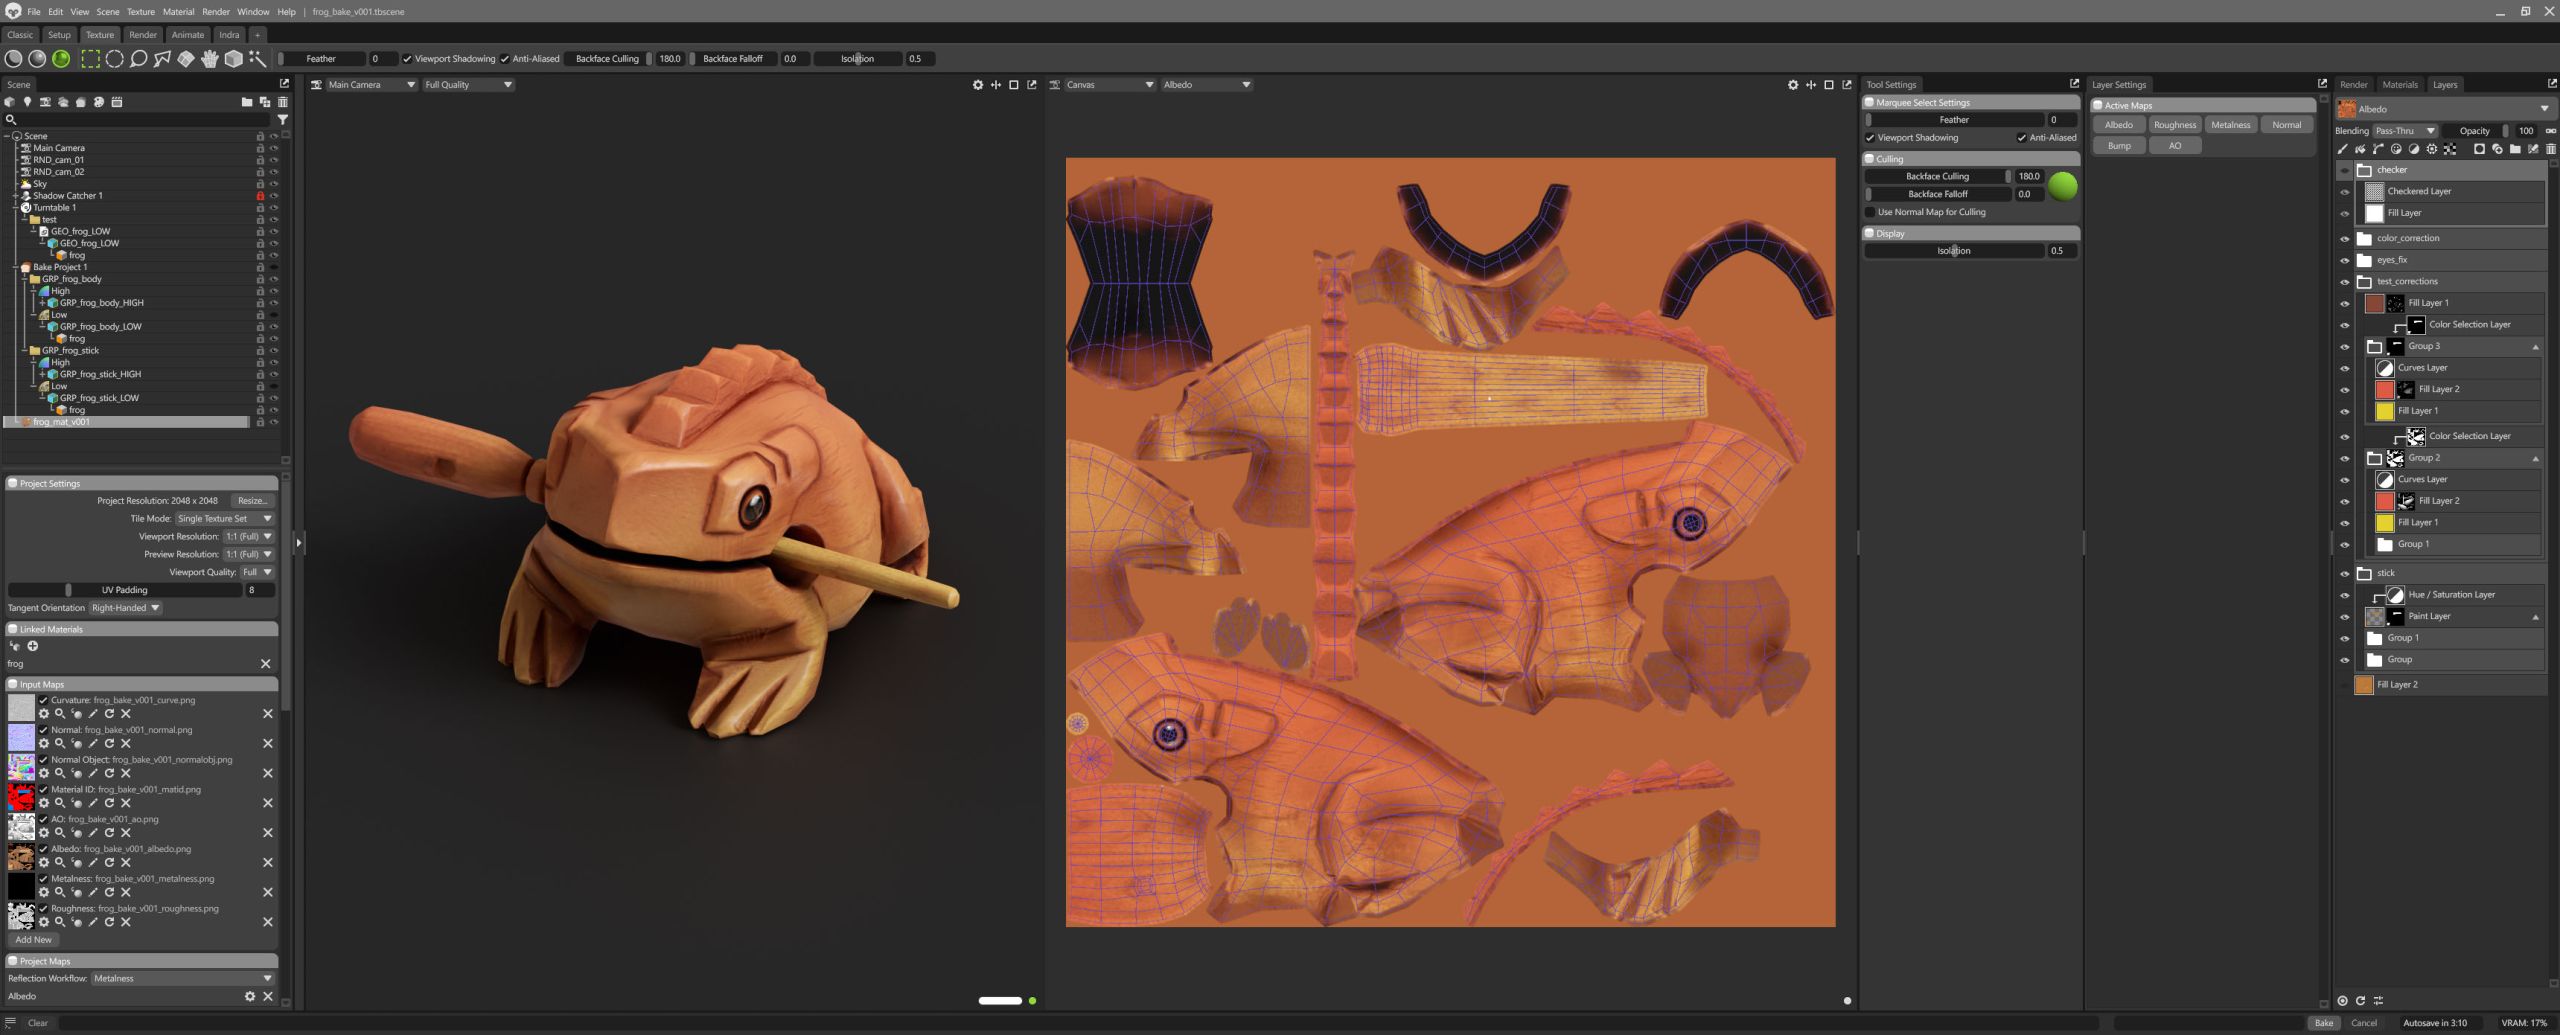
- Then I imported the UV’d low-res geo back into Houdini. Hardened the UV seams with the “Labs Soften Normals” node and merged the geo back with the high-res. I used groups as the name attribute so Marmoset would later understand it needs to bake from GRP_frog_stick_HIGH to GRP_frog_stick_LOW, and GRP_frog_body_HIGH to GRP_frog_body_LOW. This way I can have two AI-slop materials on the high-res geo with bad UVs, all baked down to one clean 2K UV set. When exporting the FBX from Houdini, just remember to tick the “Build Hierarchy from Path Attribute” checkbox and change “Path Attribute” to name. If you just assign the material inside Houdini, Marmoset won’t like it much – it’s easier to create a string attribute named shop_materialpath on the primitives and give it the name you want to see in Marmoset.
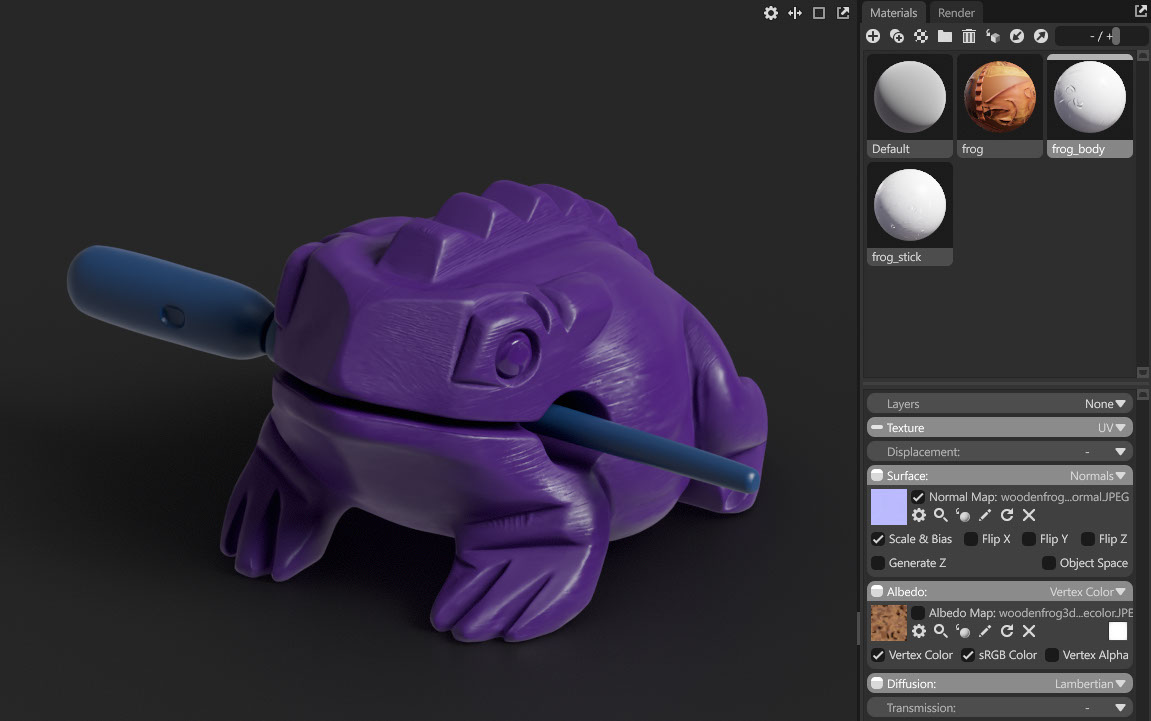
Also, if you assign different colors to different parts of the geometry in Houdini, Marmoset can use them as an ID map for baking. I used this to mask the stick later. You can preview it by switching albedo to vertex color in the material settings.
Then in Marmoset, with “auto-reload” and interactive mode in the Bake Project, it automatically picks up every change I make to the retopo in Houdini. I absolutely love this feature for iterating and making corrections – it’s probably the main reason I don’t bake in Substance Painter.
- In Marmoset I created a New Texture Project and linked the low-res frog’s material to it, so I can fix all the strange AI texture artifacts by hand. In general, material editing looks very similar to Substance Painter. I think Substance is still missing a rounded-edge baker, but that’s a topic for another post. In a separate folder I exported the low-res geo for Sketchfab, and used the same folder to export the corrected textures from Marmoset.
- This was the first time I rendered videos from Marmoset, and I was surprised by how fast it was. One real downside: you can’t link the render resolution to the camera, so if I want both vertical and horizontal shots, I have to change the resolution manually in the render tab.
You can grab the model for free on Sketchfab.
Will any of this matter in a year, when the meshes come out clean and the UVs aren’t garbage? Maybe not. But until then, manual retopo instead of AI is the way to go. The AI does the boring artsy stuff. I get to do the actual modeling. Yay!