Shaman – Houdini vs Blender
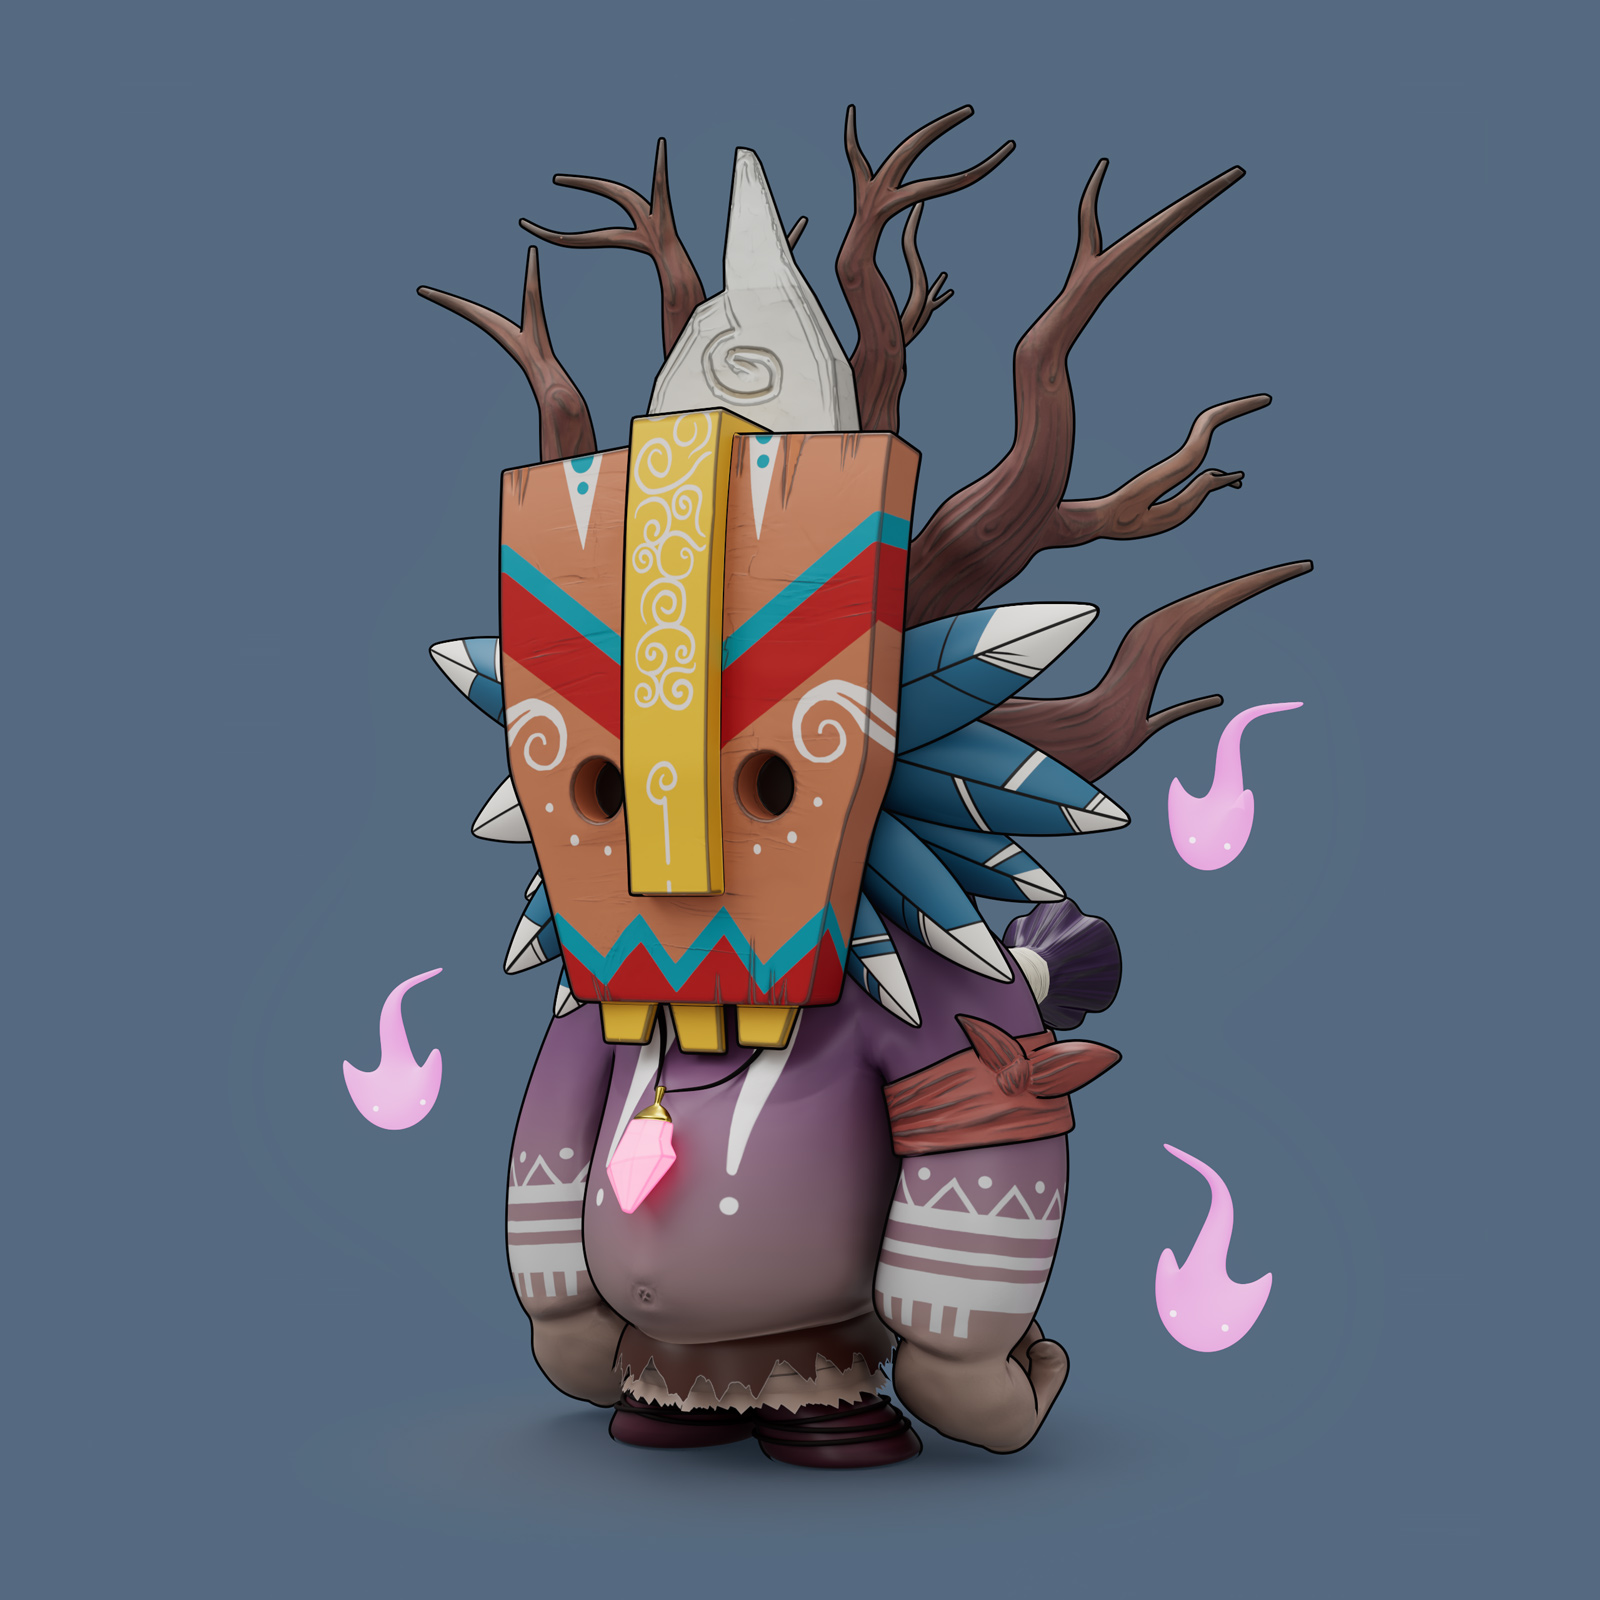
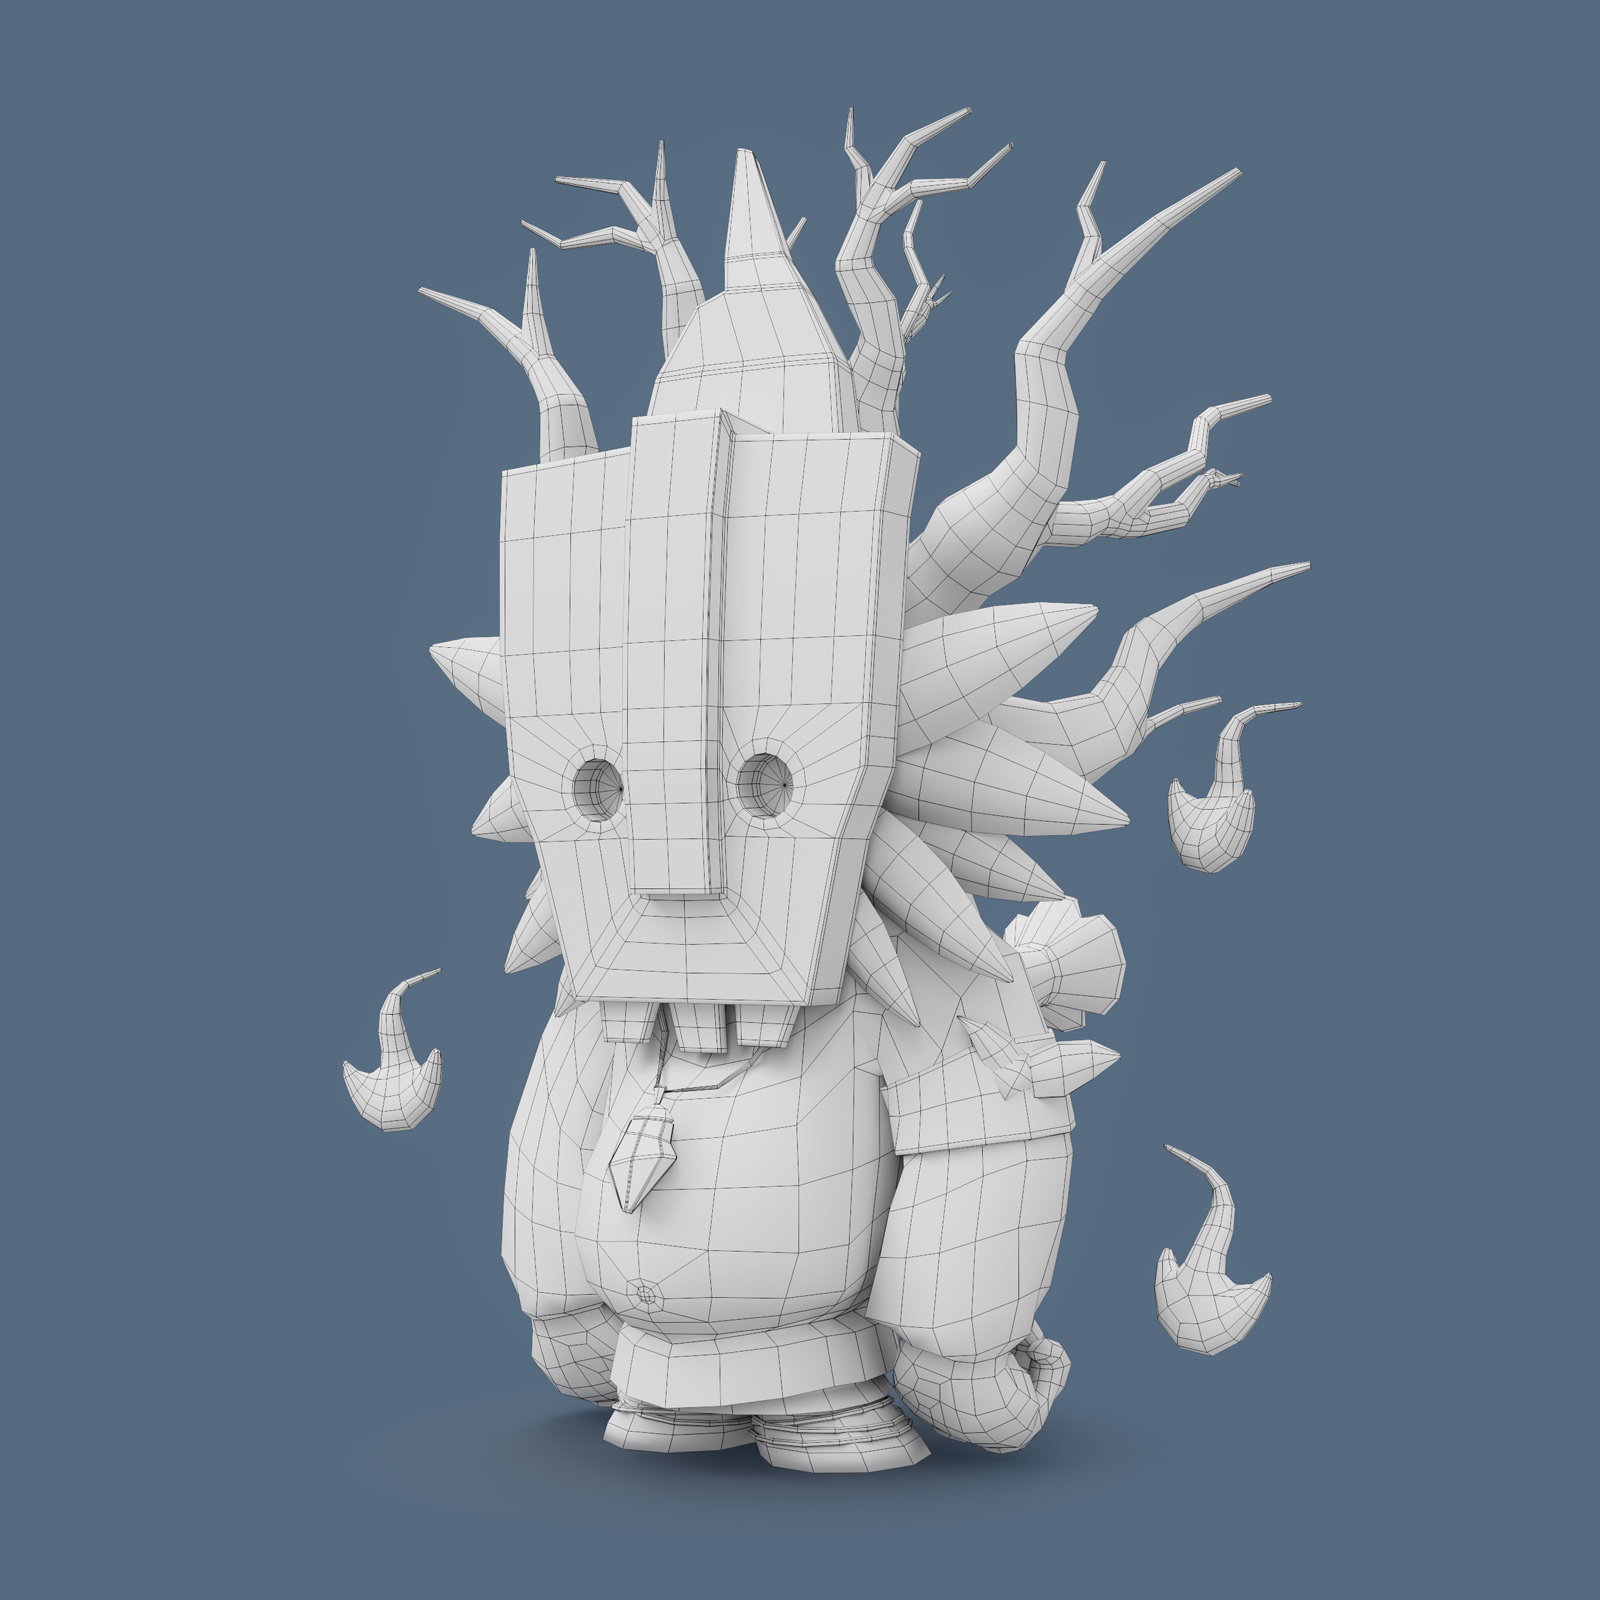
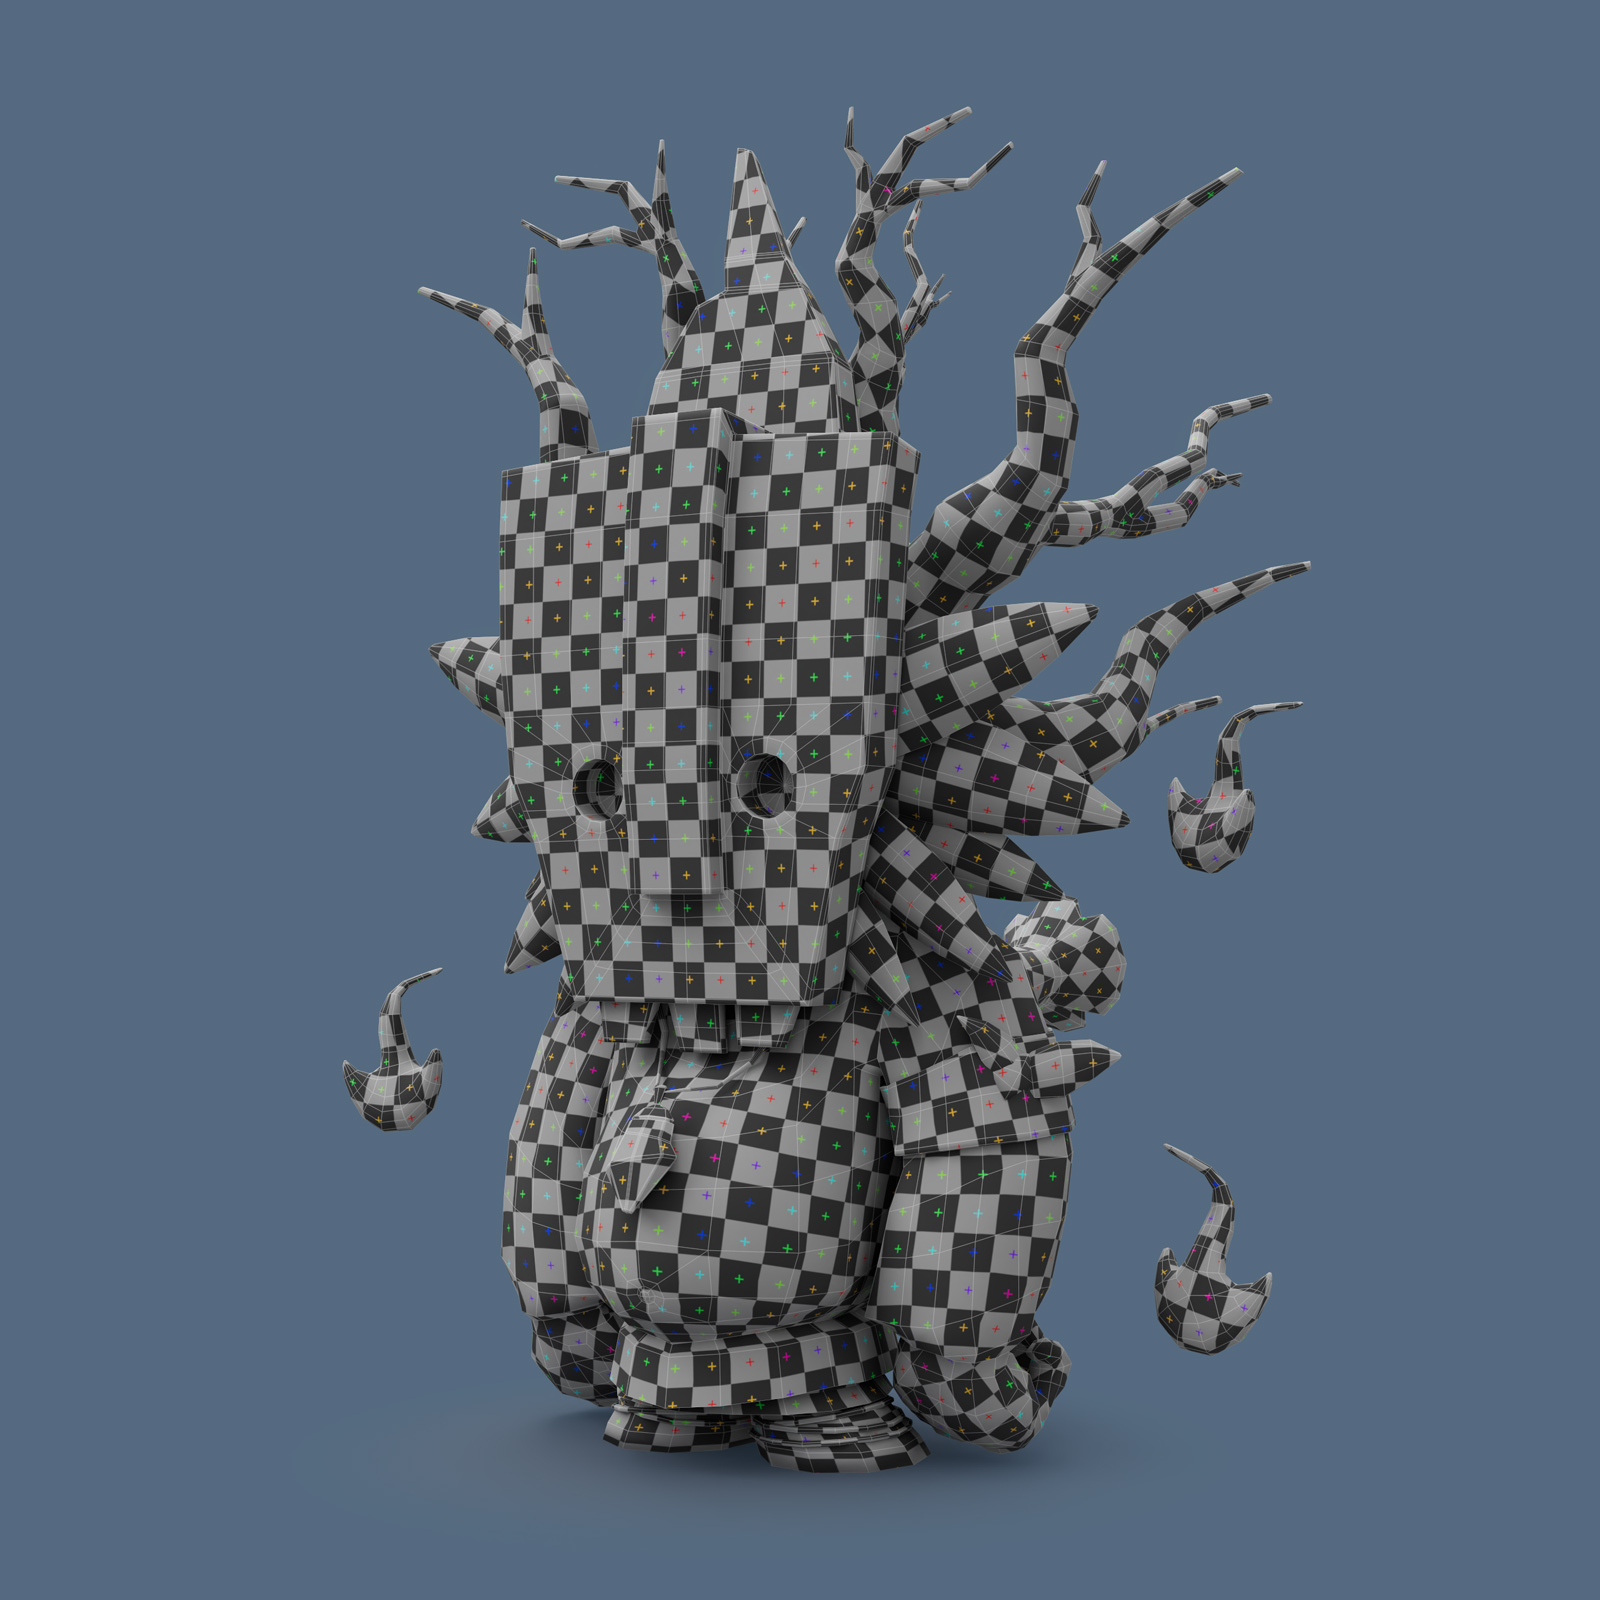
I wanted to try Blender for a long time. And came across a series of tutorials from YouTube channel Blender 3d. After watching it became clear why so many people love this free software.
I started in Blender, but then jumped back into Houdini. With plugin called Modeler, you can repeat the steps without problems.
Here is a “turntable” and then a speedup walkthrough:
UVs I did in RizomUV. They have just released an update. And now you can insert one group into another. For example, a group of “feathers” can be included in the “head” group and packed together. One of my favorite tricks: you can pack the islands using their direction in 3D space. Want everything to be aligned by Y in UV space? Just a click of a button. By the way, the groups made in Houdini are visible in Rizom.
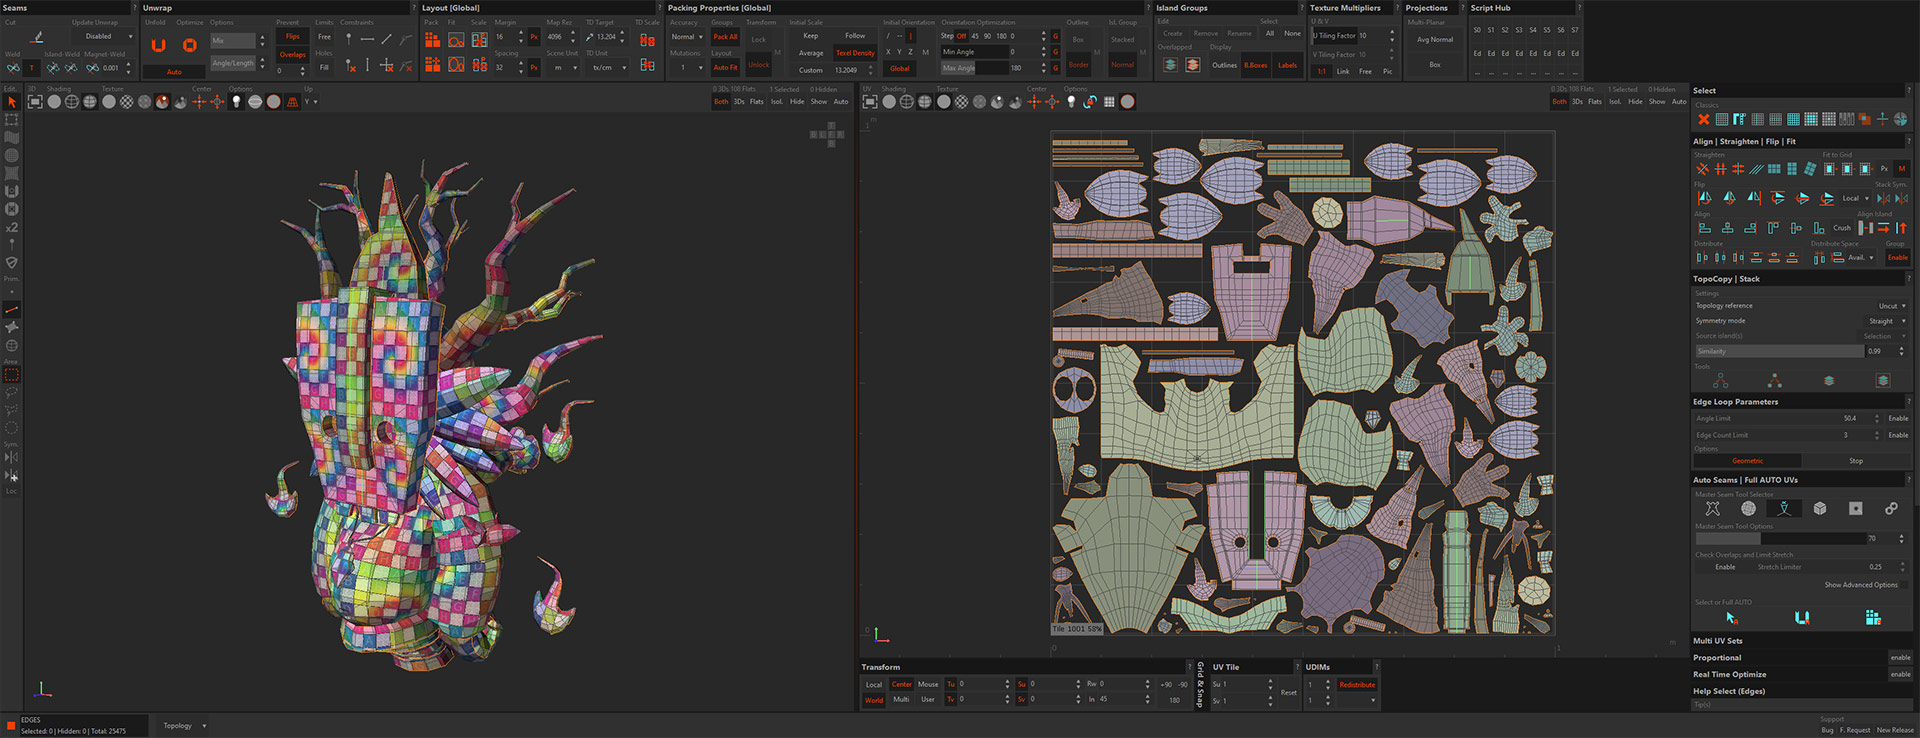
After UVing, I imported some groups into Zbrush to add details.
I baked from high to low in Marmoset. It also understands groups from Houdini, and therefore it is not necessary to export the “exploded” mesh separately, as it is usually done for baking in Substance. Another nice thing about it is the auto-reload of textures and geometry. If you change something in another program and save, Marmoset automatically shows those changes.
I textured in Substance Painter. Then I rendered in Houdini with Redshift.
To make the cartoon outline: I cloned geometry. Assigned double-sided material to it. The “front” is transparent, and the “back” has only black emission material assigned to it. Then you add displacement with a constant instead of a texture. And that’s it. You can control the thickness of the line with the amount of displacement. And color of line with emission (yellow in this example):
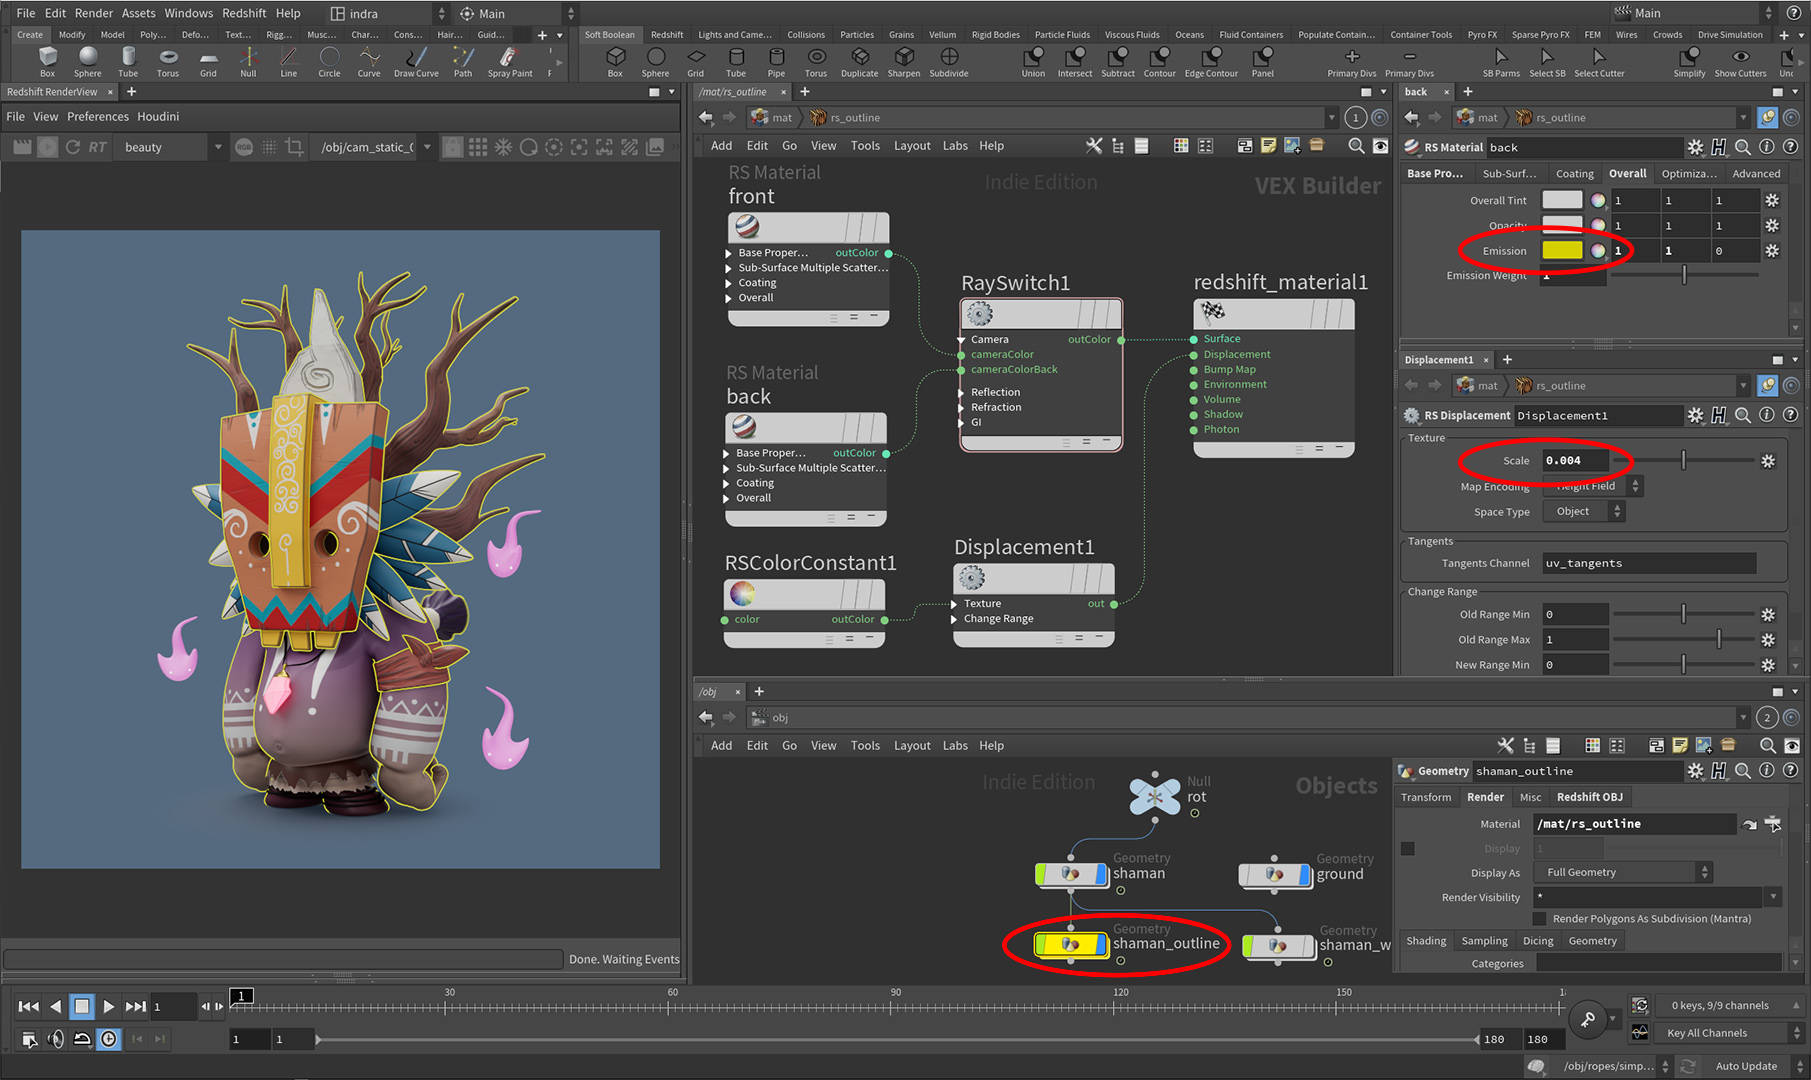
Then I repeated the same trick in Marmoset. It works when rendering. But displacement is not supported in the “viewer”. So if you want to send a link to the client, so he can rotate the model in the browser you need another approach:
I exported additional geometry from Houdini, but with reversed normals and a bit inflated with “Peak” node. Then in Marmoset I assined a new dark material without reflections, and set the Diffusion module to Unlit.
Here is the result that you can rotate:
And couple more renders from Redshift:
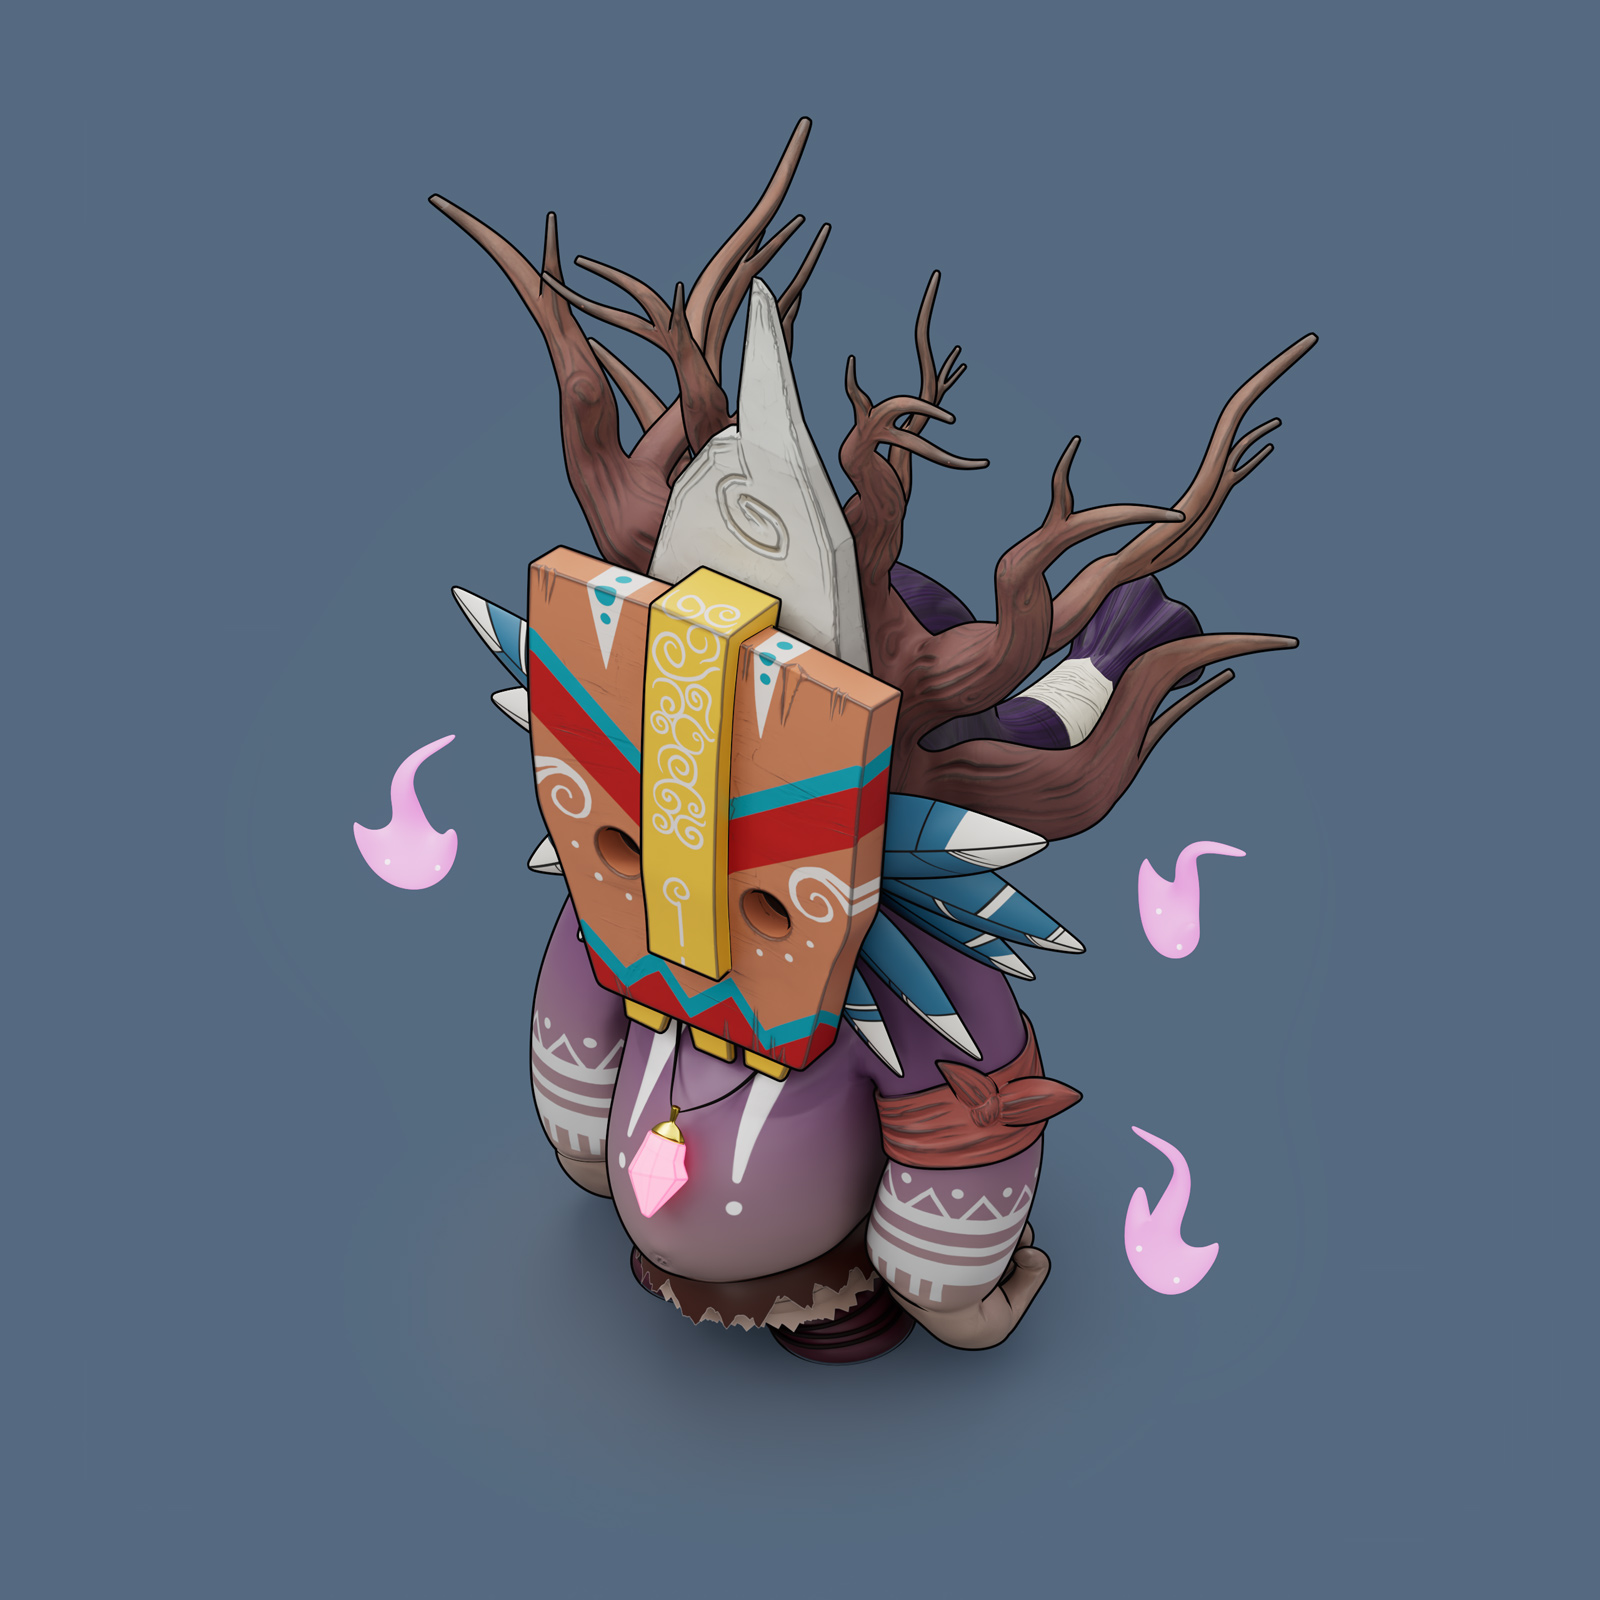
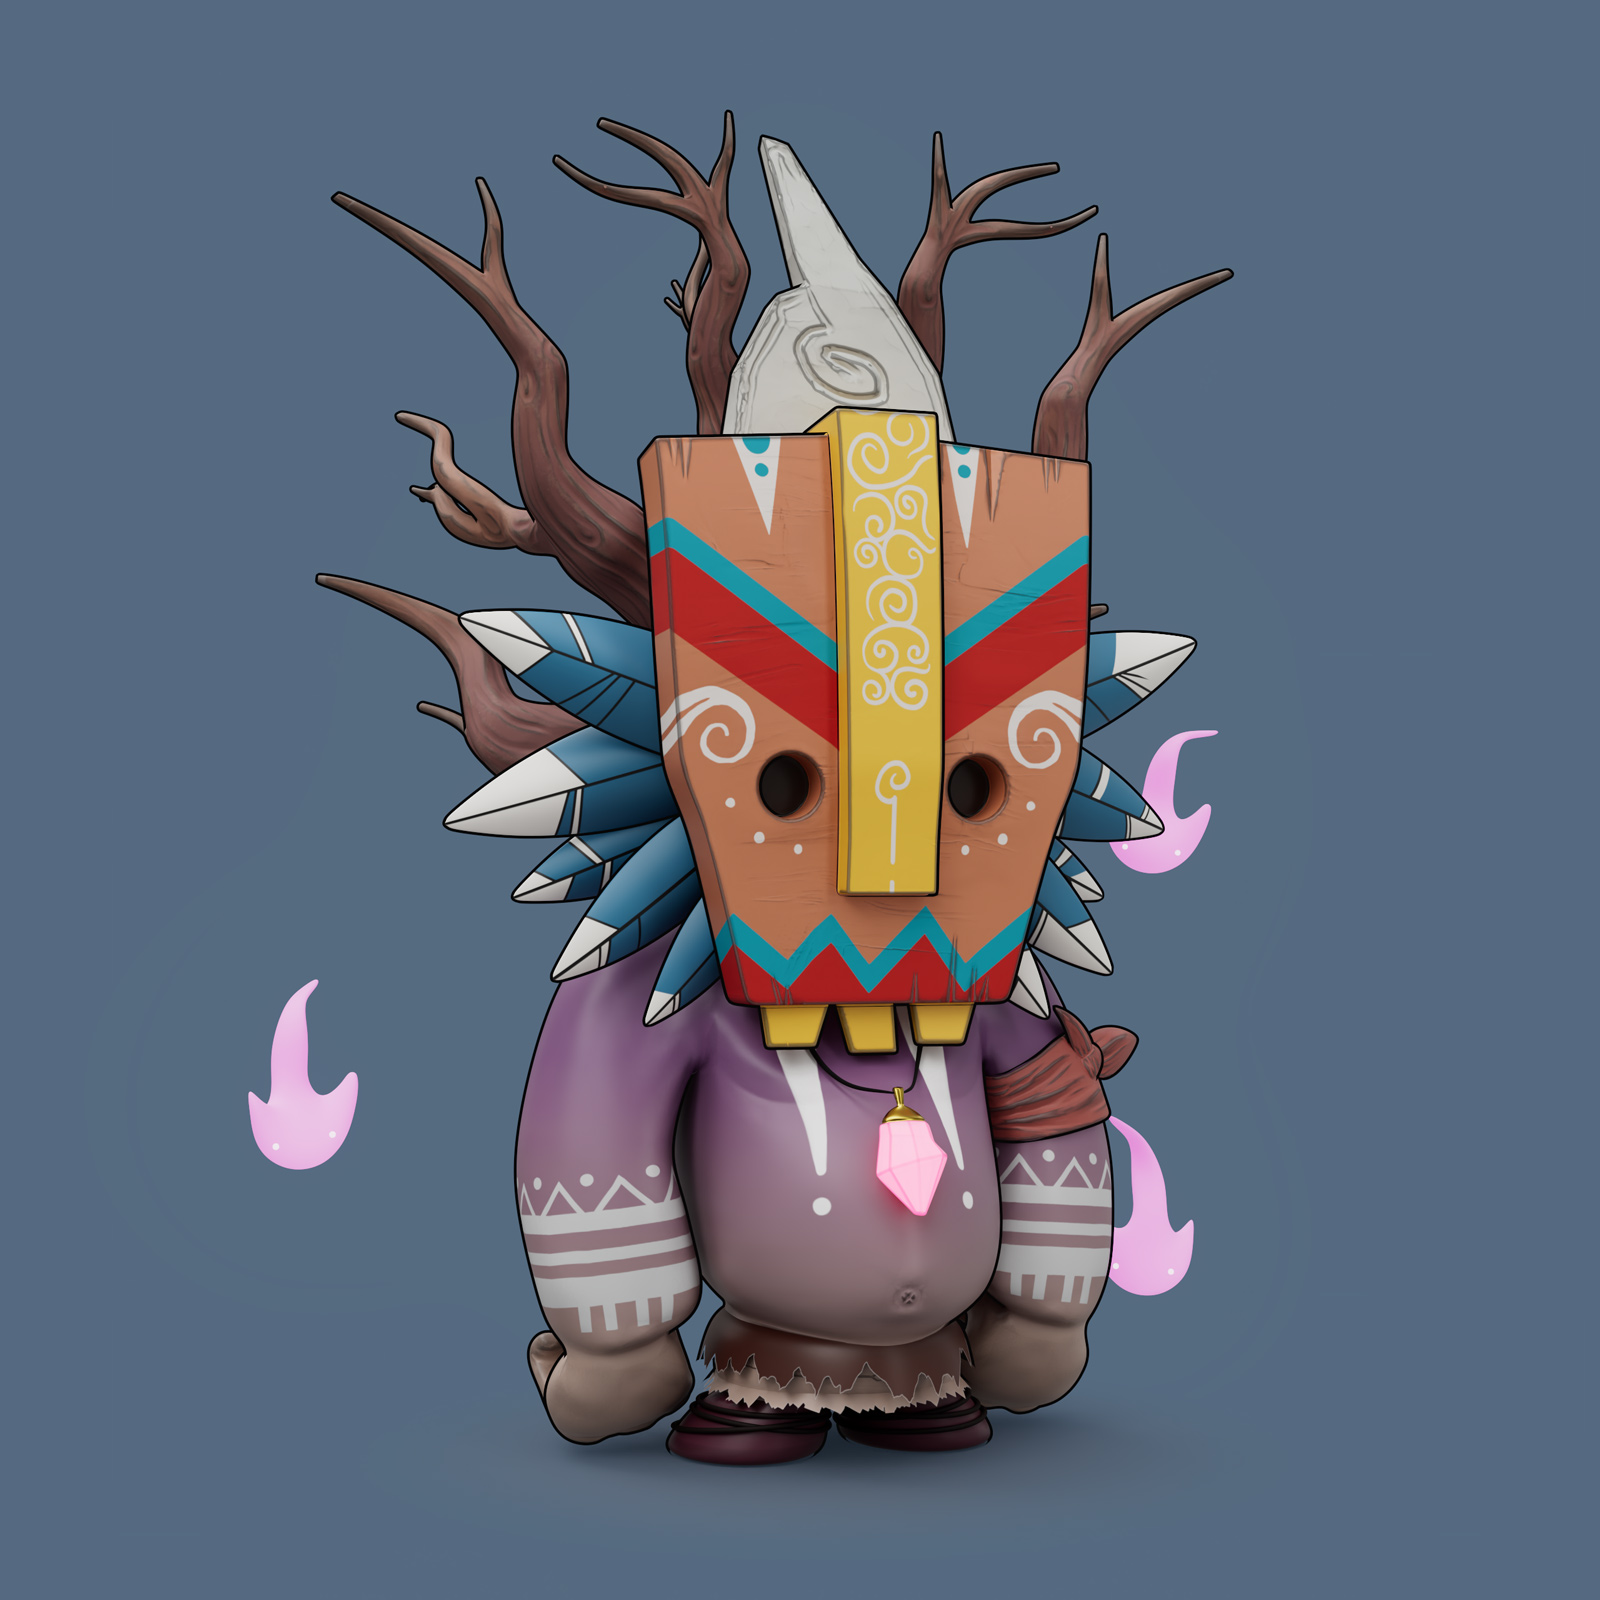
Original concept drawing was made by amazing La Foret Oublie.
And here is a great article on shading in Marmoset.
